
TECHOBOOM k99
OAS K99 Max Drone User Manual
Model: K99 | Brand: TECHOBOOM
1. Introduction
Thank you for purchasing the OAS K99 Max Drone. This manual provides essential information for the safe operation, setup, and maintenance of your drone. Please read it thoroughly before first use to ensure proper functionality and to prevent damage.
1.1 Safety Precautions
- Always operate the drone in open areas, away from people, animals, and obstacles.
- Do not fly near airports, restricted airspace, or in adverse weather conditions (strong winds, rain).
- Keep hands and face away from rotating propellers.
- Ensure the battery is fully charged before each flight.
- Supervise children during operation.
- Do not modify the drone or its components.
2. Package Contents
Verify that all items are present in your package:
- OAS K99 Max Drone x 1
- Remote Controller x 1
- 3.7V 1800mAh Li-ion Battery x 1
- USB Charging Cable x 1
- Protective Cover (Propeller Guards) x 4
- Screwdriver x 1
- Spare Blades x 4
- User Manual x 2 (This document and a quick start guide)

Figure 2.1: The OAS K99 Max Drone, its remote control, and the included carrying case, showcasing the compact folded design.
3. Setup
3.1 Charging the Drone Battery
Connect the drone battery to the USB charging cable. Plug the USB cable into a 5V/1A USB power adapter (not included). The charging indicator will show the charging status. A full charge takes approximately 60 minutes.
3.2 Installing the Drone Battery
Insert the fully charged battery into the battery compartment on the rear of the drone until it clicks into place. Ensure it is securely fastened.
3.3 Installing Propellers and Protective Covers
Attach the propellers to the motor shafts, ensuring they are correctly oriented (A and B blades). Secure them with the provided screws using the screwdriver. Then, snap the protective covers onto the drone's arms to shield the propellers.
3.4 Installing Remote Control Batteries
Open the battery compartment on the back of the remote controller. Insert 3 x AA batteries (not included), observing the correct polarity. Close the compartment cover.
3.5 App Installation and Wi-Fi Connection
Download the companion app by scanning the QR code in the quick start guide or searching for the app name (usually found in the quick start guide or product packaging) on Google Play Store or Apple App Store. Once installed, power on the drone. On your smartphone, go to Wi-Fi settings and connect to the drone's Wi-Fi network (e.g., "K99-XXXX"). Open the app to establish the connection.
4. Operating Instructions
4.1 Power-Up and Pairing (Initialization Process)
To initiate the drone and remote control pairing process:
- Place the drone on a flat, level surface.
- Press and hold the power button on the drone until the indicator lights begin to flash.
- Turn on the remote controller. The remote will emit a beep, and its indicator light will flash.
- Push the left joystick (throttle) all the way up, then pull it all the way down. The drone's lights will stop flashing and become solid, indicating successful pairing.
- If pairing fails, turn off both the drone and remote, then repeat steps 1-4.
4.2 Pre-Flight Checklist
- Ensure drone and remote batteries are fully charged.
- Check that propellers are securely attached and undamaged.
- Verify protective covers are installed.
- Confirm successful pairing between drone and remote.
- Choose an open, safe flying area.
4.3 Remote Control Guide

Figure 4.1: Layout of the remote control, showing the functions of each button and joystick.
- Left Stick: Throttle (Up/Down), Turn Left/Right (Yaw).
- Right Stick: Forward/Backward (Pitch), Left/Right (Roll).
- One-Click Takeoff/Landing: Press to automatically take off or land.
- Altitude Adjustment: Use the left stick to control altitude.
- 360° Flips: Press the 360° flip button, then move the right stick in the desired direction.
- Headless Mode: Press the Headless Mode button. In this mode, the drone's front is always relative to the pilot, regardless of its actual orientation.
- Speed Switch: Toggle between two speed options (low/high).
- Fine-Tuning Buttons: Adjust the drone's drift if it's not hovering steadily.
- Obstacle Avoidance Switch: Activates/deactivates the infrared obstacle avoidance system.
- Emergency Stop: Long press to immediately stop the drone's motors.
4.4 Advanced Features
4.4.1 Infrared Obstacle Avoidance
The drone features multi-directional infrared obstacle avoidance, detecting obstacles within a 0.6m (2-foot) range in three directions (right, left, front). Activate this feature via the remote control switch to prevent collisions.

Figure 4.2: The drone's multi-directional intelligent avoidance perception system in action, detecting and avoiding obstacles.
4.4.2 4K HD Dual Camera Operation
The drone is equipped with a 4K HD camera with a 90-degree adjustable angle and a bottom HD lens. You can manually adjust the camera angle up to 90 degrees for optimal framing. Use the companion app to switch between cameras, take photos, and record videos.

Figure 4.3: Detailed view of the 4K HD camera system, highlighting the adjustable lens for varied shooting angles.
4.4.3 Smart Hover and Stabilization
The drone utilizes air pressure technology for stable hovering, making it easy to control for both indoor and outdoor flights. It also features self-stabilization and anti-shake technology for smoother image and video capture.
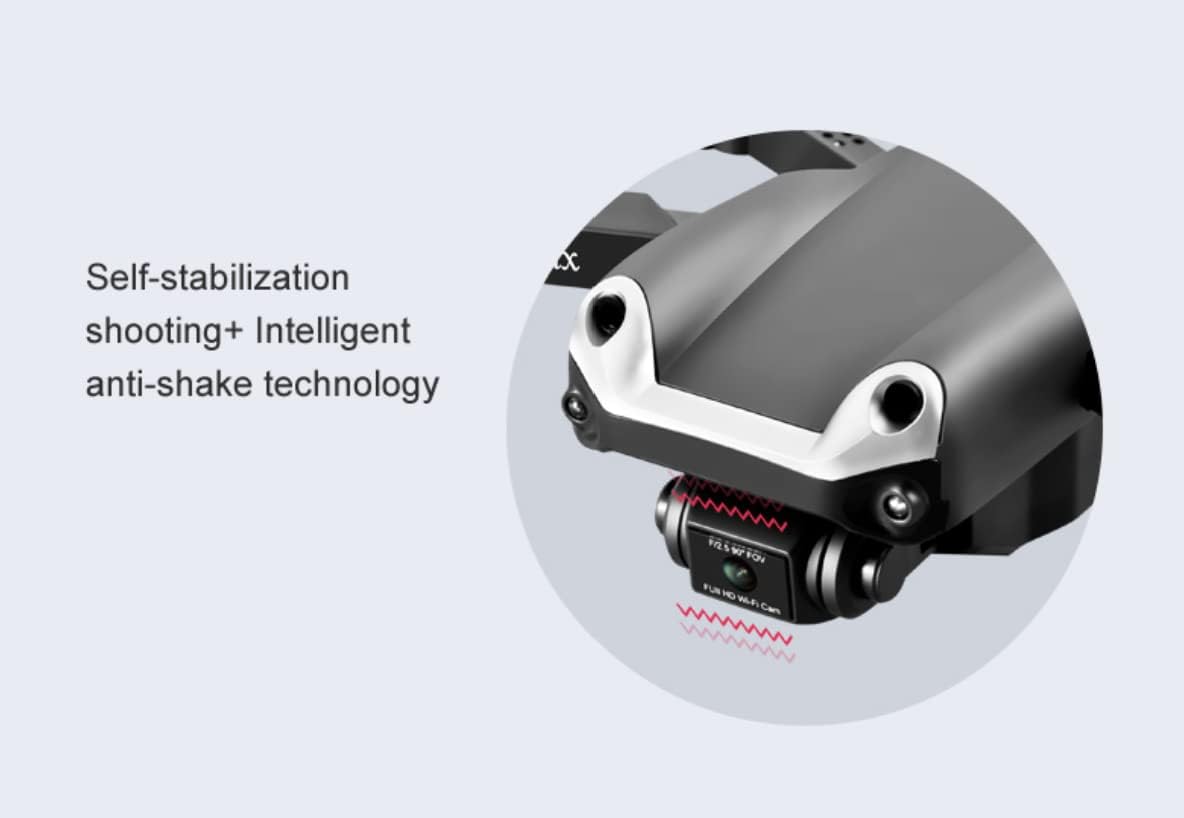
Figure 4.4: The drone demonstrating its smart hover capability, suitable for both indoor and outdoor environments.

Figure 4.5: Illustration of the drone's self-stabilization and intelligent anti-shake technology for smooth flight and clear imaging.
4.4.4 360° Flips
Perform impressive 360-degree flips with a single button press. After pressing the flip button, push the right joystick in the desired direction (forward, backward, left, or right) to execute the maneuver.

Figure 4.6: The drone executing a 360-degree rollover, demonstrating its acrobatic capabilities.
4.4.5 App-Controlled Features
The companion app unlocks additional functionalities:
- Gesture Photography: Perform specific hand gestures to trigger photo or video recording.
- Gravity Sensing: Control the drone's movement by tilting your smartphone.
- Trajectory Flight: Draw a flight path on your screen, and the drone will follow it automatically.
- Real-time FPV: View the camera feed live on your smartphone via Wi-Fi transmission (up to 150 meters / 500 feet).
5. Maintenance
5.1 Cleaning
Regularly clean the drone with a soft, dry cloth. Do not use water or chemical cleaners. Ensure no dust or debris accumulates in the motors or camera lens.
5.2 Propeller Replacement
If a propeller is damaged, replace it immediately with a spare blade. Use the provided screwdriver to remove the old propeller and install the new one, ensuring correct orientation (A or B).
5.3 Storage
When not in use, store the drone and remote control in a cool, dry place, away from direct sunlight and extreme temperatures. Remove batteries from the remote control if storing for extended periods. Fold the drone's arms for compact storage.

Figure 5.1: Dimensions of the drone in both folded and unfolded states for storage and operation.
6. Troubleshooting
- Drone not responding to control input: Ensure the drone and remote are properly paired. Repeat the power-up and pairing (initialization) process as described in Section 4.1. Check battery levels for both the drone and remote.
- Drone drifts during flight: Perform fine-tuning adjustments using the trim buttons on the remote control. If the issue persists, recalibrate the drone's gyroscope (refer to the quick start guide for specific steps, usually involves holding both joysticks down and inward).
- Camera not working/poor image quality: Ensure the app is connected to the drone's Wi-Fi. Check for any obstructions on the camera lens. Ensure sufficient lighting.
- Short flight time: Ensure the battery is fully charged. Battery performance may degrade over time; consider replacing the battery if it's old.
- Propellers not spinning: Check for any obstructions around the propellers. Ensure the drone is powered on and paired. If a motor is damaged, contact customer support.
7. Specifications
| Feature | Detail |
|---|---|
| Model Name | K99 |
| Dimensions (Folded) | 12.5 x 9 x 5 cm (4.9 x 3.5 x 2 inches) |
| Dimensions (Unfolded) | 21 x 28 x 5 cm (8.3 x 11 x 2 inches) |
| Drone Weight | 94g |
| Battery | 3.7V 1800mAh Li-ion |
| Charging Time | Approx. 60 minutes |
| Flight Time | Approx. 18 minutes |
| Remote Control Distance | 150 meters (500 feet) |
| Video Capture Resolution | 4K |
| Connectivity | 2.4Ghz Remote Control, Wi-Fi (for FPV/App) |
| Special Features | Infrared Obstacle Avoidance, 360 Degree Flip, Foldable, Smart Hover, Anti-shake Technology, Headless Mode |
8. Warranty and Support
For warranty information and technical support, please refer to the contact details provided on the product packaging or the official TECHOBOOM website. Keep your purchase receipt as proof of purchase for any warranty claims.
Ask a question about this manual
Ask about setup, troubleshooting, compatibility, parts, safety, or missing instructions. Manuals+ will review the question and use this page’s manual context to help answer it.