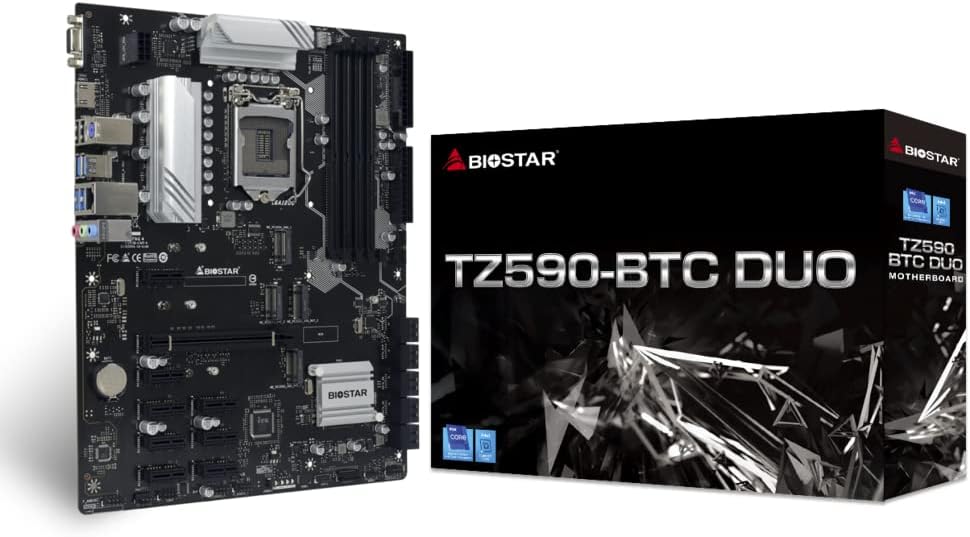
Biostar TZ590-BTC DUO
Biostar TZ590-BTC Duo Motherboard
User Manual
1. Introduction
The Biostar TZ590-BTC Duo is a high-performance motherboard designed for cryptocurrency mining, supporting both GPU and Chia mining operations. It is compatible with Intel 10th and 11th Generation LGA 1200 processors and features the Intel Z590 chipset. This manual provides comprehensive instructions for setting up, operating, and maintaining your motherboard.
Key Features:
- Supports 10th/ 11th Generation LGA 1200 Intel Core Processor
- Support 4-DIMM DDR4-3600(OC)/ 3200/ 2933/ 2800/ 2666/ 2400/ 2133 up to 128G maximum capacity
- Support 8 x PCIe 3.0 slots Support 1 x PCIe 4.0 x16 Slot (x8 mode) (11th CPU Only)
- Support M.2 Sata III (6Gb/s) Connector
- 9 GPU Support
2. Specifications
| Property | Value |
|---|---|
| Brand | Biostar |
| Model Name | TZ590-BTC DUO |
| CPU Socket | LGA 1200 |
| Compatible Processors | 10th Generation Intel Core, 11th Generation Intel Core |
| Chipset Type | Intel Z590 |
| RAM Memory Technology | DDR4 |
| Memory Clock Speed | 2133 MHz (up to 3600MHz OC) |
| Item Weight | 2.93 pounds |
| Package Dimensions | 13.07 x 10.28 x 2.44 inches |
| Platform | Windows |
3. Setup Guide
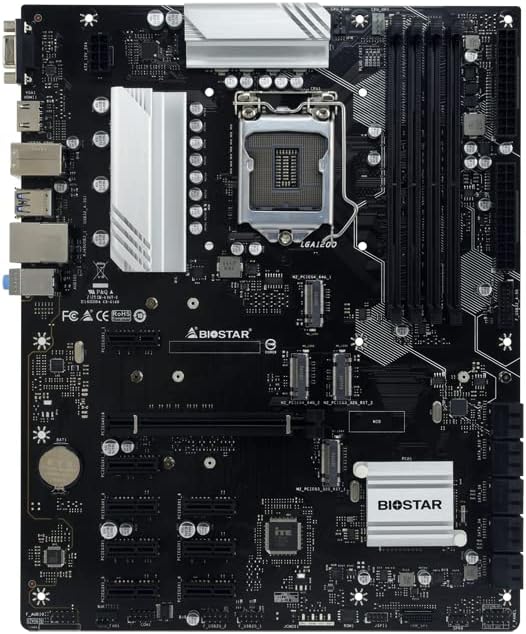
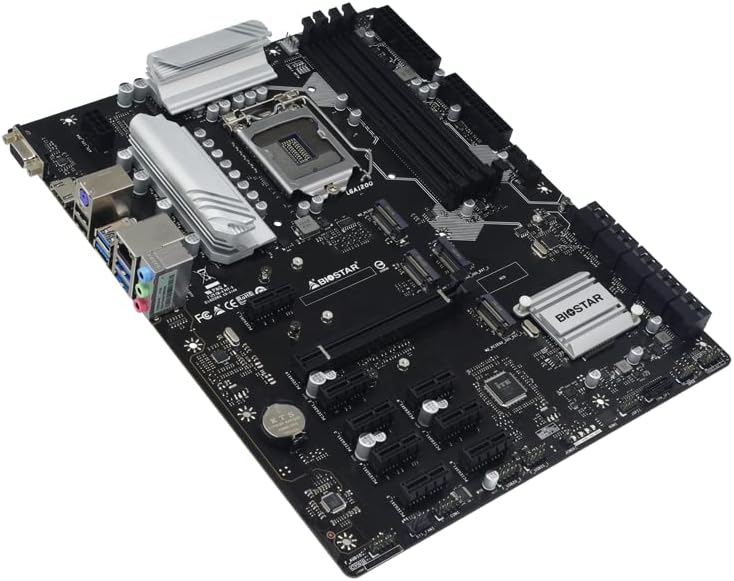
Component Overview:
Familiarize yourself with the layout of the motherboard before beginning installation.
Installation Steps:
- CPU Installation: Carefully align your Intel LGA 1200 processor with the socket on the motherboard. Ensure the triangular markers on the CPU and socket match. Gently lower the CPU into place and secure it with the retention lever.
- RAM Installation: Insert DDR4 memory modules into the DIMM slots. Push down firmly on both ends of the module until the clips on the side snap into place. Refer to the motherboard manual for recommended slot configurations for dual-channel memory.
- Power Supply Connection: Connect the 24-pin ATX power connector and the 8-pin (or 4+4-pin) CPU power connector from your power supply unit (PSU) to the corresponding ports on the motherboard. For multi-GPU setups, ensure adequate power delivery.
- GPU Installation: Insert your graphics cards (GPUs) into the PCIe slots. This motherboard supports up to 9 GPUs. For optimal performance and stability, ensure all necessary power cables are connected to each GPU.
- Storage Connection: Connect your M.2 SSDs to the M.2 slots and SATA drives to the SATA ports. This motherboard supports M.2 SATA III (6Gb/s) and multiple SATA III ports for extensive storage configurations.

4. Operating Instructions
BIOS Configuration:
Upon first boot, enter the BIOS/UEFI setup (usually by pressing DEL or F2 during startup). Configure settings such as boot order, PCIe generation (if applicable for 11th Gen CPUs), and enable 'Above 4G Decoding' for multi-GPU mining setups. Save and exit the BIOS.
GPU Mining Setup:
This motherboard is optimized for GPU mining, supporting up to 9 graphics cards. After installing your GPUs and drivers, configure your chosen mining software (e.g., Ethminer, PhoenixMiner, T-Rex Miner) according to its specific instructions. Ensure your operating system (e.g., Windows, HiveOS) is properly configured to recognize all installed GPUs.

Chia Mining Setup:
For Chia mining, this motherboard offers extensive storage connectivity with multiple M.2 and SATA slots. Install your plotting and farming software (e.g., Chia Blockchain client) and configure it to utilize your connected storage devices. Ensure sufficient RAM and CPU resources for efficient plotting.

5. Maintenance
Regular maintenance ensures the longevity and stable operation of your motherboard and mining rig.
- Cleaning: Periodically clean dust from the motherboard, CPU cooler, and GPU fans using compressed air. Ensure the system is powered off and unplugged before cleaning.
- Firmware Updates: Check the official Biostar website for the latest BIOS/UEFI firmware updates. Updating firmware can improve stability, compatibility, and performance. Follow the update instructions carefully to avoid damaging the motherboard.
- Cable Management: Ensure all power and data cables are neatly organized to promote better airflow and prevent accidental disconnections.
6. Troubleshooting
This section addresses common issues you might encounter.
- System Not Booting:
- Check all power connections (24-pin ATX, 8-pin CPU, GPU power).
- Reseat RAM modules. Try booting with only one RAM stick.
- Clear CMOS (refer to motherboard manual for jumper location).
- GPUs Not Detected:
- Ensure 'Above 4G Decoding' is enabled in BIOS.
- Update graphics drivers to the latest version.
- Check PCIe riser connections if using them.
- Verify power delivery to all GPUs.
- System Instability/Crashes:
- Check CPU and GPU temperatures. Ensure adequate cooling.
- Verify PSU wattage is sufficient for all components.
- Run memory diagnostic tools to check RAM integrity.
For more detailed troubleshooting or specific error codes, consult the official Biostar support resources or community forums.
7. Warranty and Support
Biostar products are manufactured to high-quality standards. For specific warranty terms and conditions, please refer to the warranty card included with your product or visit the official Biostar website.
For technical support, driver downloads, and further product information, please visit the official Biostar support page or the Biostar store on Amazon:
Related Documents - TZ590-BTC DUO
 |
Biostar TZ590-BTC DUO & TZ590-BTC Motherboard User Manual This user manual provides detailed information and instructions for installing and using the Biostar TZ590-BTC DUO and TZ590-BTC motherboards. It covers FCC information, copyright, hardware installation steps for CPU and heatsink, memory installation, fan connections, and rear panel connectors. |
 |
Biostar H410MH S2 Motherboard Specifications and Overview Technical specifications and feature overview for the Biostar H410MH S2 Micro ATX motherboard, supporting 10th Gen Intel Core processors, DDR4 memory, and PCIe 3.0. |
 |
BIOSTAR H410MH / H410MHP Motherboard User Manual Official user manual for the BIOSTAR H410MH and H410MHP motherboards, covering hardware installation, BIOS setup, software, and driver installation. |
 |
Biostar H410MH S2 Motherboard User Manual Comprehensive user manual for the Biostar H410MH S2 motherboard, covering hardware installation, BIOS setup, specifications, and troubleshooting for 10th Gen Intel Core processors. |
 |
Biostar TB360-BTC D+ Motherboard User Manual Comprehensive user manual for the Biostar TB360-BTC D+ motherboard, including installation instructions, BIOS setup, troubleshooting, and technical specifications. |
 |
Biostar H61MHV2 Motherboard Setup Manual A comprehensive guide for installing and configuring the Biostar H61MHV2 motherboard, covering hardware installation, component connections, BIOS updates, driver installation, and troubleshooting. |
Ask a question about this manual
Ask about setup, troubleshooting, compatibility, parts, safety, or missing instructions. Manuals+ will review the question and use this page’s manual context to help answer it.