
AZH JBP25WY4
AZH Range Door Handle Endcap Replacement Manual
For GE Models JBP25WY4 and Compatible Series
1. Introduction
This manual provides detailed instructions for the installation, usage, and maintenance of your AZH Range Door Handle Endcap Replacement. This product is designed to replace worn or damaged endcaps on various GE oven/stove range door handles, ensuring proper function and aesthetic appeal. Please read this manual thoroughly before proceeding with installation.
2. Safety Information
Always prioritize safety when working with appliances. Failure to follow these safety guidelines may result in personal injury or property damage.
- Disconnect Power: Before attempting any repair or replacement on your range, ensure the appliance is completely disconnected from its power source. Turn off the circuit breaker or unplug the range.
- Wear Protective Gear: Use appropriate personal protective equipment, such as gloves, to prevent cuts or scrapes.
- Handle with Care: Appliance parts can have sharp edges. Handle the old and new parts carefully.
- Professional Assistance: If you are unsure about any step or uncomfortable performing the replacement, consult a qualified appliance technician.
3. Package Contents
Verify that all components are present before beginning installation:
- AZH Range Door Handle Endcap(s)
- Instruction Manual (this document)
4. Installation Instructions
Follow these steps to replace the range door handle endcap:
- Prepare the Appliance: Ensure the range is cool and disconnected from its power supply. Open the oven door fully to access the handle.
- Remove Old Endcap: Carefully inspect how the existing endcap is attached. Many GE range handle endcaps are held in place by friction or small screws. Gently pry off the old endcap or unscrew it if applicable. Note the orientation for the new part.
- Clean the Area: Clean any debris or residue from the handle bar and the area where the endcap attaches.
- Install New Endcap: Align the new AZH replacement endcap with the handle bar. Apply firm, even pressure to snap or slide the new endcap into place. Ensure it is seated securely and flush with the handle. If screws were present, reinsert and tighten them.
- Test Security: Gently tug on the newly installed endcap to confirm it is firmly attached and does not wobble.
- Restore Power: Close the oven door, reconnect the range to its power supply, and turn on the circuit breaker.
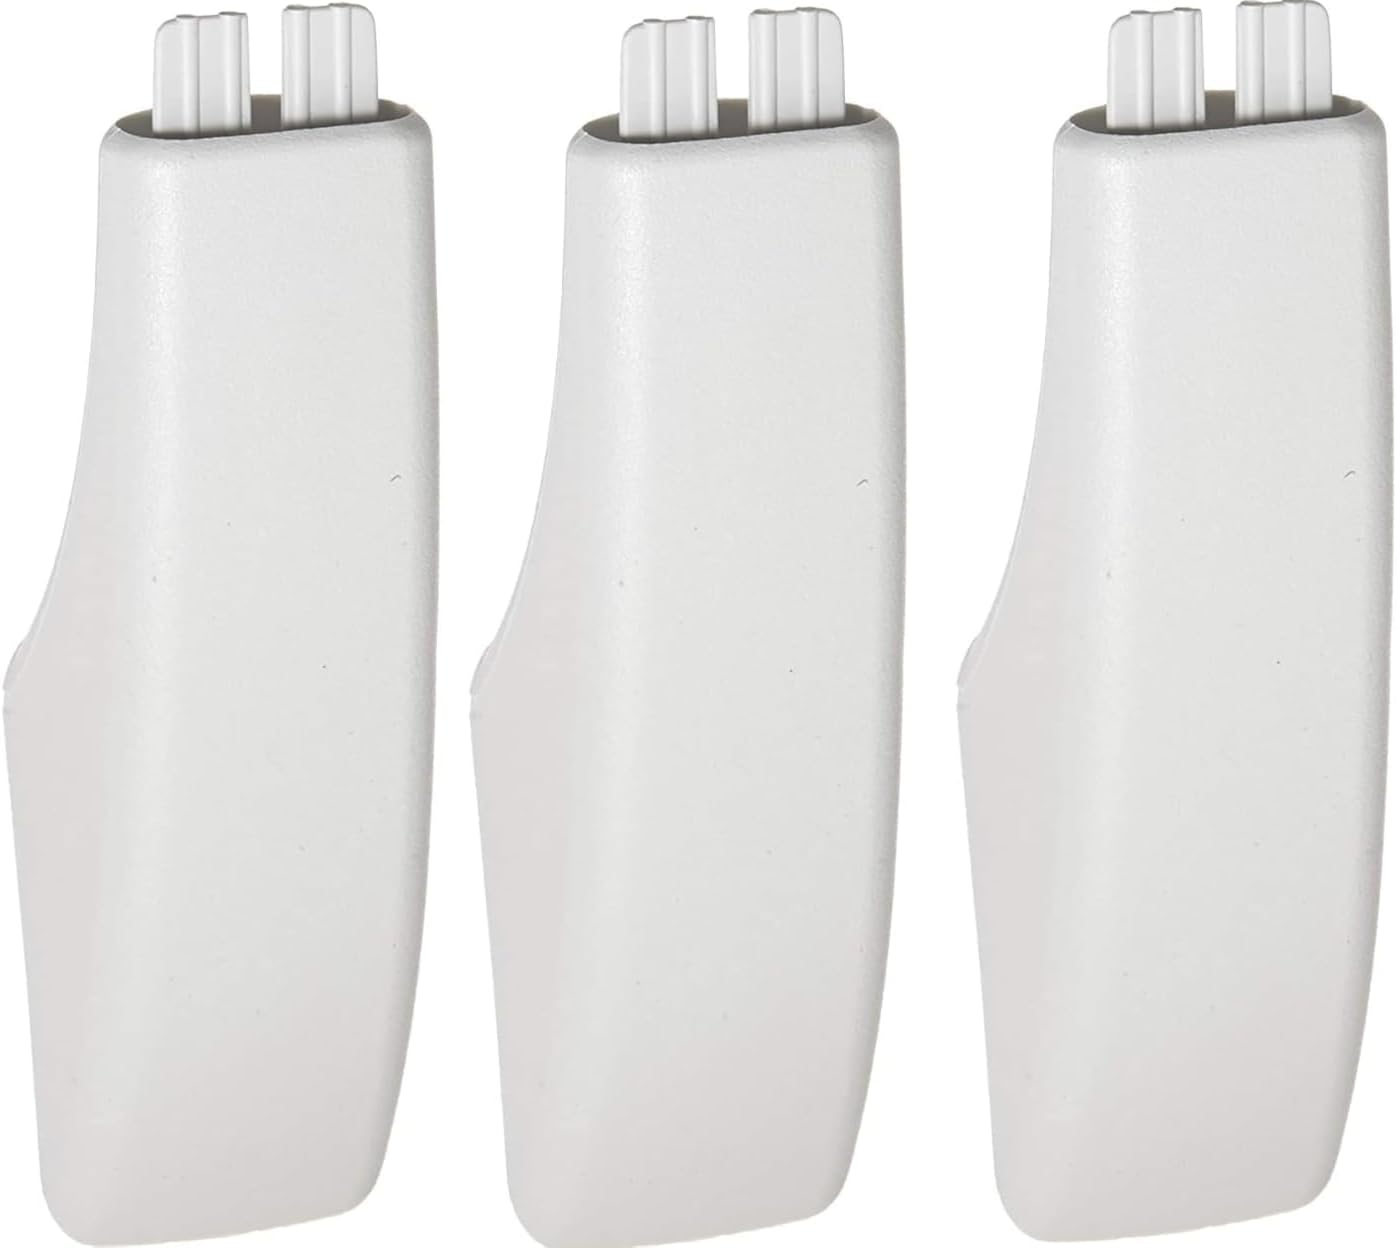
This image displays three white replacement endcaps for a range door handle. Each endcap features a molded design with internal prongs designed to secure it to the handle bar.
5. Usage and Care
Once installed, the endcap requires minimal special care. It is designed to withstand normal kitchen environments.
- Regular Cleaning: Clean the endcap with a soft cloth and mild, non-abrasive cleaner. Avoid harsh chemicals or abrasive pads that could damage the finish.
- Avoid Impact: While durable, avoid striking the endcap with hard objects to prevent cracks or damage.
6. Troubleshooting
If you encounter any issues after installation, refer to the following table:
| Problem | Possible Solution |
|---|---|
| Endcap feels loose after installation. | Ensure the endcap is fully seated and all attachment points (e.g., prongs, screws) are engaged. Remove and re-install, applying firm, even pressure. |
| Endcap does not fit the handle bar. | Verify that the model number of your range is listed as compatible with this replacement part. Double-check the orientation of the endcap. |
| Endcap is damaged during installation. | Contact AZH customer support for assistance or a replacement. Avoid excessive force during installation. |
7. Specifications
| Attribute | Value |
|---|---|
| Brand | AZH |
| Model Number | JBP25WY4 (and compatible GE models) |
| Material | Acrylonitrile Butadiene Styrene (ABS) |
| Color | White |
| Exterior Finish | Chrome (referring to the handle it attaches to, endcap itself is white) |
| Specific Uses | Range/Oven Door Handle |
| Special Feature | Easy to Install |
| Indoor/Outdoor Usage | Indoor |
| UPC | 824252628689 |
8. Warranty and Support
For information regarding product warranty, returns, or technical support, please refer to the retailer's policy where the product was purchased or contact AZH customer service directly through their official channels. Please have your purchase details and product model number ready when contacting support.
Ask a question about this manual
Ask about setup, troubleshooting, compatibility, parts, safety, or missing instructions. Manuals+ will review the question and use this page’s manual context to help answer it.