kotlie DU4LB-KS
KotLie Automatic Pet Feeder User Manual
Model: DU4LB-KS
Introduction
Thank you for choosing the KotLie Automatic Pet Feeder. This device is designed to provide a convenient and reliable way to feed your cat or small to medium-sized dog, ensuring they receive their meals on time and in appropriate portions. With its 4-liter capacity, flexible programming, voice recording feature, and dual power supply options, this feeder offers peace of mind for pet owners.

Image: The KotLie Automatic Pet Feeder, showcasing its 4L capacity and suitability for both dogs and cats, emphasizing its role in timely feeding.
Safety Instructions
- Always use the original 5V/1A power adapter provided with the feeder.
- Ensure the feeder is placed on a stable, level surface to prevent tipping.
- This feeder is designed for dry pet food only. Do not use wet food, canned food, or treats larger than 10mm (0.4 inches) in diameter.
- Keep the feeder away from direct sunlight and high humidity.
- Do not immerse the main unit in water or any other liquid.
- Keep out of reach of children and pets when not in use or during cleaning.
- If using battery power, change batteries every 6 months or when the low battery indicator appears, even if not in continuous use.
- Do not attempt to disassemble or repair the feeder yourself. Contact customer support for assistance.
Package Contents
Please check the package contents upon opening to ensure all items are present and undamaged:
- 1 x KotLie Automatic Pet Feeder (4L capacity)
- 1 x 5V Power Adapter with Cord
- 1 x Desiccant Bag
- 1 x User Guide (this manual)
Product Overview
Familiarize yourself with the components of your new automatic pet feeder.
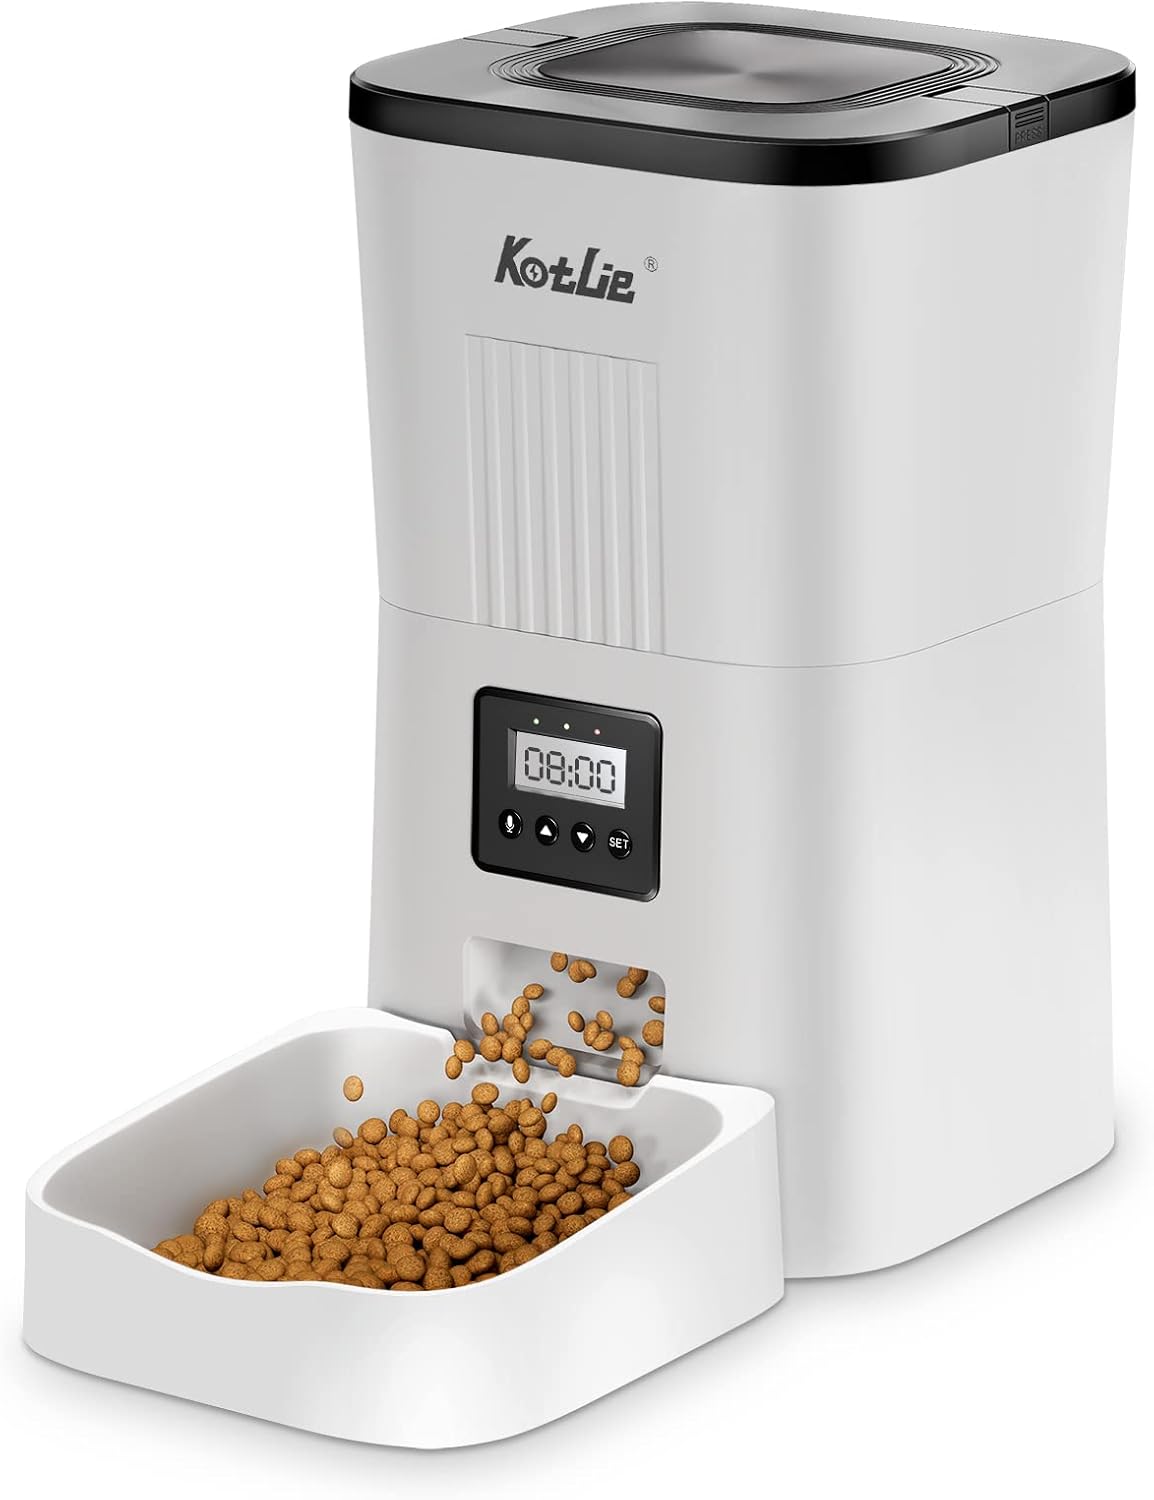
Image: Front view of the KotLie Automatic Pet Feeder, highlighting the main components such as the food hopper, control panel, and detachable food bowl.
- Food Hopper Lid: Secures the food and keeps it fresh.
- Food Hopper: 4L capacity for dry pet food.
- Control Panel: Features an LCD screen and buttons for programming.
- Food Outlet: Where food dispenses into the bowl.
- Food Bowl: Detachable for easy cleaning.
- Speaker/Microphone: For voice recording and playback.
- Battery Compartment: Located at the bottom, for D-cell batteries (not included).
- Power Port: For connecting the 5V DC power adapter.
Setup
- Unpack and Assemble:
Remove all components from the packaging. Ensure the food bowl is securely attached to the main unit.
- Insert Desiccant Bag:
Open the food hopper lid. Locate the desiccant bag holder inside the lid. Insert the provided desiccant bag to help keep the food fresh and dry. Replace the desiccant bag every 2-4 weeks for optimal freshness.
- Power Supply:
The feeder supports dual power supply options:
- AC Adapter (Recommended): Connect the 5V power adapter to the power port on the back of the feeder and plug it into a wall outlet.
- Battery Backup: For power outages or portability, install 3 x D-cell alkaline batteries (not included) into the battery compartment at the bottom of the feeder. Ensure correct polarity. The feeder will automatically switch to battery power if AC power is lost.

Image: Illustration of the dual power supply feature, showing the battery compartment for D-cell batteries at the bottom of the feeder.
- Fill with Food:
Open the food hopper lid and pour dry pet food into the hopper. Ensure the kibble size is between 2-10mm (0.07-0.4 inches) in diameter to prevent jamming. Close the lid securely.
Operating Instructions
Control Panel Overview
The control panel features an LCD screen and several buttons:
- SET Button: Enters programming mode and confirms settings.
- ▲ (Up) Button: Increases values or navigates up.
- ▼ (Down) Button: Decreases values or navigates down.
- REC Button: For voice recording.
- PLAY Button: Plays back recorded voice.
- MANUAL Button: Dispenses one portion manually.
Locking and Unlocking the Feeder
To prevent accidental changes by pets, the feeder has a locking mechanism.
- To Unlock: Long press the ▼ (Down) button for over 6 seconds. The screen will indicate it's unlocked.
- To Lock: The feeder will automatically lock after a period of inactivity, or you can long press the ▼ (Down) button again to manually lock it.
Setting Current Time
- Ensure the feeder is unlocked.
- Press the SET button once. The hour digit will flash.
- Use the ▲ and ▼ buttons to adjust the hour.
- Press SET again to move to the minute digit. Adjust with ▲ and ▼.
- Press SET to save the time.
Programming Feeding Schedule
The feeder allows for 1 to 4 meals per day, with up to 9 portions per meal.

Image: Visual representation of the feeder's customizable feeding plan, highlighting options for meal frequency and portion sizes.
- Ensure the feeder is unlocked.
- Press the SET button repeatedly until "Meal 1" (or P1) appears on the screen.
- Set Meal 1 Time:
- The hour digit for Meal 1 will flash. Use ▲ and ▼ to set the desired hour.
- Press SET to move to the minute digit. Adjust with ▲ and ▼.
- Set Meal 1 Portions:
- After setting the time, the portion number will flash. Use ▲ and ▼ to select the number of portions (1-9). Each portion is approximately 10g (0.35 oz) of dry food.
- Press SET to confirm Meal 1 settings and move to Meal 2 (P2).
- Repeat steps for Meal 2, Meal 3, and Meal 4 if desired. If you do not wish to set a meal, simply press SET to skip it.
- After setting all desired meals, press SET until the current time is displayed again, indicating settings are saved.
Voice Recording
You can record a 10-second voice message that will play before each scheduled meal to call your pet.

Image: A visual demonstrating the voice recording feature, where a recorded message plays to alert the pet that it's feeding time.
- Ensure the feeder is unlocked.
- Press and hold the REC button. The recording indicator will appear on the screen.
- Speak clearly into the microphone for up to 10 seconds.
- Release the REC button to save the recording.
- To play back your recording, press the PLAY button.
- To delete the recording, press and hold the REC button until the recording indicator disappears.
Manual Feeding
To dispense one portion of food immediately:
- Ensure the feeder is unlocked.
- Press the MANUAL button once. One portion of food will be dispensed.
- You can press it multiple times for additional portions.
Maintenance
Regular cleaning ensures the longevity and hygienic operation of your feeder.
- Disconnect Power: Always unplug the power adapter and remove batteries before cleaning.
- Remove Food: Empty any remaining food from the hopper and food bowl.
- Clean Food Bowl and Tray: The food bowl and tray are removable. Wash them with mild soap and water. Rinse thoroughly and dry completely before reattaching.
- Clean Food Hopper: Wipe the inside of the food hopper with a clean, damp cloth. Do not use abrasive cleaners. Ensure it is completely dry before refilling with food.
- Clean Main Unit: Wipe the exterior of the main unit with a soft, dry cloth. Do not get water into the control panel or battery compartment.
- Replace Desiccant Bag: For optimal food freshness, replace the desiccant bag every 2-4 weeks.
Troubleshooting
| Problem | Possible Cause | Solution |
|---|---|---|
| Feeder not turning on. | No power, loose connection, dead batteries. | Check power adapter connection. Ensure batteries are inserted correctly and are not depleted. |
| Food not dispensing. | Hopper empty, food jammed, incorrect kibble size, feeder locked. | Refill hopper. Check for food blockage in the outlet. Ensure kibble size is 2-10mm. Unlock the feeder (long press ▼). |
| Voice recording not playing. | No recording saved, low volume. | Re-record the message. Ensure volume is not set to minimum (if adjustable, though not specified). |
| Feeder dispenses too much/too little food. | Incorrect portion setting. | Review and adjust the portion settings for each meal in the programming mode. |
| Feeder not dispensing at scheduled times. | Incorrect time setting, incorrect meal schedule, feeder locked. | Verify current time and meal schedule settings. Ensure the feeder is unlocked. |
Specifications
| Brand | KotLie |
| Model Number | DU4LB-KS |
| Capacity | 4 Liters (approx. 3.31 lbs dry food) |
| Material | Acrylonitrile Butadiene Styrene (ABS) |
| Product Dimensions | 18.01 x 18.01 x 31.5 cm (7.09 x 7.09 x 12.4 inches) |
| Weight | 1.4 kg (3.09 lbs) |
| Power Supply | 5V DC Adapter (included), 3 x D-cell Batteries (not included) |
| Kibble Size Compatibility | 2-10mm (0.07-0.4 inches) in diameter |
| Target Species | Cat, Small to Medium Dog |
| Special Feature | Timer, Voice Recorder |

Image: Dimensional drawing of the KotLie Automatic Pet Feeder, providing precise measurements for planning placement.
Warranty and Support
KotLie products are designed for reliability and performance. For any questions, concerns, or technical support regarding your automatic pet feeder, please do not hesitate to contact our customer service team. Refer to the contact information provided on the product packaging or the official KotLie website for the most up-to-date support details.
Please retain your proof of purchase for warranty claims.
Ask a question about this manual
Ask about setup, troubleshooting, compatibility, parts, safety, or missing instructions. Manuals+ will review the question and use this page’s manual context to help answer it.