1. Important Safety Instructions
Read all safety warnings, instructions, illustrations, and specifications provided with this power tool. Failure to follow all instructions listed below may result in electric shock, fire, and/or serious injury.
General Power Tool Safety Warnings
- Work Area Safety: Keep work area clean and well lit. Cluttered or dark areas invite accidents. Do not operate power tools in explosive atmospheres, such as in the presence of flammable liquids, gases, or dust. Power tools create sparks which may ignite the dust or fumes.
- Electrical Safety: Power tool plugs must match the outlet. Never modify the plug in any way. Do not use any adapter plugs with earthed (grounded) power tools. Unmodified plugs and matching outlets will reduce risk of electric shock.
- Personal Safety: Stay alert, watch what you are doing, and use common sense when operating a power tool. Do not use a power tool while you are tired or under the influence of drugs, alcohol, or medication. A moment of inattention while operating power tools may result in serious personal injury.
- Tool Use and Care: Do not force the power tool. Use the correct power tool for your application. The correct power tool will do the job better and safer at the rate for which it was designed.
- Battery Tool Use and Care: Recharge only with the charger specified by the manufacturer. A charger that is suitable for one type of battery pack may create a risk of fire when used with another battery pack.
Rotary Hammer Specific Safety Warnings
- Wear ear protectors. Exposure to noise can cause hearing loss.
- Use auxiliary handles supplied with the tool. Loss of control can result in personal injury.
- Hold power tool by insulated gripping surfaces, when performing an operation where the cutting accessory may contact hidden wiring or its own cord. Contact with a "live" wire will also make exposed metal parts of the power tool "live" and could give the operator an electric shock.
- Always wear safety glasses or eye protection.
2. Product Overview and Components
The STANLEY FATMAX SBH900M2K-B1 is a 20V cordless brushless rotary hammer designed for efficient drilling and chiseling in various materials.
Package Contents:
- 1 x Cordless Rotary Hammer
- 2 x 4.0Ah Li-ion Batteries
- 1 x Battery Charger
- 1 x Depth Guide
- 1 x Auxiliary Handle
- 1 x Instruction Manual (this document)

Figure 2.1: Complete STANLEY FATMAX SBH900M2K-B1 Rotary Hammer kit including the tool, batteries, and carrying case.

Figure 2.2: The rotary hammer with its adjustable side handle and depth guide attached.
3. Setup
3.1 Charging the Battery
- Connect the charger to a standard power outlet.
- Slide the battery pack onto the charger until it clicks into place.
- Allow the battery to charge fully. The charger indicator light will show the charging status.
- Once charged, remove the battery from the charger.
3.2 Installing the Battery

Figure 3.1: A user installing the 20V 4.0Ah Li-ion battery into the base of the rotary hammer.
- Align the battery pack with the receptacle at the base of the tool handle.
- Slide the battery pack into the tool until it locks securely into place. Ensure it is fully seated to prevent accidental dislodgement during operation.
- To remove the battery, press the release button(s) on the sides of the battery pack and slide it out.
3.3 Attaching the Auxiliary Handle and Depth Guide

Figure 3.2: The rotary hammer featuring its 360-degree adjustable side handle for enhanced control.
- Loosen the auxiliary handle by twisting it counter-clockwise.
- Slide the handle over the front of the tool and position it to your desired angle for optimal control and comfort. The handle is 360° adjustable.
- Insert the depth guide into the hole on the auxiliary handle. Adjust it to the required drilling depth.
- Tighten the auxiliary handle by twisting it clockwise to secure both the handle and the depth guide.
3.4 Installing Drill Bits/Chisels
- Ensure the tool is switched off and the battery is removed before changing accessories.
- Pull back the chuck collar.
- Insert the SDS-Plus drill bit or chisel into the chuck, twisting slightly until it engages.
- Release the chuck collar. Pull on the bit to ensure it is securely locked. A slight amount of play is normal for SDS-Plus systems.
- To remove, pull back the chuck collar and pull the bit out.
4. Operating Instructions
4.1 Mode Selection

Figure 4.1: Close-up of the mode selector dial on the STANLEY FATMAX rotary hammer, showing options for hammer drilling, chiseling, and rotary drilling.
The rotary hammer features three operating modes:
- Rotary Drilling (Drill Mode): For drilling in wood, metal, plastics, and other materials that do not require hammer action.
- Hammer Drilling (Hammer Drill Mode): For drilling in concrete, masonry, and stone. This mode combines rotation with hammer action.
- Chiseling (Chisel Mode): For light chiseling, chipping, and demolition work in concrete and masonry. The rotation is disengaged, allowing only hammer action.
To select a mode, rotate the mode selector dial to the desired icon. Ensure the tool is switched off before changing modes.
4.2 General Operation
- Ensure the correct mode is selected and the appropriate accessory is installed.
- Hold the tool firmly with both hands, using the main handle and the auxiliary handle.
- Position the drill bit or chisel on the workpiece.
- Press the trigger switch to start the tool. The tool features variable speed, allowing you to control the speed by varying the pressure on the trigger.
- Apply steady, even pressure. Do not force the tool. Let the tool do the work.
- Release the trigger switch to stop the tool.

Figure 4.2: A user operating the rotary hammer to drill into a wall, demonstrating proper two-hand grip.

Figure 4.3: A user performing chiseling work with the STANLEY FATMAX rotary hammer, wearing appropriate safety gloves.

Figure 4.4: Another view of the rotary hammer being used for chiseling, highlighting the tool's impact energy for material removal.
5. Maintenance
5.1 Cleaning
- Always disconnect the battery pack before performing any cleaning or maintenance.
- Use a clean, damp cloth to wipe down the exterior of the tool. Do not use harsh chemicals or abrasive cleaners.
- Clear any dust or debris from the ventilation openings to prevent overheating.
- Clean the chuck regularly to ensure smooth bit changes.
5.2 Storage
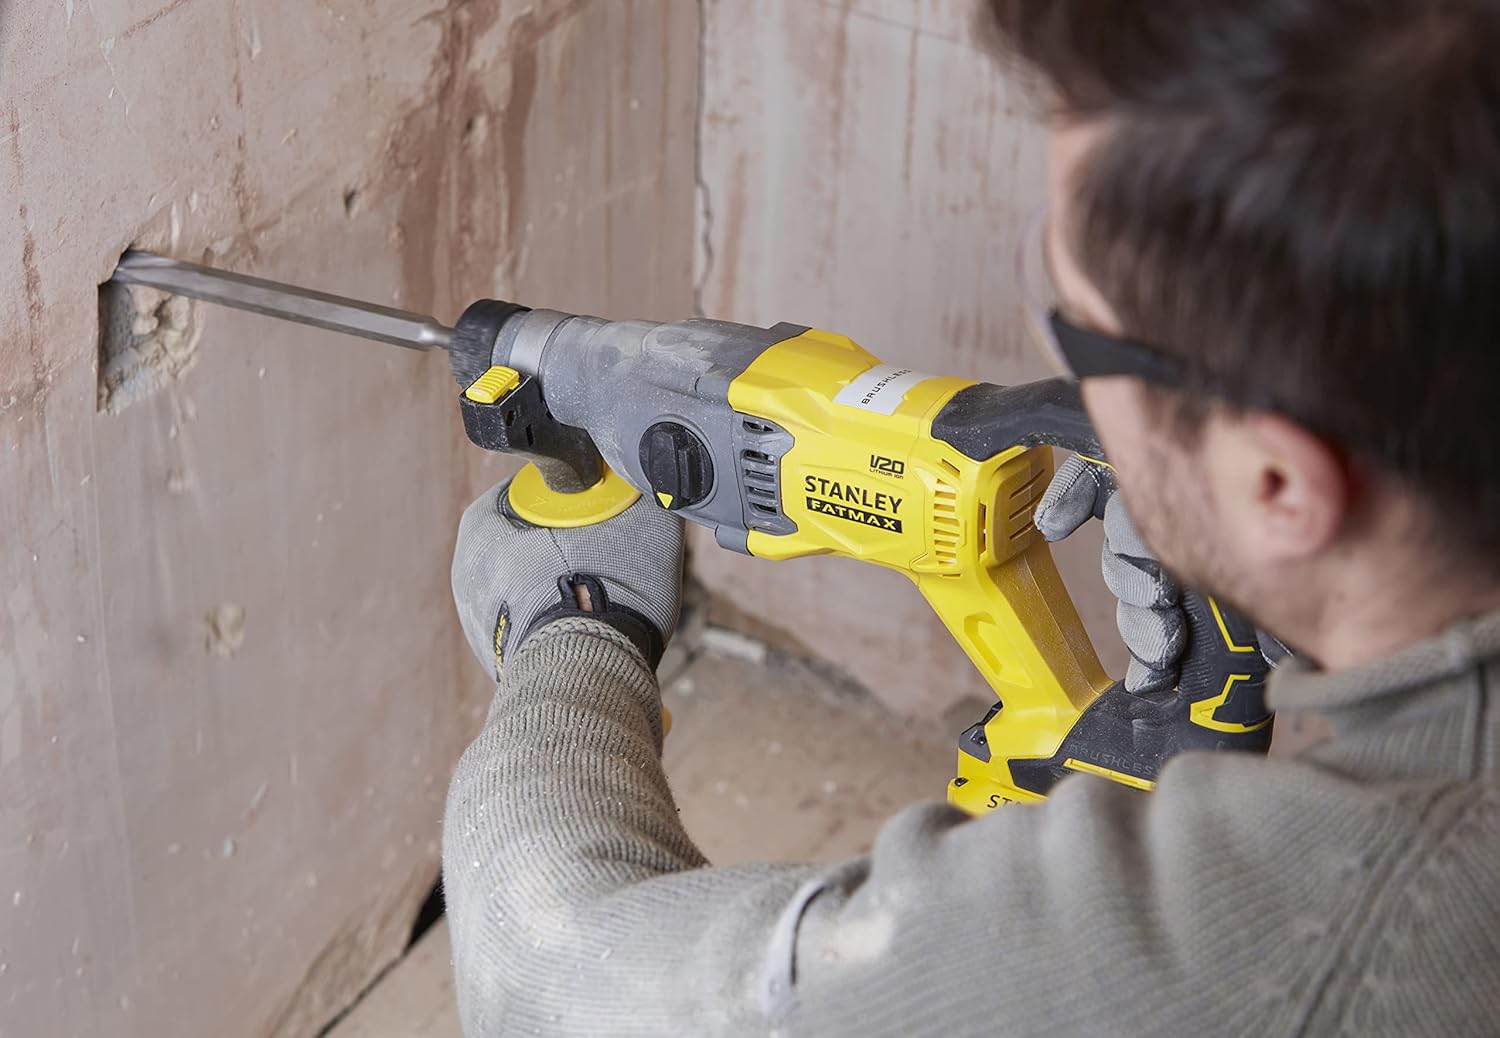
Figure 5.1: The STANLEY FATMAX rotary hammer and its components being placed into the durable carrying case for storage or transport.
- Store the tool, batteries, and charger in a cool, dry place, away from direct sunlight and moisture.
- Ensure batteries are partially charged (around 50%) before long-term storage to prolong their lifespan.
- Store the tool in its original carrying case to protect it from damage.
6. Troubleshooting
If you encounter issues with your STANLEY FATMAX rotary hammer, refer to the following common problems and solutions:
| Problem | Possible Cause | Solution |
|---|---|---|
| Tool does not start. | Battery not charged or improperly installed. | Ensure battery is fully charged and securely inserted. |
| Reduced power or performance. | Battery charge is low. | Recharge the battery. |
| Bit not rotating or hammering effectively. | Incorrect mode selected; bit not properly seated. | Verify mode selection; re-insert bit securely. |
| Tool overheats. | Blocked ventilation slots; continuous heavy use. | Clean ventilation slots. Allow tool to cool down. Avoid prolonged heavy use. |
If the problem persists after attempting these solutions, contact STANLEY customer support.
7. Specifications
| Feature | Specification |
|---|---|
| Model Number | SBH900M2K-B1 |
| Voltage | 20 Volts |
| Battery Capacity | 4.0 Ah (Lithium Ion) |
| Impact Energy | 2.0 Joules |
| No-Load Speed | Up to 5500 RPM (Rotary Hammer Mode) |
| Impact Rate | Up to 5500 BPM (Blows Per Minute) |
| Drill Type | Hammer Drill |
| Motor Type | Brushless |
| Weight (Tool only) | Approximately 1500 Grams (3.31 pounds) |
| Product Dimensions | 15 x 3.31 x 6.61 inches |
| Included Components | 1 Cordless Tool, 2 Batteries, 1 Charger, Instruction Manual |
8. Warranty and Support
8.1 Warranty Information
This STANLEY FATMAX product comes with a 2-year warranty from the date of purchase. This warranty covers defects in materials and workmanship under normal use. Please retain your proof of purchase for warranty claims.
The warranty does not cover:
- Damage caused by misuse, abuse, or accident.
- Damage caused by unauthorized repairs or modifications.
- Normal wear and tear.
8.2 Customer Support
For technical assistance, warranty claims, or to purchase replacement parts, please contact STANLEY customer support. Refer to the official STANLEY website or your purchase documentation for contact details specific to your region.
You can visit the official STANLEY store for more information: STANLEY Store on Amazon