TRQ BKA16441
TRQ Front Brake Pad & Rotor Kit Instruction Manual for 2003-2008 Honda Pilot
Comprehensive guide for installation and maintenance of your TRQ brake kit.
Product Overview
The TRQ Front Brake Pad & Rotor Kit is designed to restore your vehicle's brake system to like-new performance. This kit includes ceramic brake pads and premium G-Coated brake rotors, along with necessary brake chemicals for a complete front brake service.

Image: Complete TRQ Front Brake Pad & Rotor Kit, including brake cleaner and fluid.
Kit Contents
- (1) 13 oz Non-Chlorinated 50 State Formula Brake Cleaner
- (1) 12 oz DOT 3 & 4 Brake Fluid
- (1) Front Ceramic Brake Pad Set
- (2) Front Premium G-Coated Brake Rotors

Image: TRQ Ceramic Pad & Rotor Kit as packaged, showing rotors, pads, and chemicals.
Vehicle Fitment
This kit is compatible with: 2003-2008 Honda Pilot Front Ceramic Premium G-Coated Brake Pad & Rotor Kit.
Important: Always verify fitment for your specific vehicle before beginning any installation. Refer to your vehicle's service manual for additional details.

Image: Reminder to verify fitment before installation.
Product Features
- Positive Molded: Designed for less dust, resulting in cleaner wheels.
- Electrostatic G-Coated Rotors: Provides long-lasting rust protection, ideal for wheels with large openings.
- G3000 Casting Alloy: Reduces noise and improves wear resistance for enhanced durability.
- Application Specific Design: Ensures extended service life and requires no modifications for installation.
- Premium Posi Bonding Type: For brake pads, enhancing performance and service life.
- Vented Front Brake Rotors: Improves heat dissipation for consistent braking performance.

Image: Visual representation of key product benefits including quieter braking and corrosion resistance.
Safety Precautions
Working on vehicle braking systems requires proper tools, safety equipment, and knowledge. If you are unsure about any step, consult a qualified mechanic.
- Always wear appropriate personal protective equipment (PPE), including safety glasses and gloves.
- Ensure the vehicle is securely supported on jack stands on a level surface before beginning work.
- Never rely solely on a jack for vehicle support.
- Brake dust may contain asbestos or other harmful materials. Avoid inhaling dust and use brake cleaner in a well-ventilated area.
- Do not allow brake fluid to come into contact with painted surfaces, as it can damage paint.
Installation Guide
Follow these steps for the installation of your TRQ Front Brake Pad & Rotor Kit. Refer to your vehicle's specific service manual for detailed torque specifications and procedures if needed.
1. Prepare the Vehicle
Park the vehicle on a level surface, engage the parking brake, and loosen the front wheel lug nuts. Raise the vehicle using a jack and secure it with jack stands. Remove the lug nuts and then remove the wheel.

Image: A mechanic using an impact wrench to remove lug nuts from a vehicle wheel.
2. Remove Brake Caliper
Locate the two caliper bolts. Use a 14mm socket to loosen and remove these bolts. You may need pliers to hold the caliper slide pin to prevent it from spinning. Once the bolts are out, carefully remove the brake caliper from the rotor. Do not let the caliper hang by the brake hose; use a caliper hanger or wire to support it from the suspension component (e.g., coil spring or control arm) to avoid damaging the brake hose.

Image: Close-up of a mechanic using a wrench to remove a brake caliper bolt.
3. Remove Old Brake Pads
With the caliper supported, remove the old brake pads from the caliper bracket.

Image: Worn brake pads, ready for replacement.
4. Remove Caliper Bracket
Remove the two bolts securing the caliper bracket to the steering knuckle. These typically require a 17mm socket. Once removed, slide the bracket off.
5. Remove Brake Rotor
Remove any retaining screws (often Phillips head) that secure the rotor to the hub. If the rotor is stuck due to rust, you may need an impact driver or gently tap it with a hammer to free it. Slide the old rotor off the hub.

Image: An old brake rotor still attached to the vehicle's hub assembly.
6. Clean Hub Surface
Clean any rust or debris from the hub surface using a wire brush. This ensures the new rotor sits flush. You can also apply a thin coat of anti-seize compound to the hub surface to prevent future corrosion and make removal easier.
7. Install New Rotor
Place the new TRQ G-Coated brake rotor onto the hub, aligning the holes for the retaining screws (if applicable). Install and lightly snug the retaining screws. Clean both sides of the new rotor with brake parts cleaner and a clean rag to remove any protective coating.

Image: A new TRQ G-Coated brake rotor, ready for installation.
8. Prepare Caliper Bracket
Clean the caliper bracket, especially where the brake pads slide. Remove the old anti-rattle clips (if present) and clean the areas underneath them with a wire brush. Apply a thin coat of brake caliper grease to these contact points. Install the new anti-rattle clips (if provided with your new pads) or re-install the cleaned old ones. Remove, clean, and re-grease the caliper slide pins, ensuring they move freely and the rubber boots are sealed.
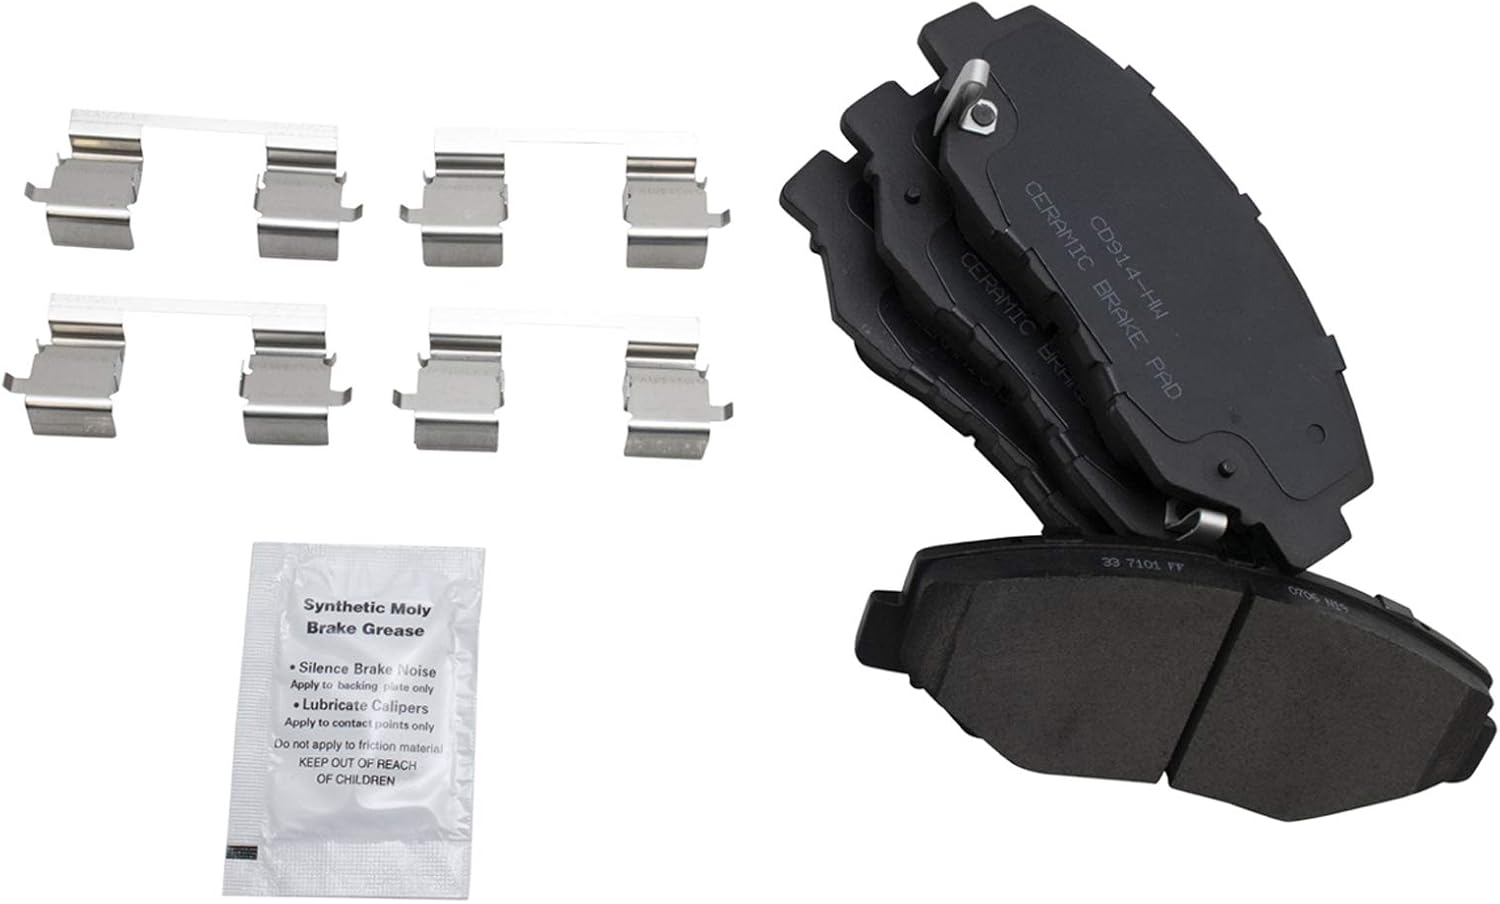
Image: New brake pads with accompanying hardware and a packet of synthetic moly brake grease.
9. Install Caliper Bracket
Slide the cleaned caliper bracket over the new rotor. Install the two caliper bracket bolts and torque them to 80 ft-lbs (or vehicle-specific torque). Ensure they are securely tightened.
10. Install New Brake Pads
Install the new ceramic brake pads into the caliper bracket. The brake pad with the squealer (wear indicator) typically goes on the inside (piston side).
11. Compress Caliper Piston
Before re-installing the caliper, you need to compress the piston back into the caliper body to make room for the new, thicker brake pads. Use a brake caliper compressing tool or a C-clamp with an old brake pad to slowly push the piston back. This will push brake fluid back into the master cylinder reservoir.
12. Re-install Brake Caliper
Carefully slide the brake caliper over the new pads and rotor. Align the caliper with the slide pins and install the two caliper bolts. Torque these bolts to 25 ft-lbs (or vehicle-specific torque), holding the slide pin with pliers to prevent spinning.
13. Re-install Wheel
Place the wheel back onto the hub, aligning the lug studs. Install the lug nuts and hand-tighten them. Lower the vehicle until the wheel just touches the ground, then torque the lug nuts to 80 ft-lbs (or vehicle-specific torque) in a star pattern to ensure even tightening.
Post-Installation Checks
- Pump Brake Pedal: Before driving, pump the brake pedal several times until it feels firm. This will seat the caliper piston against the new brake pads.
- Check Brake Fluid Level: Open the hood and check the brake fluid level in the master cylinder reservoir. Adjust if necessary, ensuring it is between the MIN and MAX lines. Use only DOT 3 or DOT 4 brake fluid as specified for your vehicle.
- Test Drive: Perform a cautious test drive in a safe area. Listen for any unusual noises and check for proper braking function. Avoid hard braking for the first 200 miles to allow the pads and rotors to properly bed-in.
Maintenance Tips
- Regularly inspect brake pads and rotors for wear.
- Check brake fluid level and condition periodically.
- Address any unusual brake noises or performance issues promptly.
- Consider a brake fluid flush every 2-3 years or as recommended by your vehicle manufacturer.
Specifications
| Attribute | Value |
|---|---|
| Brand | TRQ |
| Vehicle Service Type | Car |
| Orientation | Front |
| Assembly Required | No |
| Automotive Fit Type | Vehicle Specific Fit |
| Manufacturer Part Number | BKA16441 |
| Item Weight | 44.9 pounds |
| Product Dimensions | 15 x 15 x 8 inches |
| Country of Origin | China |
| Front Brake Rotor Diameter | 11.81 in. (300mm) |
| Wheel Lug Count | 5 Lug |
| Brake Pad Friction Material | Ceramic |
| Chemical Specifications | Dot 3 & 4 |
| Brake Rotor Coating | Premium G-Coated |
| Brake Pad Bonding Type | Premium Posi |
| Front Brake Rotor Venting Type | Vented |
Troubleshooting
- Squealing/Grinding Noise: Ensure proper bed-in procedure was followed. Check for foreign objects between pad and rotor. Verify all components are correctly installed and torqued.
- Vibration/Pulsation: This could indicate an uneven rotor surface. Ensure hub was thoroughly cleaned before rotor installation.
- Soft Brake Pedal: Re-check brake fluid level. Pump the brake pedal repeatedly to ensure the caliper piston is fully extended against the pads. If the issue persists, there might be air in the brake lines, requiring bleeding.
- Uneven Pad Wear: Check caliper slide pins for proper lubrication and movement. Ensure caliper bracket is clean and free of debris.
Warranty & Support
TRQ products are designed for trusted, reliable quality. For specific warranty information or technical support, please refer to the official TRQ website or contact their customer service directly. Always retain your proof of purchase for warranty claims.
For additional resources and product information, visit the TRQ Store on Amazon.