
1. Safety Information
Please read and understand all safety information before operating this digital multimeter. Failure to follow these instructions may result in electric shock, fire, or damage to the device.
- Always ensure the multimeter is set to the correct function and range before making any measurements.
- Do not exceed the maximum input values specified for each function.
- Use caution when working with voltages above 30V AC RMS, 42V peak, or 60V DC, as they pose a shock hazard.
- Inspect test leads for damage before each use. Do not use if insulation is compromised.
- WARNING: Before opening the case for battery or fuse replacement, always remove the test leads from the object being measured and disconnect from any power source to avoid electric shock.
- This device features F0.5A/600V fuse overload protection. Replace fuses only with specified types and ratings.
2. Product Overview
The ANENG AN101 is a portable digital multimeter designed for measuring AC voltage, AC current, DC voltage, DC current, and resistance. It features an easy-to-read LCD display with 1999 counts and supports both automatic and manual ranging for versatile use in various electrical and electronic applications.
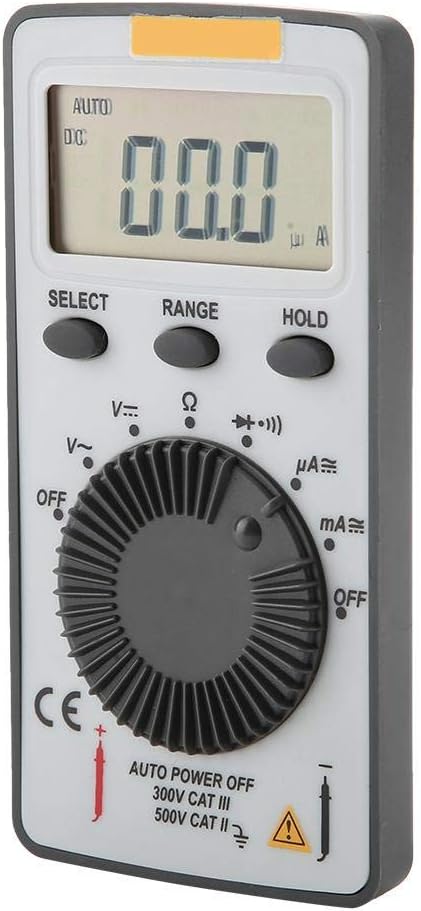
Figure 2.1: Front view of the ANENG AN101 Digital Multimeter. This image displays the device's LCD screen, the central rotary function dial, and the 'SELECT', 'RANGE', and 'HOLD' buttons.
3. Setup
3.1 Battery Installation
- Ensure the multimeter is powered off and disconnect any test leads.
- Locate the battery compartment on the back of the device.
- Use a screwdriver to open the battery compartment cover.
- Insert two 3V CR2032 batteries, observing the correct polarity.
- Replace the battery compartment cover and secure it with the screw.

Figure 3.1: Back view of the ANENG AN101 Digital Multimeter. This image shows the battery compartment cover and a safety warning regarding opening the case.
3.2 Connecting Test Leads
- Insert the red test lead into the 'VΩmA' input jack.
- Insert the black test lead into the 'COM' input jack.
- Ensure the connections are firm before proceeding with measurements.
4. Operating Instructions
4.1 Power On/Off
Rotate the central dial from 'OFF' to any measurement function to power on the device. To power off, rotate the dial back to 'OFF'. The multimeter also features an auto power-off function to conserve battery life.
4.2 Function Selection
Turn the rotary dial to select the desired measurement function (e.g., DC Voltage (V=), AC Voltage (V~), Resistance (Ω), DC Current (μA=, mA=), AC Current (μA~, mA~)).
4.3 Range Selection (Auto/Manual)
The AN101 supports both automatic and manual ranging. In auto-ranging mode, the meter automatically selects the best range for the measurement. Press the 'RANGE' button to switch between auto and manual ranging. In manual mode, press 'RANGE' repeatedly to cycle through available ranges.
4.4 Measuring DC Voltage
- Set the rotary dial to 'V='.
- Connect the red test lead to the positive side of the circuit and the black test lead to the negative side.
- Read the voltage value on the LCD display. The polarity will be indicated automatically.
4.5 Measuring AC Voltage
- Set the rotary dial to 'V~'.
- Connect the test leads across the AC voltage source.
- Read the voltage value on the LCD display.
4.6 Measuring DC Current
- Set the rotary dial to 'μA=' or 'mA=' depending on the expected current.
- WARNING: To measure current, the multimeter must be connected in series with the circuit. Do not connect it in parallel across a voltage source.
- Break the circuit and connect the multimeter in series, ensuring the red lead is towards the higher potential and the black lead towards the lower potential.
- Read the current value on the LCD display.
4.7 Measuring AC Current
- Set the rotary dial to 'μA~' or 'mA~'.
- WARNING: Connect the multimeter in series with the circuit.
- Break the circuit and connect the multimeter in series.
- Read the current value on the LCD display.
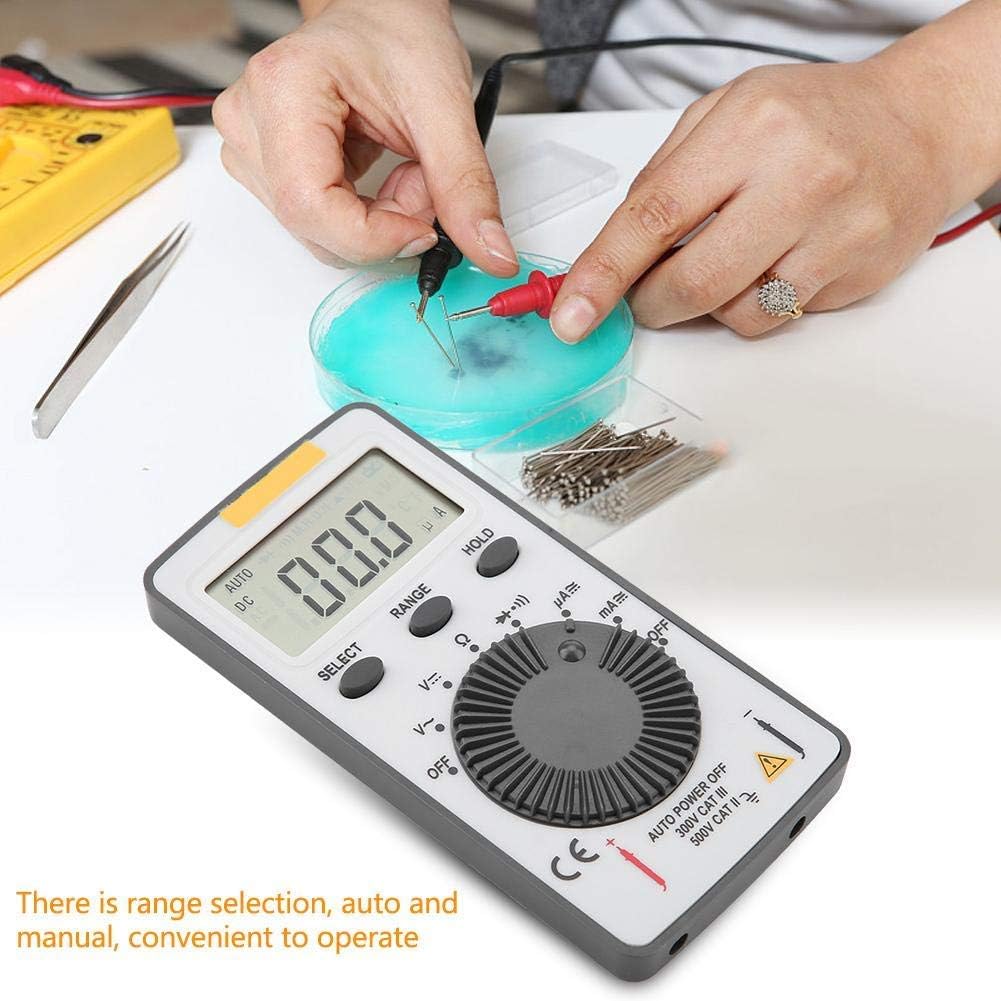
Figure 4.1: The ANENG AN101 Digital Multimeter in use, demonstrating its application for measuring electrical components. The image highlights the ease of operation with auto and manual range selection.
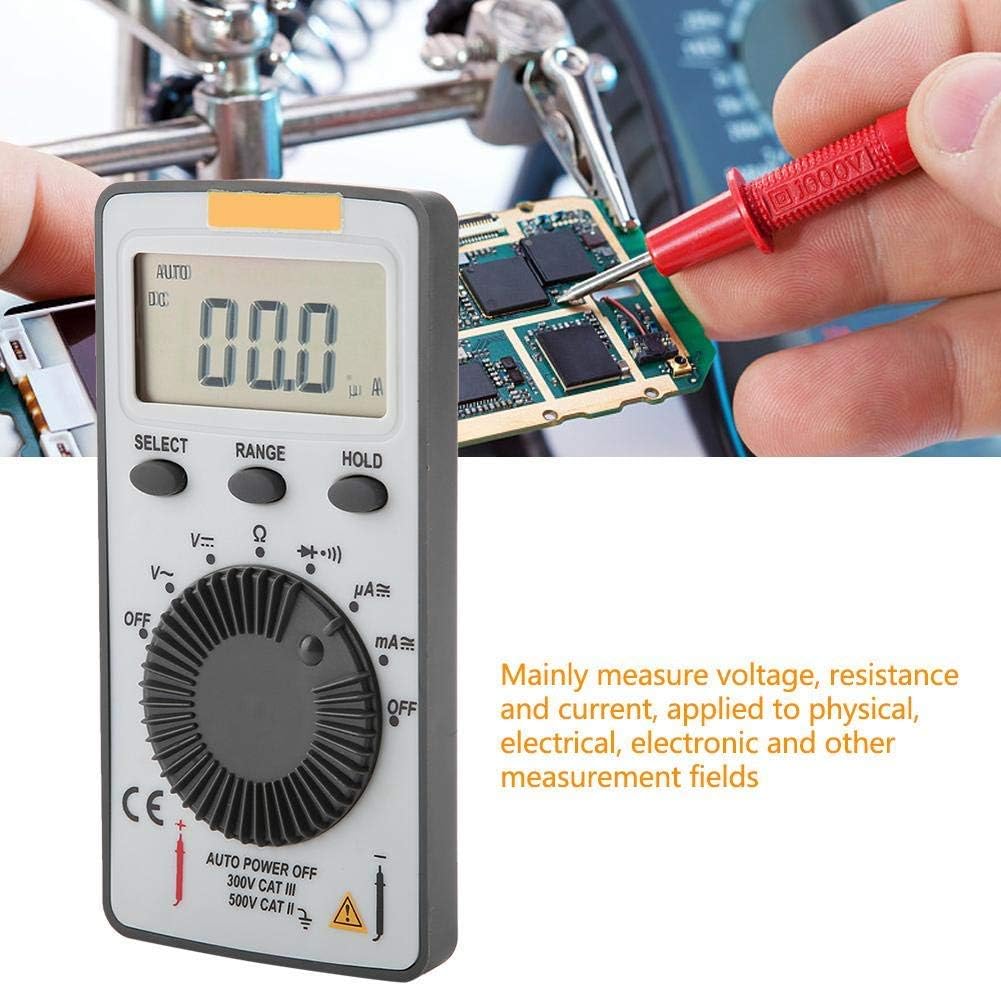
Figure 4.2: The ANENG AN101 Digital Multimeter being used to measure voltage or current on a circuit board. This illustrates its primary function in physical, electrical, and electronic measurement fields.
4.8 Hold Function
Press the 'HOLD' button to freeze the current reading on the display. Press it again to release the hold function and resume live measurements.
5. Maintenance
5.1 Cleaning
Wipe the device with a dry, soft cloth. Do not use abrasive cleaners or solvents. Keep the device free from dust and moisture.
5.2 Battery Replacement
When the battery indicator appears on the display, replace the batteries as described in Section 3.1. Always use two new 3V CR2032 batteries.
5.3 Fuse Replacement
If the current measurement functions stop working, the fuse may need replacement. Refer to the safety warnings in Section 1 before attempting to open the case. Replace the fuse only with a F0.5A/600V type.
6. Troubleshooting
- No display: Check battery installation and ensure batteries are not depleted.
- "OL" displayed: This indicates an over-range condition. Either the measured value exceeds the selected range, or the circuit is open (for resistance/current measurements). Select a higher range or check circuit continuity.
- Incorrect readings: Ensure test leads are properly connected, the correct function and range are selected, and the circuit connections are secure.
- Current measurement not working: Check the fuse as described in Section 5.3.
7. Specifications
| Feature | Specification |
|---|---|
| Brand | ANENG |
| Model | AN101 |
| Display | LCD, 1999 Counts |
| Update Rate | 2 times/second |
| LCD Size | 40 * 20 mm |
| Polarity Indication | Automatic '-' |
| Over-range Indication | 'OL' |
| Range Selection | Auto or Manual |
| Operating Temperature | 0℃ to 40℃, Relative Humidity: <80% RH |
| Storage Temperature | -10℃ to 50℃, Relative Humidity: <85% RH |
| Battery Type | 2 * 3V, CR2032 size (not included) |
| DC Voltage Input Impedance | 10MΩ |
| DC Voltage Overload Protection | 600V DC / AC RMS |
| Max. DC Voltage Input | 600V DC |
| DC Current Overload Protection | F0.5A / 600V Fuse |
| Max. DC Current Input | 500mA |
| AC Current Overload Protection | F0.5A / 600V Fuse |
| Max. AC Current Input | 500mA |
| AC Current Frequency Range | 40Hz - 400Hz |
| AC Voltage Input Impedance | 10MΩ |
| AC Voltage Frequency Range | 40Hz - 400Hz |
| AC Voltage Overload Protection | 600V DC / AC RMS |
| Max. AC Voltage Input | 600V AC RMS |
| Weight | Approx. 102g / 3.6oz |
| Dimensions | Approx. 110 * 55 * 10 mm / 4.3 * 2.2 * 0.4 in |
| Package Contents | 1 * Digital Multimeter, 2 * Test Leads |

Figure 7.1: Dimensions of the ANENG AN101 Digital Multimeter, showing its compact size for portability.
8. Warranty and Support
For warranty information and technical support, please refer to the documentation provided at the time of purchase or contact your retailer. Keep your purchase receipt as proof of purchase.


