1. Product Overview
The AEG KM5-1-4BPT Kitchen Machine is a powerful and versatile appliance designed for various baking and cooking tasks. Featuring a robust 1200W motor and planetary mixing action, it ensures thorough and consistent results for doughs, batters, and whipped ingredients. Its durable full metal housing provides stability and longevity, while the generous 5-liter stainless steel mixing bowl accommodates both small and large preparations.

Image 1.1: The AEG KM5-1-4BPT Kitchen Machine, showcasing its main unit, stainless steel mixing bowl, and the three primary attachments: whisk, flat beater, and dough hook.
Key features include 6 speed settings plus a pulse function for precise control, and a set of dishwasher-safe accessories for easy cleaning. The One Touch Opening mechanism simplifies access to the mixing bowl and attachments.
2. Setup and Assembly
2.1 Unpacking
Carefully remove all components from the packaging. Retain the packaging materials for future storage or transport. Verify that all parts listed in the package contents are present and undamaged.
- 1 x KM5-1-4BPT Kitchen Machine main unit
- 1 x 5L Stainless Steel Mixing Bowl
- 1 x Splash Guard
- 1 x Whisk
- 1 x Flat Beater
- 1 x Dough Hook
2.2 Initial Cleaning
Before first use, wash the mixing bowl, splash guard, whisk, flat beater, and dough hook in warm soapy water, then rinse thoroughly and dry. The main unit can be wiped with a damp cloth.
2.3 Assembling the Kitchen Machine
- Place the main unit on a stable, flat, and dry surface. Ensure adequate ventilation around the appliance.
- To lift the motor head, press the One Touch Opening button located on the side of the unit. The head will automatically lift.
- Place the 5-liter stainless steel mixing bowl into its base, twisting it slightly clockwise until it locks securely into place.
- Select the desired attachment (whisk, flat beater, or dough hook). Align the attachment with the shaft and push upwards, then twist counter-clockwise until it clicks into place.
- Lower the motor head by gently pushing it down until it locks. Ensure it is fully lowered before operation.
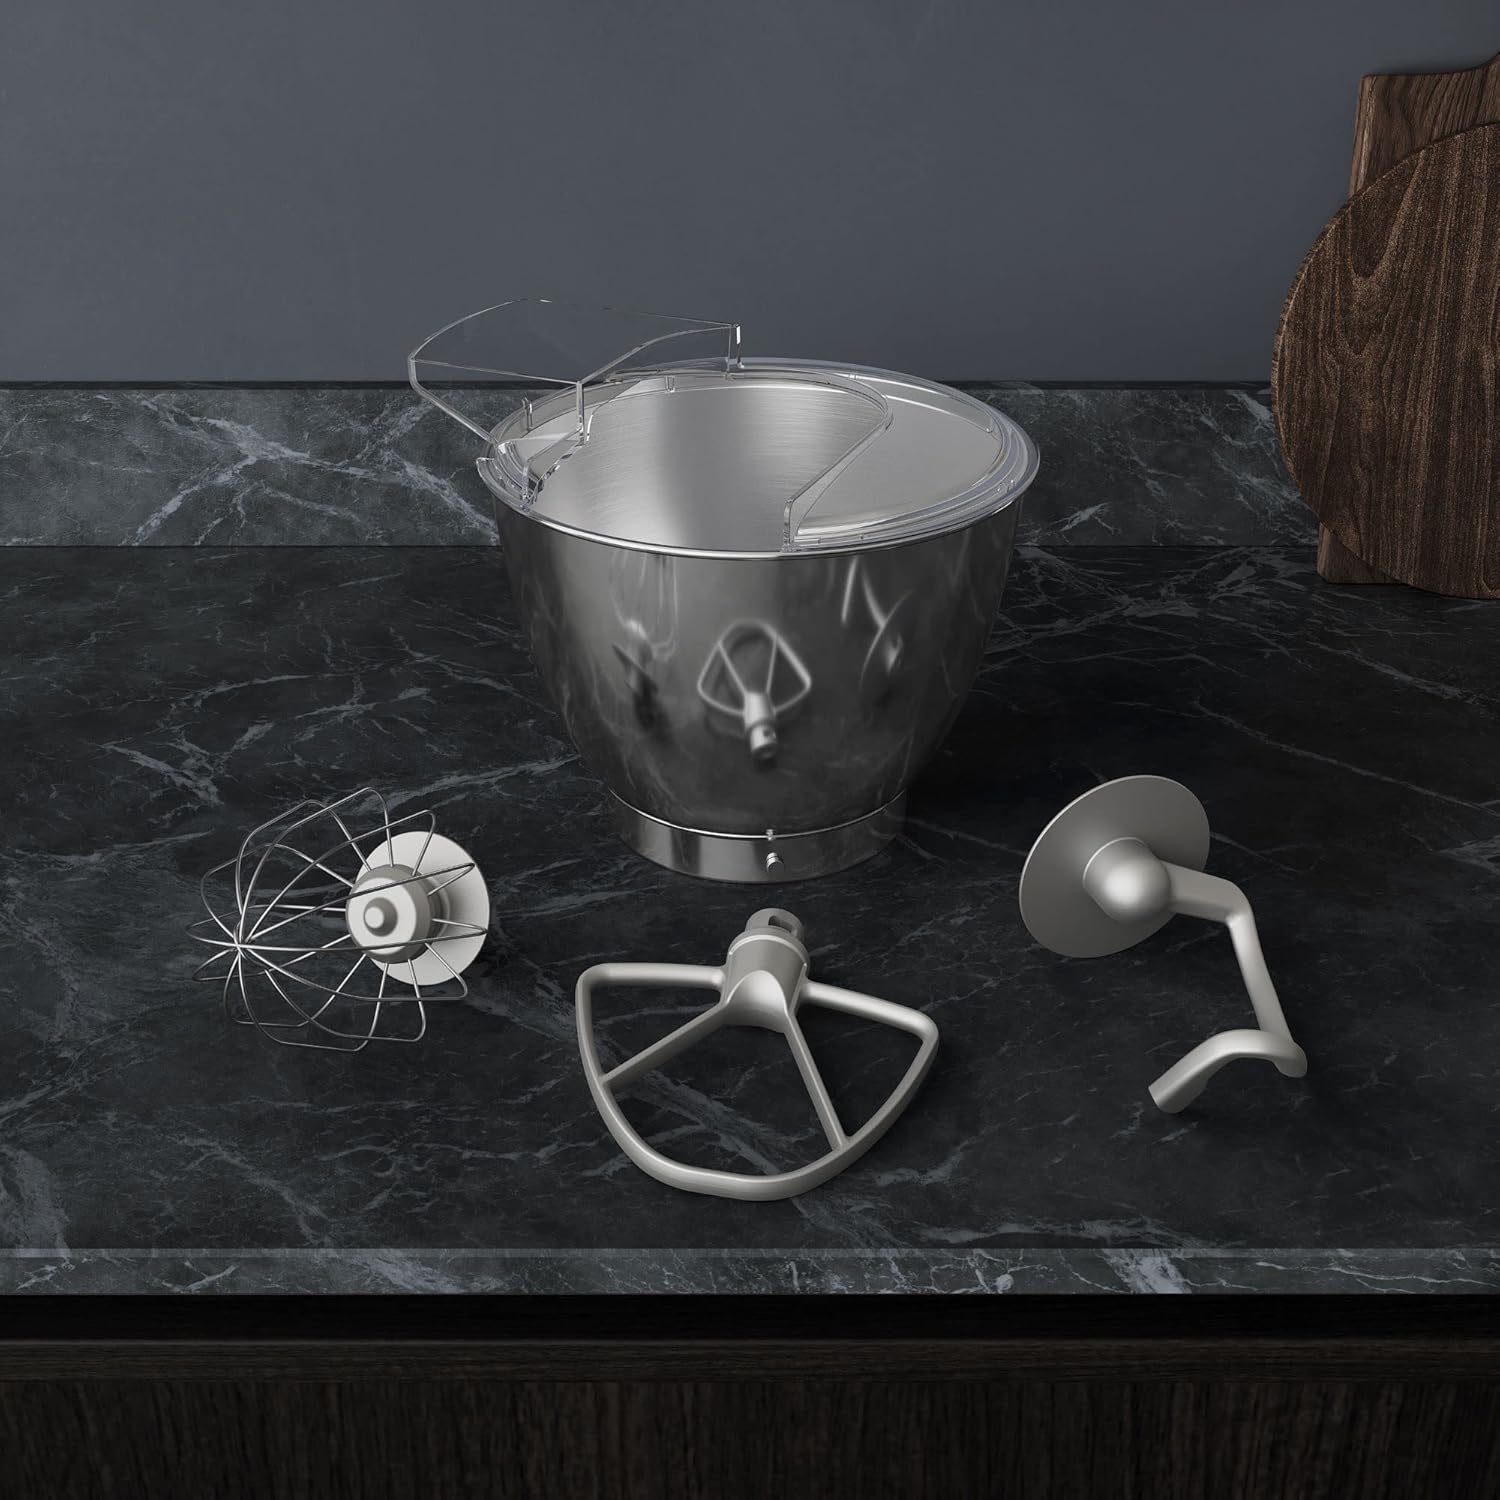
Image 2.1: The 5-liter stainless steel mixing bowl, splash guard, whisk, flat beater, and dough hook, ready for assembly.
3. Operation
3.1 Attaching and Detaching Accessories
To attach an accessory, align its bayonet fitting with the shaft on the motor head, push up, and twist counter-clockwise until it locks. To detach, push up and twist clockwise to release.
3.2 Speed Control and Pulse Function
The kitchen machine features a rotary knob with 6 speed settings and a Pulse function.
- Speeds 1-6: Adjust the knob to select the desired mixing speed. Lower speeds are suitable for gentle mixing and kneading, while higher speeds are ideal for whisking and aerating.
- Pulse Function: Turn the knob to the 'P' (Pulse) setting and hold it. The motor will operate at maximum speed as long as the knob is held in this position. This is useful for short bursts of power or for incorporating ingredients quickly.
3.3 Recommended Usage for Attachments
- Dough Hook: Ideal for kneading heavy doughs such as bread, pizza, or pasta dough. Use lower speeds (1-3) for kneading.
- Flat Beater: Suitable for medium to heavy mixtures such as cake batters, cookie dough, frostings, and mashed potatoes. Use medium speeds (2-4).
- Whisk: Designed for light mixtures that require aeration, such as egg whites, cream, meringues, and light batters. Use higher speeds (4-6).

Image 3.1: The dough hook in action, kneading dough within the stainless steel mixing bowl.
3.4 Safety Precautions During Operation
- Always ensure the motor head is fully lowered and locked before starting the machine.
- Do not insert hands or utensils into the mixing bowl while the machine is operating.
- Always switch off the machine and unplug it before changing attachments or cleaning.
- Do not overload the machine. Refer to recipe guidelines for maximum capacities.
4. Maintenance and Cleaning
4.1 Cleaning the Main Unit
Wipe the exterior of the main unit with a soft, damp cloth. Do not immerse the main unit in water or any other liquid. Avoid abrasive cleaners or scouring pads.
4.2 Cleaning the Mixing Bowl and Attachments
The stainless steel mixing bowl, whisk, flat beater, and dough hook are dishwasher safe. Alternatively, they can be washed by hand in warm soapy water, rinsed, and thoroughly dried.
4.3 Storage
Ensure the kitchen machine and all accessories are clean and dry before storing. Store the appliance in a cool, dry place, away from direct sunlight and moisture. It is recommended to store the attachments within or near the mixing bowl for convenience.
5. Troubleshooting
| Problem | Possible Cause | Solution |
|---|---|---|
| Machine does not start. | Not plugged in; motor head not fully lowered and locked; power outage. | Ensure the power cord is securely plugged into a working outlet. Check that the motor head is fully lowered and locked into position. Verify power supply. |
| Attachments are difficult to install or remove. | Incorrect alignment; food residue. | Ensure the attachment is correctly aligned with the shaft's bayonet fitting. Clean any food residue from the shaft and attachment fitting. |
| Machine vibrates excessively or makes unusual noise. | Uneven surface; overloaded; attachment not properly secured. | Place the machine on a stable, flat surface. Reduce the amount of ingredients if overloaded. Ensure the attachment is securely locked. |
| Motor stops during operation. | Overheating protection activated; overloaded. | Unplug the machine and let it cool down for at least 30 minutes. Reduce the load if you suspect overloading. |
If the problem persists after attempting these solutions, please contact AEG customer support.
6. Technical Specifications
| Feature | Detail |
|---|---|
| Model Number | KM5-1-4BPT |
| Power | 1200 Watts |
| Voltage | 230V |
| Capacity | 5 Liters (Mixing Bowl) |
| Speeds | 6 + Pulse Function |
| Material | Full Metal Housing, Stainless Steel Bowl |
| Color | Matte Black |
| Dimensions (L x W x H) | 38 x 24.5 x 38 cm |
| Weight | 7.3 Kilograms |
7. Warranty and Support
For detailed warranty information and terms, please refer to the warranty card included with your product or visit the official AEG website. Warranty terms may vary by region.
For technical support, spare parts, or service inquiries, please contact AEG customer service. You can find contact information on the official AEG website or through your local retailer.
Visit the official AEG brand store for more products and information: AEG Brand Store


