1. Introduction
This manual provides essential information for the safe and efficient operation of your QUICKO T12-952 Soldering Iron Station. Please read this manual thoroughly before using the device and retain it for future reference.
2. Safety Information
- Always operate the soldering station in a well-ventilated area to avoid inhaling fumes.
- The soldering iron tip reaches high temperatures. Avoid direct contact with skin or flammable materials.
- Ensure the power supply voltage matches the requirements of the soldering station (110-240V).
- Always turn off and unplug the station when not in use or before performing maintenance.
- Use appropriate personal protective equipment, such as safety glasses.
- Keep the workstation clean and free of clutter.
3. Package Contents
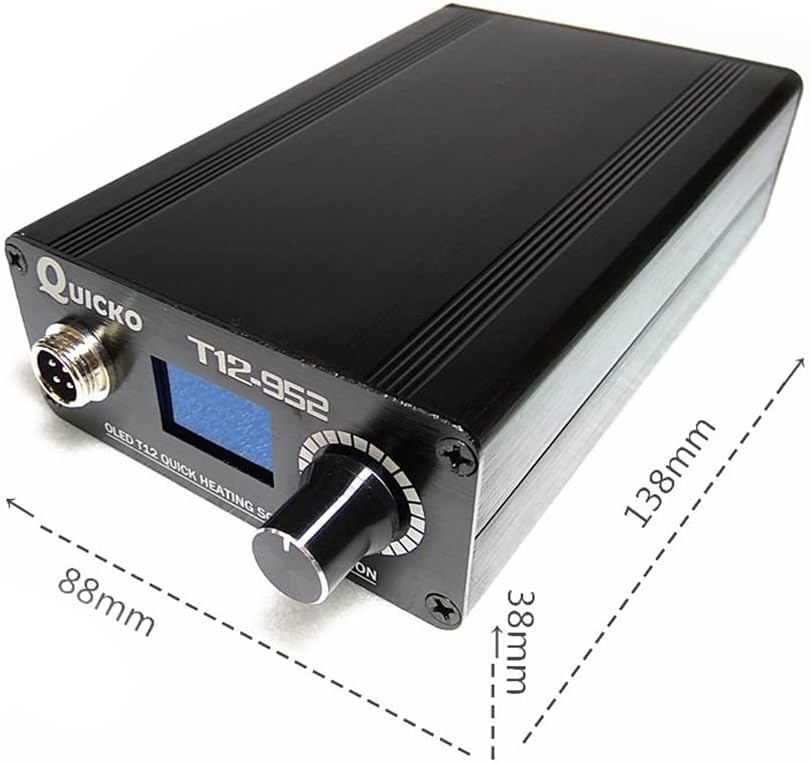
The QUICKO T12-952 Soldering Iron Station (SET1) package typically includes the following components:
- QUICKO T12-952 Soldering Station Unit
- 907 Soldering Handle
- T12-K Soldering Tip
- US Power Plug
- Fuse (included as a component)
4. Product Features
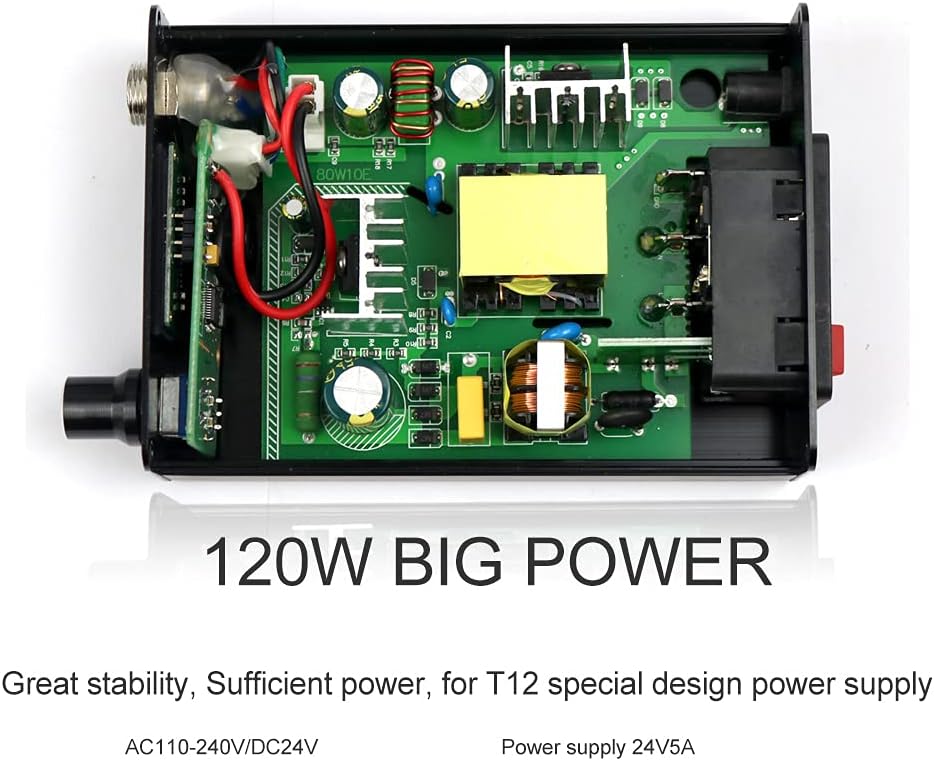
- Input Voltage: 110-240V AC
- Output Power: 72W (Max 120W)
- Output Temperature Range: 200°C - 480°C
- Fast Heating: Heats up to 300°C in approximately 8 seconds.
- Display: OLED display for clear temperature and status indication.
- Functions: Auto-sleep, Boost function, Auto-power off.
- Construction: Durable aluminum alloy station case.

5. Setup
5.1 Connecting Power
Connect the provided power cable to the AC 110-240V Power Interface on the rear of the soldering station. Ensure the power switch is in the OFF position before connecting to a power outlet.

5.2 Connecting the Soldering Handle
Connect the 907 soldering handle cable to the designated connector on the front panel of the soldering station. Ensure the connection is secure by tightening the nut.
5.3 Initial Power-On
After connecting the power and handle, switch the power button to the ON position. The OLED display will illuminate, showing the current temperature and set temperature. The station will begin heating to the default set temperature.
6. Operation
6.1 Temperature Control
The soldering station features an OLED display and an encoder knob for temperature adjustment. Rotate the encoder to increase or decrease the set temperature. The display will show both the set temperature and the current tip temperature.

6.2 Auto-Sleep Function
The station is equipped with an auto-sleep function to conserve energy and prolong tip life. If the soldering iron remains idle for a set period (default 1 minute), the station will enter a dormant state, and the tip temperature will drop to 150°C. Moving the handle or rotating the encoder will quickly reactivate the station to the set temperature.

6.3 Auto-Power Off Function
Similar to auto-sleep, the auto-power off function will turn off the station if it remains idle for an extended period (default 1 minute after entering sleep mode). The temperature will drop to ambient levels. Moving the handle or rotating the encoder will reactivate the station. This feature helps extend the working life of the iron tip.

6.4 Boost Function
The boost function allows for a temporary increase in tip temperature for demanding soldering tasks. Refer to the on-screen menu for activating and configuring the boost duration and degree.

7. Maintenance
7.1 Soldering Tip Care
- Always tin the soldering tip before and after use to prevent oxidation and ensure efficient heat transfer.
- Clean the tip regularly using a damp sponge or brass wool.
- Replace worn or damaged tips promptly to maintain soldering quality.
- When installing a new T12 iron tip, ensure to tighten the nut for the soldering head to prevent it from falling out or damaging the iron tip.
7.2 Station Cleaning
Wipe the exterior of the soldering station with a soft, dry cloth. Do not use abrasive cleaners or solvents. Ensure the station is unplugged before cleaning.
7.3 Fuse Replacement
The station includes a fuse for protection. If the unit fails to power on, check and replace the fuse located near the power input on the rear panel. Ensure to use only a 250V fuse as indicated on the unit.
8. Troubleshooting
- "No Pen" Error: If the display shows "no pen" or similar, ensure the soldering handle is securely connected to the station. Check the connection for any looseness or damage.
- Temperature Jump/ERROR on Initial Use: When a new T12 soldering iron tip is used for the first time, the host may display a temperature jump or an ERROR message. This is a normal phenomenon due to the heating of the inner galvanic couple part of the iron tip. After repeated use several times, the temperature will stabilize.
- Grounding Issues: Some units may require minor modification to ensure proper grounding. If experiencing grounding-related issues, ensure the contact points for the ground wire on the case are free of anodized coating to allow for bare metal contact.
- Tip Not Heating: Verify the power cable is securely connected and the power switch is on. Check the fuse. Ensure the soldering handle is properly connected and the tip is correctly installed and tightened.

9. Specifications
| Specification | Value |
|---|---|
| Brand | QUICKO |
| Model Number | SET1 |
| Input Voltage | 110-240V AC |
| Output Power | 72W (Max 120W) |
| Output Temperature Range | 200°C - 480°C |
| Item Weight | 1.21 pounds |
| Product Dimensions | 5.12 x 3.54 x 1.57 inches |
| Material | Aluminum |
| Cord Length | 1.1 Meters |
| Display Type | OLED |
10. Warranty and Support
For warranty information or technical support, please refer to the product packaging or contact QUICKO customer service through the retailer where the product was purchased. Keep your purchase receipt as proof of purchase.


