1. Introduction
Thank you for choosing the Solo Stove Ranger Grill Top & Hub. This accessory is designed to transform your Solo Stove Ranger fire pit into a versatile outdoor cooking station. The cast iron grill top provides excellent heat retention for searing and grilling, while the stainless steel hub elevates the cooking surface to an optimal height above the flames. Please read this manual thoroughly before assembly and use to ensure safe and efficient operation.
2. Safety Information
- Hot Surfaces: The grill top, hub, and fire pit will become extremely hot during use. Always use heat-resistant gloves when handling components or adding fuel.
- Fire Safety: Always operate your Solo Stove fire pit on a non-combustible surface, away from structures, overhanging branches, and other flammable materials. Keep a fire extinguisher or water source nearby.
- Children and Pets: Keep children and pets away from the fire pit and cooking accessories during operation and until all components have cooled completely.
- Ventilation: Use outdoors only in a well-ventilated area. Do not use in enclosed spaces.
- Fuel: Use only seasoned firewood or charcoal as fuel in your Solo Stove fire pit. Do not use lighter fluid, gasoline, or other accelerants.
- Stability: Ensure the fire pit is on a stable, level surface before placing the hub and grill top.
3. Package Contents
Verify that all components are present before proceeding with assembly.
- 1x Cast Iron Grill Top
- 1x Stainless Steel Hub
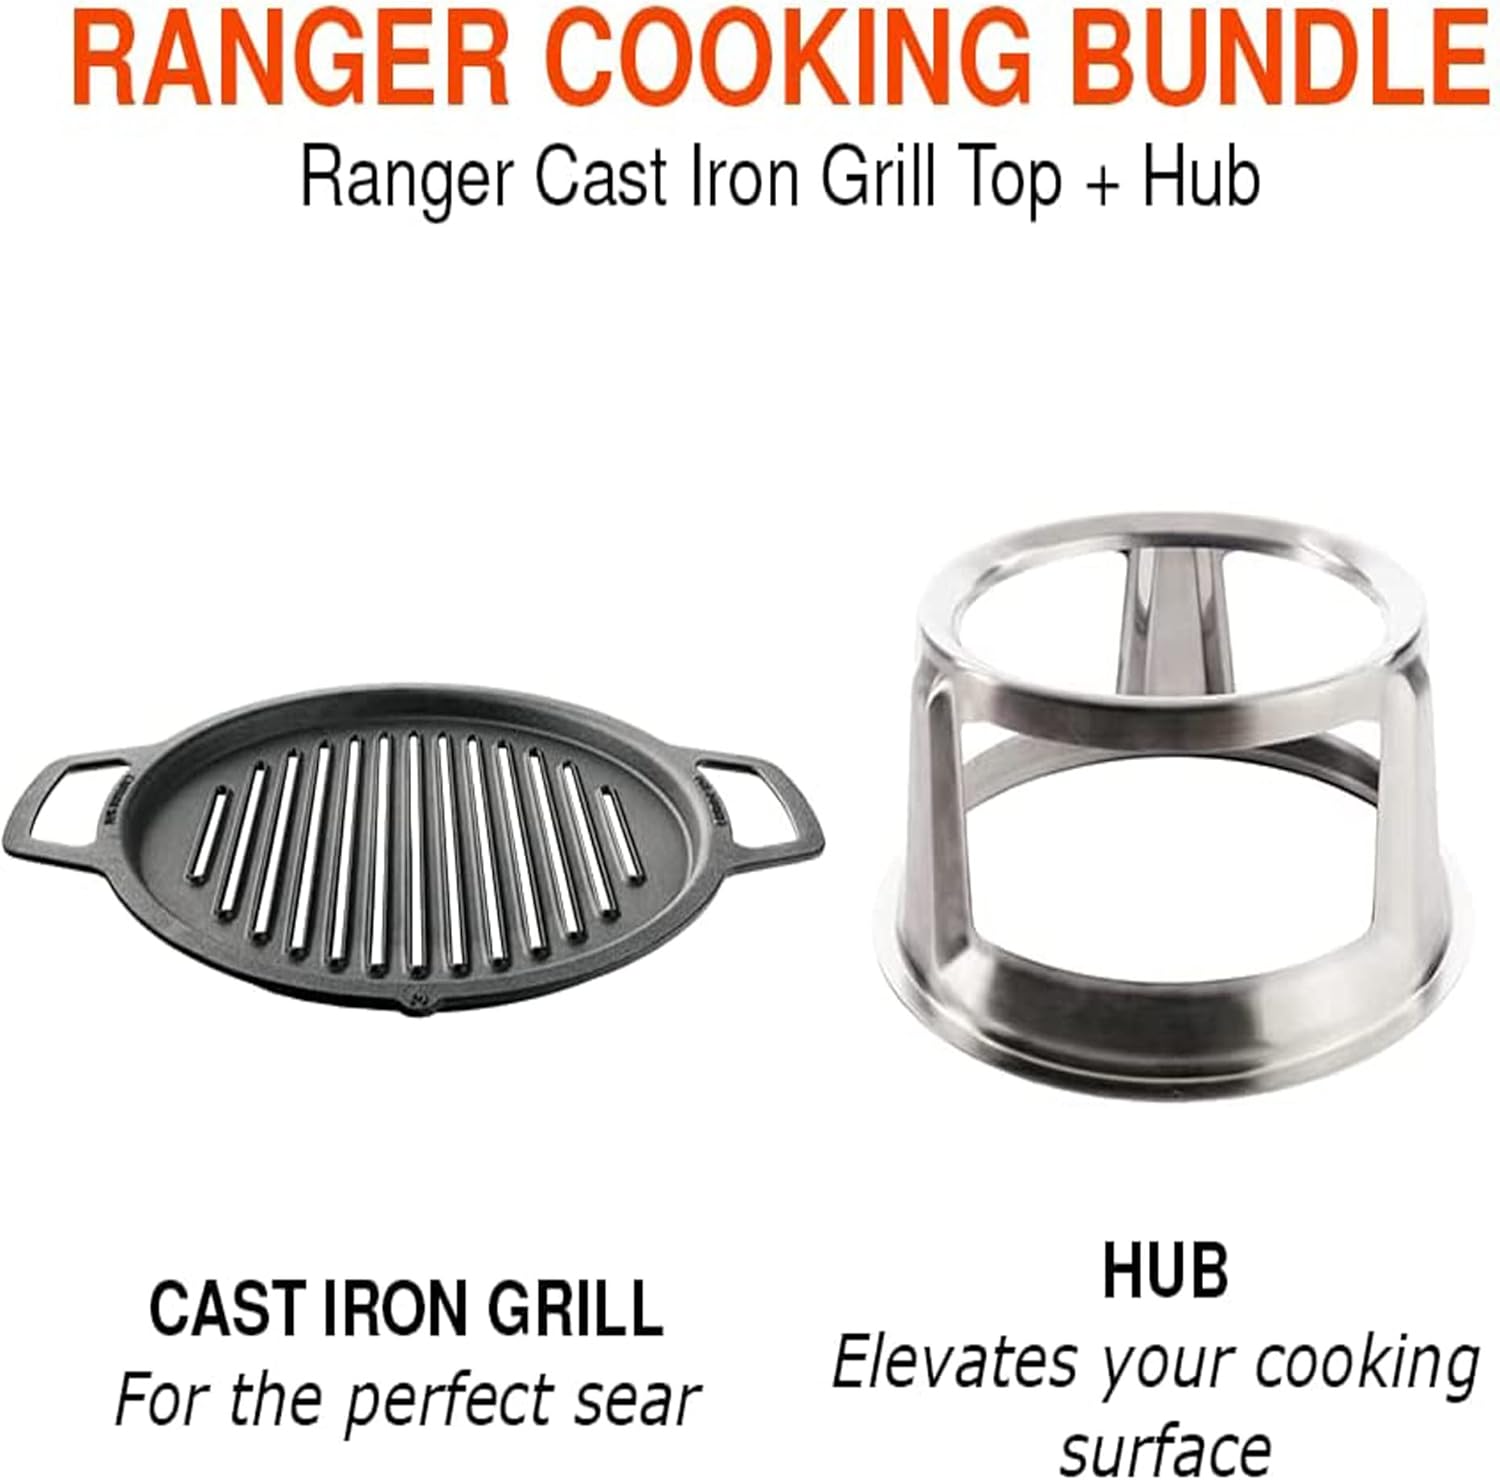
Figure 3.1: Solo Stove Ranger Grill Top and Hub components.
4. Setup and Assembly
The Solo Stove Ranger Grill Top and Hub are designed for easy assembly and use with your Solo Stove Ranger fire pit.
- Ensure your Solo Stove Ranger fire pit is placed on a stable, level, non-combustible surface.
- Start a fire in your Solo Stove Ranger fire pit using seasoned firewood. Allow the fire to burn down to a bed of hot coals with minimal flames for optimal grilling.
- Carefully place the Stainless Steel Hub onto the top rim of your Solo Stove Ranger fire pit. The hub is designed to fit securely.
- Once the hub is in place, carefully set the Cast Iron Grill Top onto the hub. Ensure it is centered and stable.

Figure 4.1: The Stainless Steel Hub.

Figure 4.2: Assembled Grill Top and Hub on a Solo Stove Ranger fire pit.
5. Operating Instructions
Using your Solo Stove Ranger Grill Top & Hub for outdoor cooking.
5.1 Pre-heating the Grill Top
- Allow the cast iron grill top to pre-heat for 10-15 minutes over the hot coals. This ensures even cooking and proper searing.
- You can test the temperature by carefully holding your hand a few inches above the grill. It should be hot enough to quickly withdraw your hand.
5.2 Cooking with the Grill Top
- Once pre-heated, place your food directly onto the cast iron grill top. The design allows for open flame cooking while keeping food elevated from direct flames.
- The cast iron material provides excellent heat distribution for consistent cooking and creates desirable sear marks.
- Monitor your food closely as cooking times may vary based on fuel type, fire intensity, and ambient conditions.
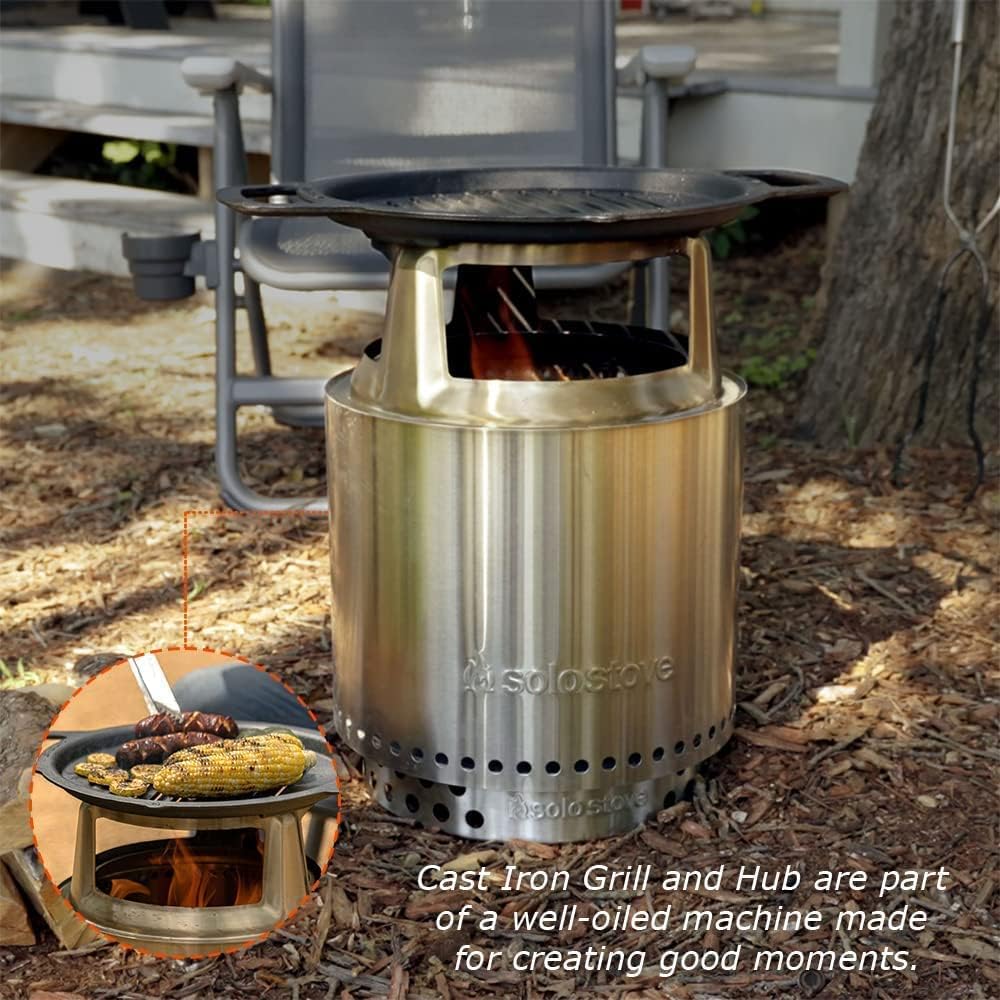
Figure 5.1: Cooking on the Solo Stove Ranger Grill Top.

Figure 5.2: Variety of foods being grilled on the cast iron surface.
5.3 Fuel Management
- The hub design allows for easy access to add more firewood or charcoal to the fire pit without removing the grill top.
- Adjust the amount of fuel to control the heat intensity for different types of cooking.
Video 5.1: Official Solo Stove video demonstrating the cooking bundle in use, showcasing assembly and various cooking applications.
6. Maintenance & Care
Proper care will extend the life of your Solo Stove Ranger Grill Top & Hub.
6.1 Cleaning the Cast Iron Grill Top
- Allow the grill top to cool sufficiently before cleaning, but while it is still warm.
- Scrape off any food residue with a grill brush or scraper.
- For stubborn residue, use hot water and a stiff brush. Avoid using soap, as it can strip the seasoning from the cast iron.
- Thoroughly dry the grill top immediately after cleaning to prevent rust.
- Seasoning: After cleaning and drying, apply a thin layer of cooking oil (e.g., vegetable oil, flaxseed oil) to all surfaces of the cast iron grill top. Wipe off any excess. This maintains the non-stick surface and prevents rust.

Figure 6.1: Cleaning the cast iron grill top.
6.2 Cleaning the Stainless Steel Hub
- Allow the hub to cool completely.
- Wipe down with a damp cloth. For more thorough cleaning, use a mild detergent and water, then rinse and dry completely.
6.3 Storage
- Store the grill top and hub in a dry place to prevent rust and corrosion.
- Consider using a protective cover or carrying case for long-term storage or transport.

Figure 6.2: Carrying case for the grill top (sold separately).
7. Troubleshooting
- Food sticking to grill: Ensure the cast iron grill top is properly seasoned and pre-heated before adding food. Apply a small amount of cooking oil to the grill surface if needed.
- Uneven cooking: Ensure the fire has burned down to an even bed of coals. Rotate food periodically for consistent results.
- Excessive smoke: Use dry, seasoned firewood. Green or wet wood will produce more smoke. Ensure proper airflow in the fire pit.
- Rust on cast iron: This indicates a lack of seasoning or improper drying. Clean the rust off with a steel wool or stiff brush, then re-season the grill top thoroughly.
8. Specifications
| Feature | Detail |
|---|---|
| Model | Ranger Grill Top & Hub |
| Compatibility | Solo Stove Ranger Fire Pit |
| Grill Top Material | Cast Iron |
| Hub Material | Stainless Steel |
| Grill Top Diameter | 14.25 inches |
| Hub Elevation | 6.5 inches |
| Combined Height | 8 inches |
| Item Weight | 15 lbs |
| UPC | 853977008919 |

Figure 8.1: Product dimensions.
9. Warranty and Support
Solo Stove products are designed for durability and performance. For specific warranty details and to register your product, please visit the official Solo Stove website or contact their customer support.
- Official Website: www.solostove.com
- Customer Support: Refer to the Solo Stove website for contact information, including phone numbers and email support.