
1. Introduction
Thank you for choosing the CREATE FRYER AIR PRO 3.5L Air Fryer. This appliance uses advanced hot air technology to cook your favorite foods with little to no oil, offering a healthier alternative to traditional frying. It features a 3.5-liter capacity, a digital LCD screen, and 8 pre-installed programs for convenient cooking. Please read this manual thoroughly before first use to ensure safe and optimal performance.
2. Important Safety Instructions
Always follow basic safety precautions when using electrical appliances to reduce the risk of fire, electric shock, and injury.
- Read all instructions before use.
- Do not immerse the main unit, cord, or plug in water or other liquids.
- Ensure the voltage indicated on the appliance corresponds to your local mains voltage.
- Close supervision is necessary when any appliance is used by or near children.
- Unplug from the outlet when not in use and before cleaning. Allow to cool before putting on or taking off parts.
- Do not operate any appliance with a damaged cord or plug, or after the appliance malfunctions or has been damaged in any manner.
- Do not use attachments not recommended by the appliance manufacturer.
- Do not place the appliance against a wall or against other appliances. Leave at least 10 cm free space on the back and sides and 10 cm free space above the appliance.
- Do not place anything on top of the appliance.
- Do not use the appliance for any purpose other than described in this manual.
- Hot air is released through the air outlet openings during hot air frying. Keep your hands and face at a safe distance from the steam and from the air outlet openings.
- The outer surfaces may become hot during use. Do not touch hot surfaces. Use handles or knobs.
- Always ensure the basket is properly inserted before operating.
3. Product Overview and Components
Familiarize yourself with the main parts of your CREATE FRYER AIR PRO:
- Main Unit with Control Panel
- Digital LCD Display
- Temperature/Time Control Dial
- Air Fryer Basket
- Crisper Plate (removable)
- Handle
- Air Inlet
- Air Outlet Vents

Image: A composite image displaying the CREATE FRYER AIR PRO air fryer unit alongside its separate basket and crisper plate components.
4. Setup and First Use
4.1 Unpacking
Carefully remove all packaging materials, stickers, and labels from the appliance. Keep packaging for future storage or disposal.
4.2 Initial Cleaning
- Wipe the exterior of the appliance with a damp cloth.
- Clean the basket and crisper plate with hot water, dish soap, and a non-abrasive sponge. These parts are dishwasher safe.
- Ensure all parts are completely dry before use.
4.3 Placement
Place the appliance on a stable, horizontal, and heat-resistant surface. Ensure there is adequate air circulation around the unit (at least 10 cm clearance on all sides and top).
4.4 First Use (Burn-in Cycle)
It is recommended to run the air fryer empty for about 10-15 minutes at 180°C before cooking food for the first time. This helps to burn off any manufacturing residues and odors. A slight odor may be present during this process; this is normal.
5. Operating Instructions
5.1 Basic Operation
- Plug the power cord into a grounded wall outlet. The appliance will beep, and the display will illuminate briefly.
- Pull the basket out of the air fryer. Place your ingredients into the basket, ensuring not to overfill (do not exceed the MAX line).
- Slide the basket back into the air fryer until it clicks into place.
- The display will show the default temperature and time. Use the control dial to adjust the temperature (80°C to 200°C) and time (1 to 60 minutes). Press the dial to switch between temperature and time settings.
- Press the Start/Pause button (usually a play/pause icon) to begin cooking.
- During cooking, you can pull out the basket to shake or turn ingredients. The air fryer will automatically pause and resume when the basket is reinserted.
- Once the timer reaches zero, the air fryer will beep, indicating cooking is complete.
- Carefully pull out the basket and empty the cooked food. Use heat-resistant tongs or gloves.

Image: A detailed view of the CREATE FRYER AIR PRO's digital control panel, highlighting the temperature display and various cooking program icons.
5.2 Pre-installed Programs
The FRYER AIR PRO comes with 8 pre-installed programs for common dishes. To use them:
- After placing food in the basket, press the Menu button (often represented by multiple icons or a 'P' symbol) to cycle through the programs.
- Each program has a preset temperature and time. You can adjust these settings manually after selecting a program if desired.
- Press the Start/Pause button to begin the selected program.
The 8 programs include:
- Pommes Frites (Fries)
- Revben (Ribs)
- Fisk (Fish)
- Räkor (Shrimp)
- Kyckling (Chicken)
- Pajer (Pies)
- Kycklingben (Chicken Legs)
- Bröd (Bread)
5.3 Cooking Tips
- For best results, preheat the air fryer for 3-5 minutes before adding food.
- Shake the basket halfway through cooking for even browning, especially for smaller items like fries or nuggets.
- Lightly brush or spray food with oil for extra crispiness, though many foods require no added oil.
- Do not overcrowd the basket. Cook in batches if necessary to ensure proper air circulation and even cooking.
- For foods that typically require baking, the air fryer can often achieve similar results with a crispy exterior.
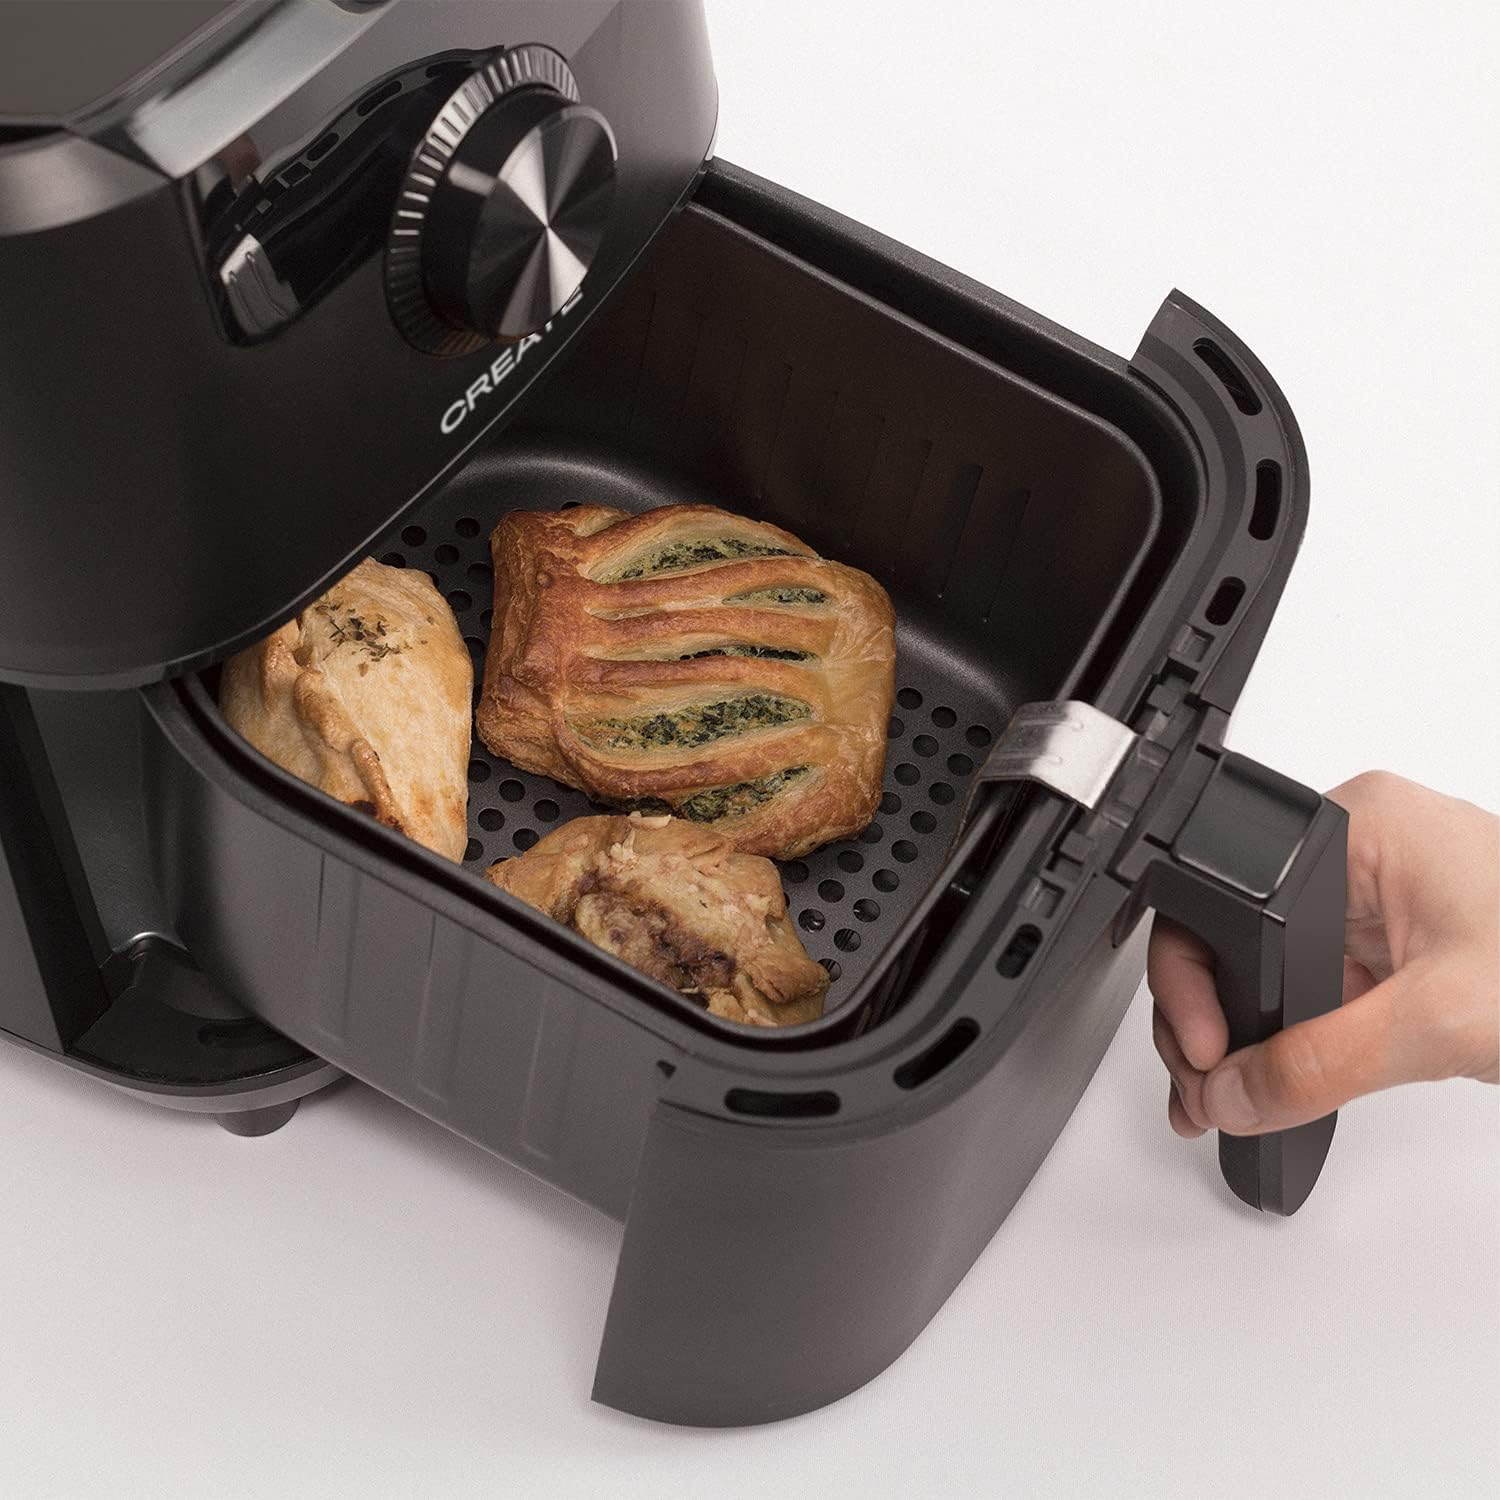
Image: The air fryer basket, pulled out from the main unit, containing cooked pastries and chicken pieces, demonstrating the cooking capacity.
6. Maintenance and Cleaning
Clean the air fryer after every use.
- Unplug the appliance from the wall outlet and allow it to cool down completely before cleaning.
- Wipe the exterior of the main unit with a damp cloth. Do not use abrasive cleaners.
- Remove the basket and crisper plate. Wash them with hot water, dish soap, and a non-abrasive sponge. The non-stick coating makes cleaning easy. These parts are also dishwasher safe.
- For stubborn food residues, soak the basket and crisper plate in hot water with dish soap for about 10 minutes before cleaning.
- Ensure all parts are thoroughly dry before reassembling or storing the appliance.
- Store the air fryer in a cool, dry place.

Image: The air fryer basket, with its crisper plate, fully removed from the main unit, illustrating its readiness for cleaning.
7. Troubleshooting
| Problem | Possible Cause | Solution |
|---|---|---|
| Air fryer does not turn on. | Appliance is not plugged in. | Ensure the power cord is securely plugged into a grounded outlet. |
| Food is not cooked evenly. | Basket is overcrowded. Food not shaken. | Cook in smaller batches. Shake the basket halfway through cooking. |
| White smoke comes from the appliance. | Grease residue from previous use. | Clean the basket and crisper plate thoroughly after each use. |
| Food is not crispy. | Too much moisture in food. Not enough oil (if desired). | Pat food dry before cooking. Lightly spray or brush with oil for extra crispiness. |
8. Specifications
- Model Name: FRYER AIR PRO
- Model Number: 52025_186434
- Brand: CREATE
- Capacity: 3.5 Liters
- Wattage: 1500 Watt
- Voltage: 240V
- Temperature Range: 80°C - 200°C
- Control Method: Touch, Dial
- Special Features: Programmable, Temperature Control, Digital Display
- Material: Plastic
- Color: Black
- Dimensions (D x W x H): 37.8 cm x 26.5 cm x 33.7 cm
- Non-stick Coating: Yes
9. Warranty and Support
For warranty information, please refer to the warranty card included with your product or visit the official CREATE website. If you encounter any issues not covered in this manual, please contact CREATE customer support for assistance.
Website: www.create.com (Example link, please refer to actual manufacturer's website)