1. Introduction
The Nutricook Smart Pot 2 is a versatile 9-in-1 electric pressure cooker designed to simplify your cooking experience. It functions as a pressure cooker, sauté pot, slow cooker, rice cooker, steamer, cake maker, soup maker, yogurt maker, and food warmer. This manual provides essential information for safe and efficient operation of your appliance.

Image: The Nutricook Smart Pot 2 highlighting its nine distinct cooking functions.
2. Safety Instructions
Please read all instructions carefully before using the appliance to prevent injury or damage. Keep this manual for future reference.
- Always ensure the lid is properly sealed before starting any pressure cooking program.
- Do not touch hot surfaces. Use handles or knobs.
- Exercise extreme caution when opening the lid after pressure cooking, as residual steam can cause burns.
- Do not immerse the appliance base, cord, or plug in water or other liquids.
- Unplug from outlet when not in use and before cleaning.
- Do not operate any appliance with a damaged cord or plug, or after the appliance malfunctions or has been damaged in any manner.
- This appliance is for household use only. Do not use outdoors.
- Ensure the pressure release valve is clear of obstructions before and during use.
3. Product Components
Familiarize yourself with the parts of your Nutricook Smart Pot 2.

Image: Overview of the Nutricook Smart Pot 2, showing the control panel, pressure release button, and ergonomic handles.
- Main Unit: Houses the heating element and control panel.
- Inner Cooking Pot: 8-liter capacity, PFOA-free, PFOS-free aluminum non-stick.
- Lid: Smart lid with automatic sealing and one-touch pressure release.
- Pressure Release Button: For safely releasing pressure after cooking.
- Control Panel: Features an LED display and one-touch preset buttons.
- Ergonomic Handles: Designed for safe and easy handling.

Image: Included accessories: aluminum non-stick inner pot, steam rack, measuring cup, rice ladle, soup spoon, and user guide.
4. Setup
- Unpacking: Carefully remove all components from the packaging. Retain packaging for storage or shipping.
- Initial Cleaning: Wash the inner cooking pot, lid, and accessories (steam rack, measuring cup, ladles) with warm, soapy water. Rinse thoroughly and dry completely. The main unit should be wiped with a damp cloth.
- Placement: Place the Smart Pot 2 on a stable, level, heat-resistant surface away from heat sources and flammable materials. Ensure adequate ventilation around the appliance.
- Insert Inner Pot: Place the clean, dry inner cooking pot into the main unit. Ensure it sits correctly and is not tilted.
- Lid Assembly: Align the lid with the main unit and rotate clockwise until it locks into place. Ensure the pressure release valve is in the 'Sealing' position for pressure cooking.
5. Operating Instructions
5.1 Basic Operation
- Add ingredients to the inner cooking pot. Ensure liquid levels are within the MIN and MAX markings.
- Close the lid and ensure it is securely locked. For pressure cooking, turn the pressure release valve to the 'Sealing' position.
- Plug the power cord into a 220V electrical outlet. The LED display will illuminate.
- Select your desired cooking program using the one-touch preset buttons (e.g., Rice, Biryani, Meat, Soup, Steam).
- Adjust cooking time or pressure level if necessary using the '+' and '-' buttons.
- Press 'Start' to begin cooking. The appliance will preheat, then begin the cooking cycle.
- Once cooking is complete, the appliance will beep and may switch to 'Keep Warm' mode automatically.
- Pressure Release: For pressure cooking, allow natural pressure release or use the one-touch pressure release button to vent steam. Caution: Hot steam will be released. Keep hands and face clear.

Image: The Smart Lid automatically seals and features a one-touch pressure release button for safe steam venting.
5.2 Cooking Programs
The Smart Pot 2 features 12 customizable presets for various dishes:
- Pressure Cook: For fast cooking under pressure.
- Sauté: For browning ingredients before cooking.
- Slow Cook: For extended cooking at lower temperatures.
- Rice: Optimized for various types of rice.
- Biryani: Specific program for Biryani dishes.
- Oatmeal: For cooking oatmeal.
- Meat: For cooking various cuts of meat.
- Soup: For preparing soups and broths.
- Steam: For steaming vegetables, fish, and other foods.
- Cake: For baking cakes.
- Yogurt: For making homemade yogurt.
- Keep Warm: Automatically maintains food temperature after cooking.

Image: Examples of dishes prepared using the Smart Pot 2's versatile cooking functions.
6. Maintenance and Cleaning
Regular cleaning ensures optimal performance and longevity of your appliance.
- Unplug: Always unplug the Smart Pot 2 from the power outlet and allow it to cool completely before cleaning.
- Inner Pot: The aluminum non-stick inner cooking pot is dishwasher-safe. Alternatively, wash it with warm, soapy water and a non-abrasive sponge. Rinse and dry thoroughly.
- Lid: Wash the lid, including the sealing ring and pressure release valve components, with warm, soapy water. Ensure all food particles are removed. The sealing ring can be removed for thorough cleaning.
- Main Unit: Wipe the exterior of the main unit with a damp cloth. Do not immerse the main unit in water or any other liquid.
- Accessories: All accessories (steam rack, measuring cup, ladles) are dishwasher-safe or can be hand-washed.
- Storage: Store the clean and dry appliance in a cool, dry place.
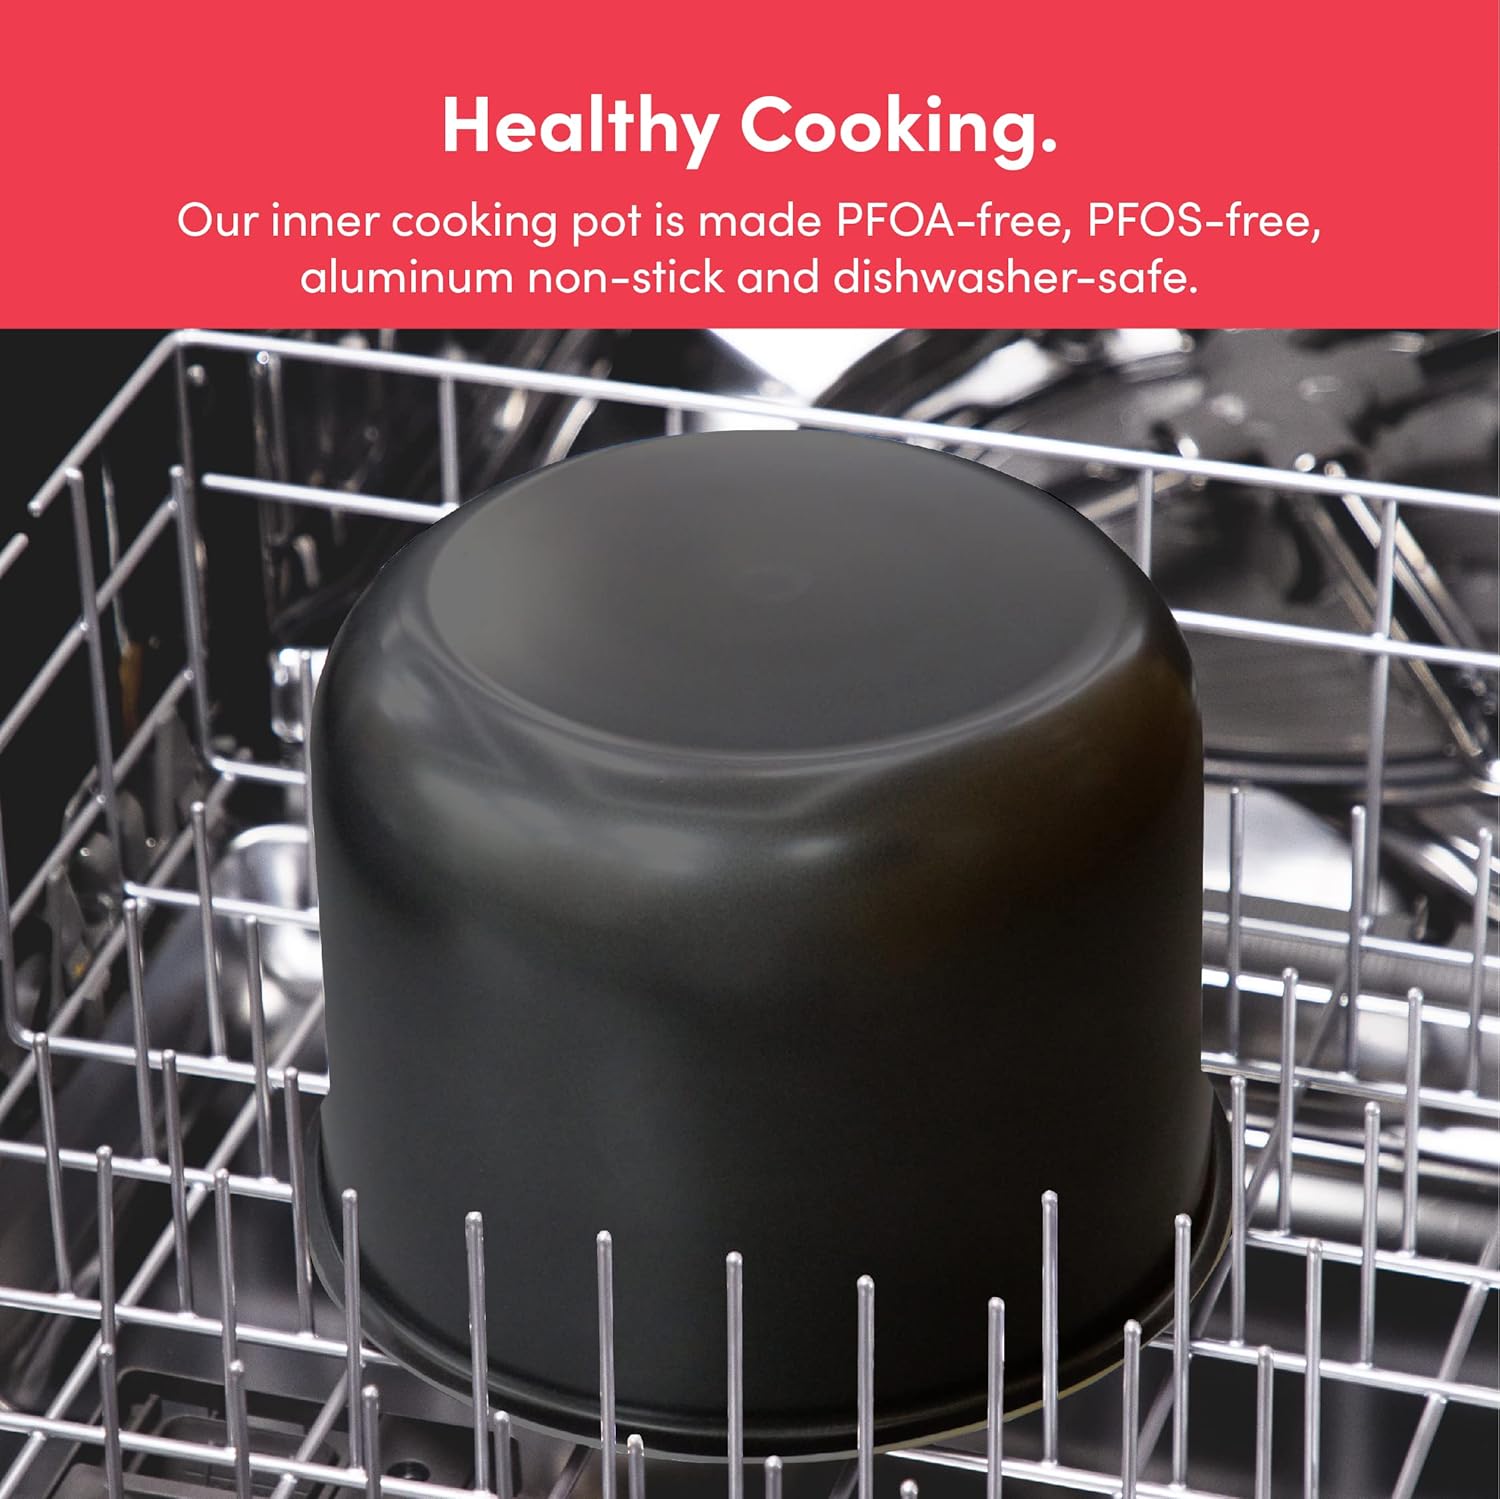
Image: The inner cooking pot is dishwasher-safe for convenient cleaning.
7. Troubleshooting
If you encounter issues with your Smart Pot 2, refer to the following common problems and solutions:
| Problem | Possible Cause | Solution |
|---|---|---|
| Appliance not turning on | Not plugged in; power outlet issue; damaged cord. | Ensure plug is fully inserted; test outlet with another appliance; inspect cord for damage. |
| Lid not sealing properly | Sealing ring not in place; food debris on rim; lid not aligned. | Check sealing ring position; clean lid and pot rim; ensure lid is correctly aligned and rotated to lock. |
| Steam leaking during pressure cooking | Pressure release valve in 'Vent' position; sealing ring damaged or dirty; lid not sealed. | Turn valve to 'Sealing'; clean or replace sealing ring; re-seal lid. |
| Food not cooking evenly | Insufficient liquid; ingredients not properly distributed. | Add recommended amount of liquid; stir ingredients before cooking. |
If the problem persists, please contact customer support.
8. Specifications
Detailed technical specifications for the Nutricook Smart Pot 2 SP208A.

Image: The Nutricook Smart Pot 2, showing its 8-liter capacity and physical dimensions.
- Brand Name: Nutricook
- Model Number: SP208A
- Capacity: 8 Liters
- Material: Aluminum (Inner Pot)
- Color: Silver
- Product Dimensions (Depth x Width x Height): 30 cm x 37 cm x 35 cm
- Special Features: Dishwasher Safe (Inner Pot), Keep Warm Mode
- Power: 1200 Watts
- Item Weight: 7.3 kg
- Control Method: Touch
- Operation Mode: Automatic
- Voltage: 220 Volts
- Controller Type: Push Button
- Closure Type: Outer Lid
- Dishwasher Safe: Yes (Inner Pot and accessories)
- Product Type Name: Electric Pressure Cooker
- Manufacturer: Nutricook
9. Warranty and Support
9.1 Warranty Information
The Nutricook Smart Pot 2 SP208A comes with an International Warranty. Please refer to the warranty card included in your product packaging for specific terms, conditions, and duration. Keep your proof of purchase for warranty claims.
9.2 Customer Support
For any questions, technical assistance, or service requests, please contact Nutricook customer support. Contact details can typically be found on the official Nutricook website or in the warranty documentation provided with your appliance.