1. Product Overview
The SECRUI Wireless Doorbell system provides a convenient and reliable solution for home security and notification. This system features a waterproof mini doorbell transmitter and a receiver with a long operating range, multiple volume levels, and various chime options, including a colorful LED flashing indicator.
Key features include:
- Easy Installation: Pre-paired for immediate use, no wiring required. Simply plug the receiver into a socket.
- Extended Range: Operates up to 1000 feet (300 meters) in open areas, ensuring reliable signal transmission throughout your home.
- Customizable Alerts: Offers 58 distinct chimes and 5 adjustable volume levels, including a mute mode, to suit various preferences and environments.
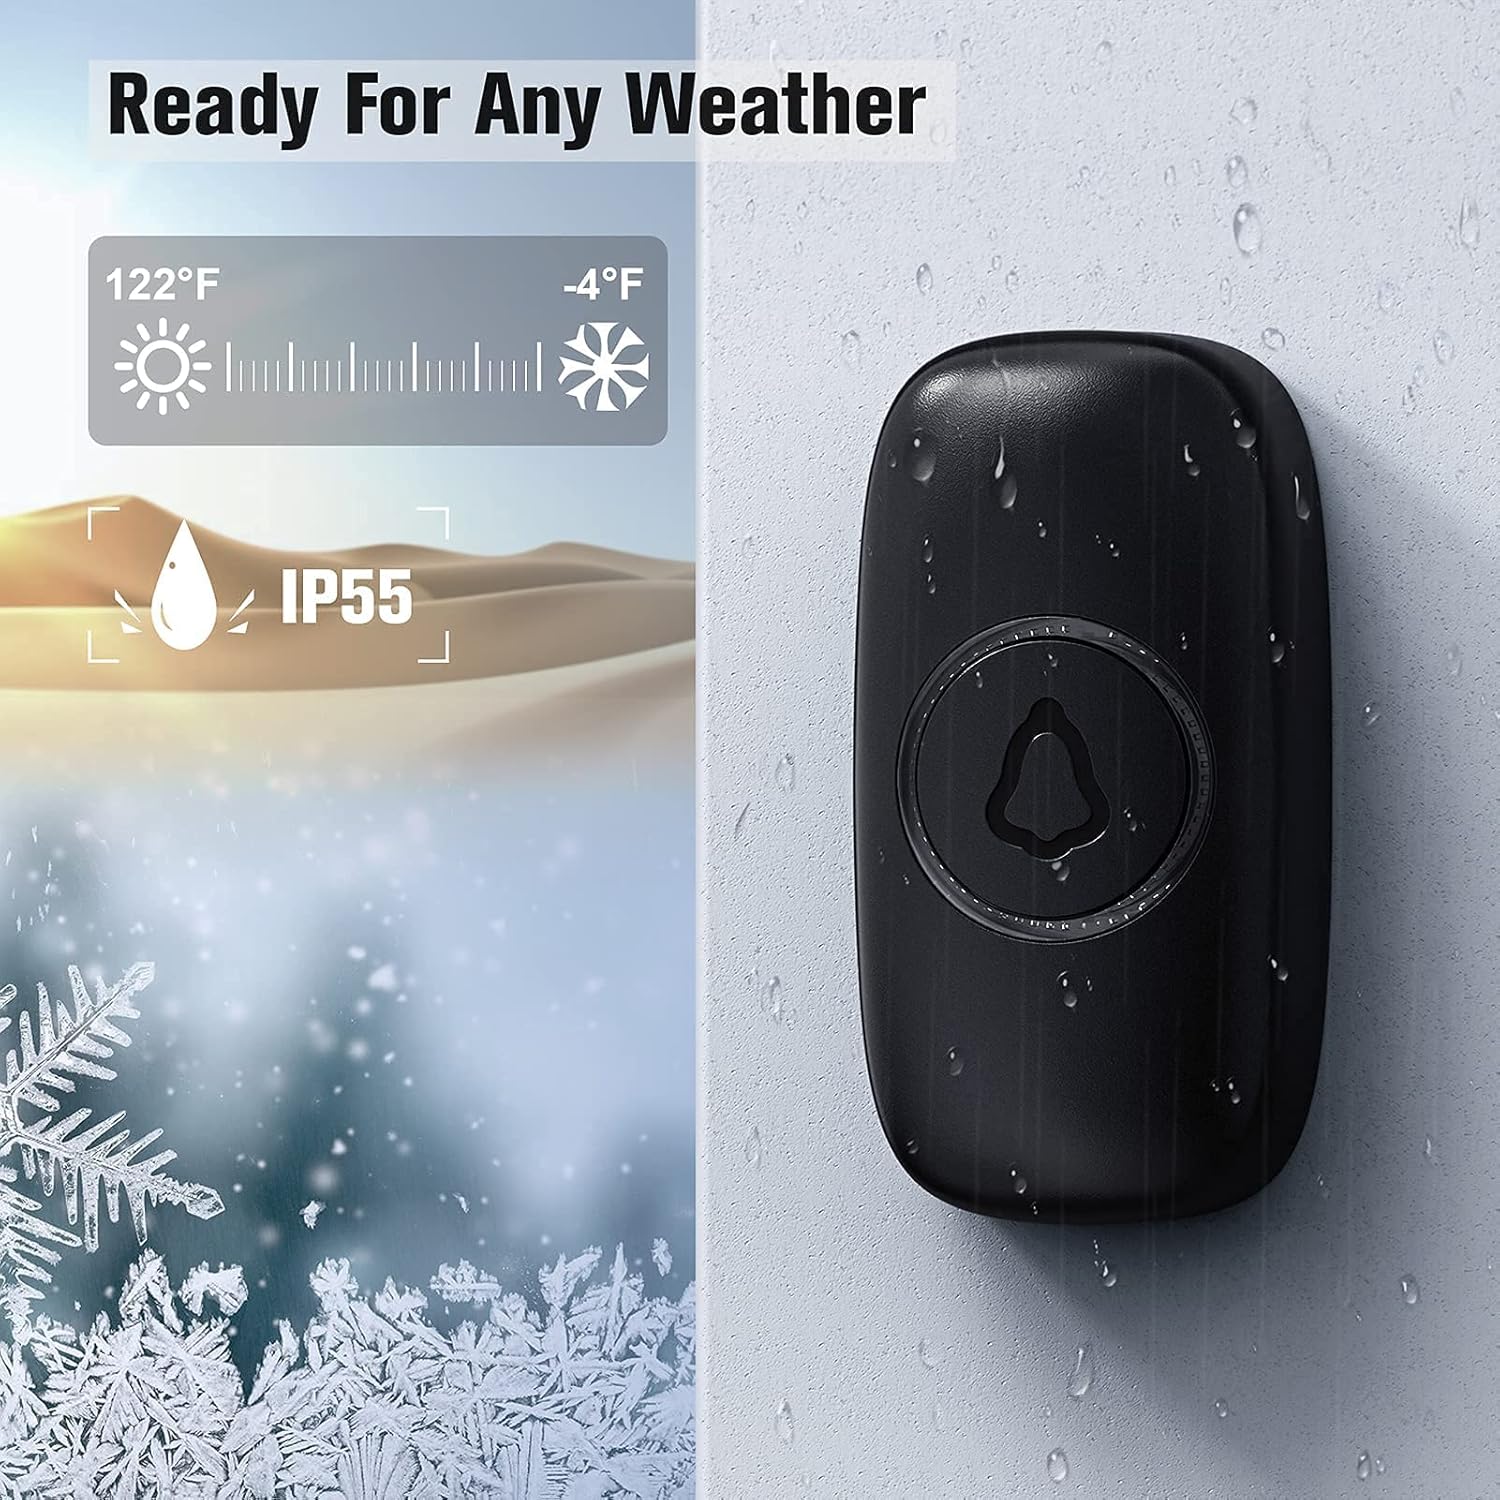
- Weather Resistance: The doorbell transmitter is IP55 dustproof and waterproof, designed to withstand temperatures from -4°F to 140°F (-20°C to 60°C).
- Energy Efficient: The transmitter consumes no power when not pressed, ensuring a long battery life of up to 3 years.
2. Package Contents
Please verify that all components are present in your package:
- Wireless Doorbell Transmitter (Button)
- Plug-in Doorbell Receiver
- Mounting Hardware (Screws, Anchors, Double-sided Adhesive Tape)
- User Manual

3. Setup and Installation
The SECRUI Wireless Doorbell is designed for quick and easy installation without the need for complex wiring.
3.1. Receiver Installation
- Select a suitable indoor power outlet for the receiver. Ensure it is within the desired range of the doorbell transmitter.
- Plug the receiver directly into the power outlet. The receiver will light up, indicating it is powered on and ready for use.

3.2. Transmitter (Button) Installation
The transmitter can be installed using either adhesive tape or screws.
- Choose Location: Select a flat, clean surface near your door. Ensure the surface is free of dust and moisture.
- Adhesive Mounting (Recommended for smooth surfaces):
- Clean the back of the transmitter and the mounting surface thoroughly.
- Peel off one side of the double-sided adhesive tape and apply it firmly to the back of the transmitter.
- Peel off the other side of the adhesive tape and press the transmitter firmly onto the desired location on the wall or door frame for at least 30 seconds.
- Screw Mounting (Recommended for uneven surfaces or added security):
- Open the back cover of the transmitter.
- Mark the positions for the screw holes on the wall using the transmitter's back plate as a template.
- Drill pilot holes if necessary and insert wall anchors.
- Secure the back plate to the wall with the provided screws.
- Snap the transmitter onto the secured back plate.

Note: The transmitter is designed to be weather-resistant (IP55 rated), making it suitable for outdoor installation. Ensure it is not submerged in water.
4. Operating Instructions
4.1. Changing Chimes
To change the chime melody:
- Press the "Music" button on the receiver (usually indicated by a musical note icon) to cycle through the 58 available melodies.
- Once you hear your desired chime, stop pressing the button. The receiver will remember this selection.
4.2. Adjusting Volume
To adjust the volume level:
- Press the "Volume" button on the receiver (usually indicated by a speaker icon) to cycle through the 5 volume levels.
- Continue pressing until you reach your preferred volume. The receiver also includes a mute mode.


4.3. Pairing Additional Transmitters/Receivers (If applicable)
Your doorbell system is pre-paired. If you purchase additional transmitters or receivers, follow these steps to pair them:
- Plug in the receiver.
- Press and hold the "Volume" button on the receiver for approximately 5 seconds until the LED indicator flashes rapidly. This indicates pairing mode.
- Immediately press the button on the new transmitter. The receiver will chime, confirming successful pairing.
- Repeat for any additional transmitters.
Note: The system supports multiple transmitters and receivers, allowing for customized configurations (e.g., one button with two receivers, or two buttons with three receivers).

5. Maintenance
The SECRUI Wireless Doorbell system requires minimal maintenance to ensure optimal performance.
- Cleaning: Wipe the surfaces of both the transmitter and receiver with a soft, dry cloth. Do not use abrasive cleaners or solvents.
- Battery Replacement (Transmitter): The transmitter uses a CR2032 lithium battery (typically). When the doorbell button's LED indicator no longer lights up or the range decreases significantly, it's time to replace the battery.
- Carefully open the back cover of the transmitter.
- Remove the old battery and insert a new CR2032 battery with the positive (+) side facing up.
- Close the back cover securely.
- Environmental Considerations: While the transmitter is waterproof, avoid prolonged exposure to extreme weather conditions or direct submersion in water.
6. Troubleshooting
| Problem | Possible Cause | Solution |
|---|---|---|
| Doorbell does not ring. |
|
|
| Shortened operating range. |
|
|
| Chime rings randomly. |
|
|
7. Specifications
| Feature | Detail |
|---|---|
| Model Number | B09GLT63H7 |
| Operating Range | Up to 1000 ft (300m) in open air |
| Chime Options | 58 melodies |
| Volume Levels | 5 levels (0-120dB) + Mute mode |
| Transmitter Battery | CR2032 Lithium Battery (approx. 3 years lifespan) |
| Receiver Power | AC 110-240V (Plug-in) |
| Waterproof Rating (Transmitter) | IP55 |
| Operating Temperature | -4°F to 140°F (-20°C to 60°C) |
| Material | High-quality ABS |
8. Warranty and Support
SECRUI products are manufactured with strict quality control. In case of any malfunctions or issues, please contact SECRUI customer support for assistance.
While specific warranty details are not provided in this manual, most products come with a standard manufacturer's warranty covering defects in materials and workmanship. Please refer to the product packaging or the official SECRUI website for the most up-to-date warranty information.
For technical support or inquiries, please reach out to the seller or manufacturer through the platform where you purchased the product.