Crimson Trace 01-01890
Crimson Trace RAD Open Reflex Pistol Sight
User Manual - CT RAD Green
1. Introduction
The Crimson Trace RAD (Rapid Aiming Dot) Open Reflex Pistol Sight is designed to provide rapid target acquisition and enhanced accuracy for full-size handguns. Featuring a 5 MOA green dot reticle, automatic shutoff, and durable aerospace-grade aluminum construction, this sight is suitable for defensive shooting and competition use.
This manual provides essential information for the safe and effective use, installation, and maintenance of your CT RAD Green sight. Please read it thoroughly before operating the device.
2. Safety Information
WARNING: Always follow proper firearm safety rules. Ensure the firearm is unloaded and pointed in a safe direction before handling or installing the sight. Always wear appropriate eye and ear protection when shooting.
- Do not look directly into the laser emitter.
- Keep out of reach of children.
- Ensure the sight is securely mounted before use.
- Verify zero before relying on the sight for critical applications.
3. Package Contents
Your Crimson Trace RAD Open Reflex Pistol Sight package should include the following:
- Crimson Trace RAD Open Reflex Pistol Sight (CT RAD Green)
- 1 CR1632 Battery (pre-installed or included separately)
- Product Manual (this document)
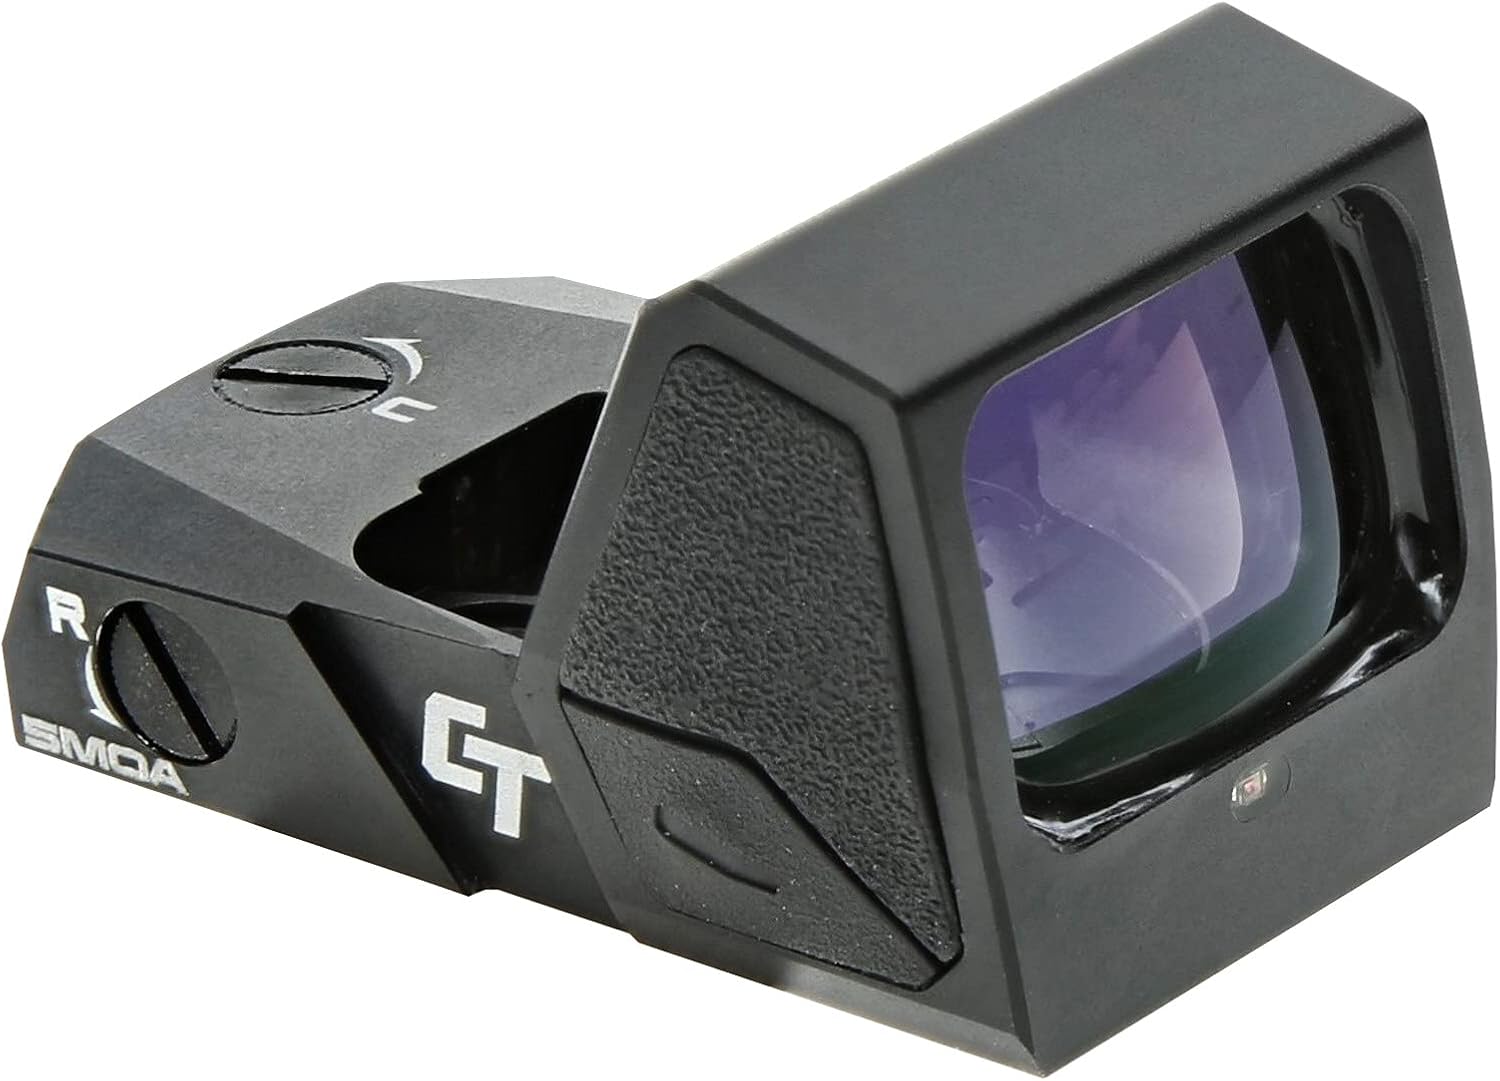
4. Product Overview
The CT RAD Green sight features a compact and robust design, optimized for handgun use. Key components include the optic lens, emitter, windage and elevation adjustment screws, and control buttons.

5. Setup and Installation
5.1 Battery Installation
The CT RAD Green sight operates on one CR1632 battery, providing up to 7,000 hours of runtime. The battery compartment is typically located on the side or top of the sight. Use a small coin or screwdriver to open the battery cap, insert the CR1632 battery with the positive (+) side facing up, and securely close the cap.
5.2 Mounting the Sight
The CT RAD Green is compatible with the Docter Footprint and designed for Picatinny Mount systems. Ensure your handgun slide is milled or has an adapter plate compatible with the Docter Footprint.
- Ensure the firearm is unloaded and safe.
- Align the sight with the mounting plate or milled slide.
- Insert the mounting screws (typically included with your firearm's mounting plate or the sight) and tighten them evenly to the manufacturer's specified torque settings. Do not overtighten.
- Verify the sight is securely attached and does not wobble.


5.3 Zeroing the Sight (Windage and Elevation)
After mounting, the sight must be zeroed to your firearm. This process adjusts the point of impact to match your point of aim.
- Windage Adjustment: The windage adjustment screw is typically located on the right side of the sight. Turning the screw clockwise or counter-clockwise will move the point of impact left or right.
- Elevation Adjustment: The elevation adjustment screw is typically located on the top of the sight. Turning the screw clockwise or counter-clockwise will move the point of impact up or down.
Make small adjustments and fire test shots at a known distance until the point of aim and point of impact coincide. Refer to the sight's markings for direction of adjustment (e.g., 'U' for Up, 'R' for Right).
6. Operating Instructions
6.1 Power ON/OFF
The CT RAD Green sight features both manual ON/OFF and an automatic shutoff function.
- Manual ON: Press and hold the brightness adjustment button (usually marked with '+' or '-') for a few seconds to turn the sight on.
- Manual OFF: Press and hold the brightness adjustment button again for a few seconds to turn the sight off.
- Auto Shutoff: The sight is equipped with an auto shutoff feature that conserves battery life by powering down after a period of inactivity. It will automatically reactivate upon motion.
6.2 Brightness Adjustment
Use the '+' and '-' buttons on the side of the sight to cycle through the available brightness settings. Adjust the brightness to suit ambient light conditions for optimal visibility of the 5 MOA green dot reticle.

6.3 Integrated Co-Witness Sight
The CT RAD Green sight includes an integrated co-witness sight, allowing for simultaneous use of the red dot and your firearm's iron sights. This provides an additional aiming reference and backup in case of battery failure.
7. Maintenance
7.1 Cleaning
To maintain optimal performance, keep the optic lens clean. Use a soft, lint-free cloth and lens cleaning solution specifically designed for optics. Avoid abrasive materials or harsh chemicals that could damage the lens coatings or sight body.
7.2 Battery Replacement
Replace the CR1632 battery when the dot becomes dim or fails to illuminate. Follow the battery installation steps outlined in Section 5.1.
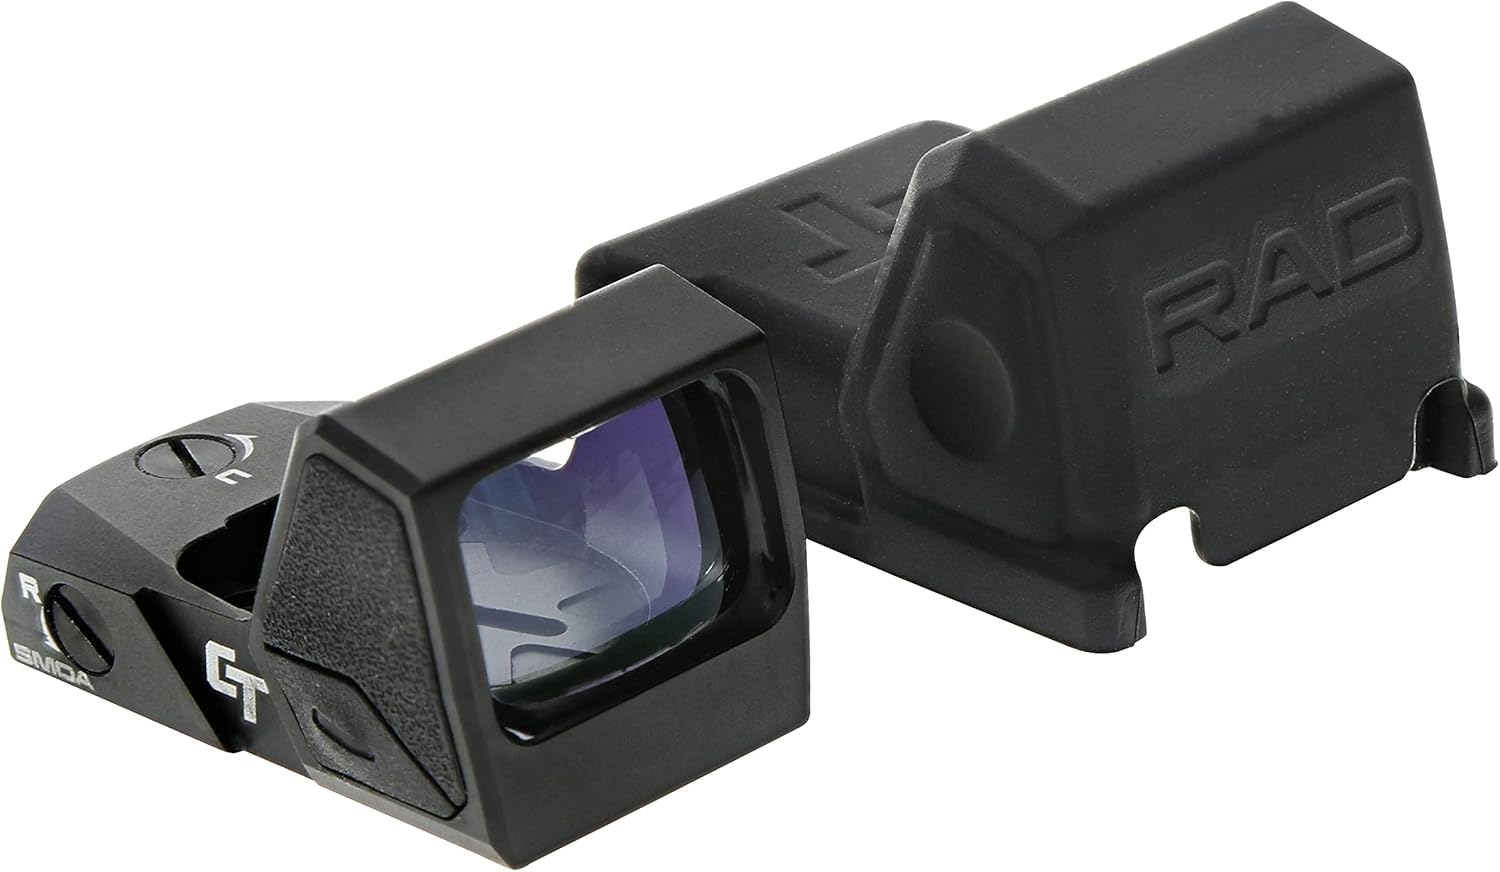
7.3 Storage
When not in use, store the sight in a cool, dry place. The included protective cover can be used to shield the optic lens from dust and scratches.
The sight is constructed from aerospace-grade aluminum and is IPX7 water resistant, providing robust protection against environmental elements.
8. Troubleshooting
| Problem | Possible Cause | Solution |
|---|---|---|
| Dot does not appear | Battery dead or incorrectly installed; Sight is off; Auto shutoff engaged. | Replace battery, ensuring correct polarity. Manually turn on the sight. Move the sight to activate auto-on. |
| Dot is dim or flickers | Low battery; Lens is dirty. | Replace battery. Clean the optic lens. |
| Inaccurate aiming | Sight not zeroed; Sight loose on mount. | Re-zero the sight. Check mounting screws and tighten if necessary. |
| Dot appears distorted or blurry | Dirty lens; Astigmatism (user's eye condition). | Clean the optic lens. If distortion persists, consult an optometrist. |
9. Specifications
| Feature | Specification |
|---|---|
| Model Name | 01-01890 |
| Dimensions (L x W x H) | 1.81" x 1.13" x 1" |
| Weight | 1 Ounce |
| Reticle Type | 5 MOA Green Dot |
| Battery Type | 1 x CR1632 |
| Battery Life | 7,000 hours |
| Material | Aerospace Grade Aluminum |
| Water Resistance | IPX7 |
| Mounting Type | Picatinny Mount (Docter Footprint compatible) |
| Compatible Devices | Handgun |
10. Warranty and Support
This product is covered by the Crimson Trace Protect Limited Lifetime Warranty. For specific details regarding warranty coverage, claims, or technical support, please visit the official Crimson Trace website or contact their customer service department.
Warranty Description: 2 Year Manufacturer Warranty
Online Support: www.crimsontrace.com
Ask a question about this manual
Ask about setup, troubleshooting, compatibility, parts, safety, or missing instructions. Manuals+ will review the question and use this page’s manual context to help answer it.