
CO-Z HP2305IN1
CO-Z 5-in-1 Heat Press Machine User Manual
Model: HP2305IN1 | Brand: CO-Z
Introduction
This manual provides comprehensive instructions for the safe and efficient operation of your CO-Z 5-in-1 Heat Press Machine. Please read this manual thoroughly before initial use and retain it for future reference.
Product Overview
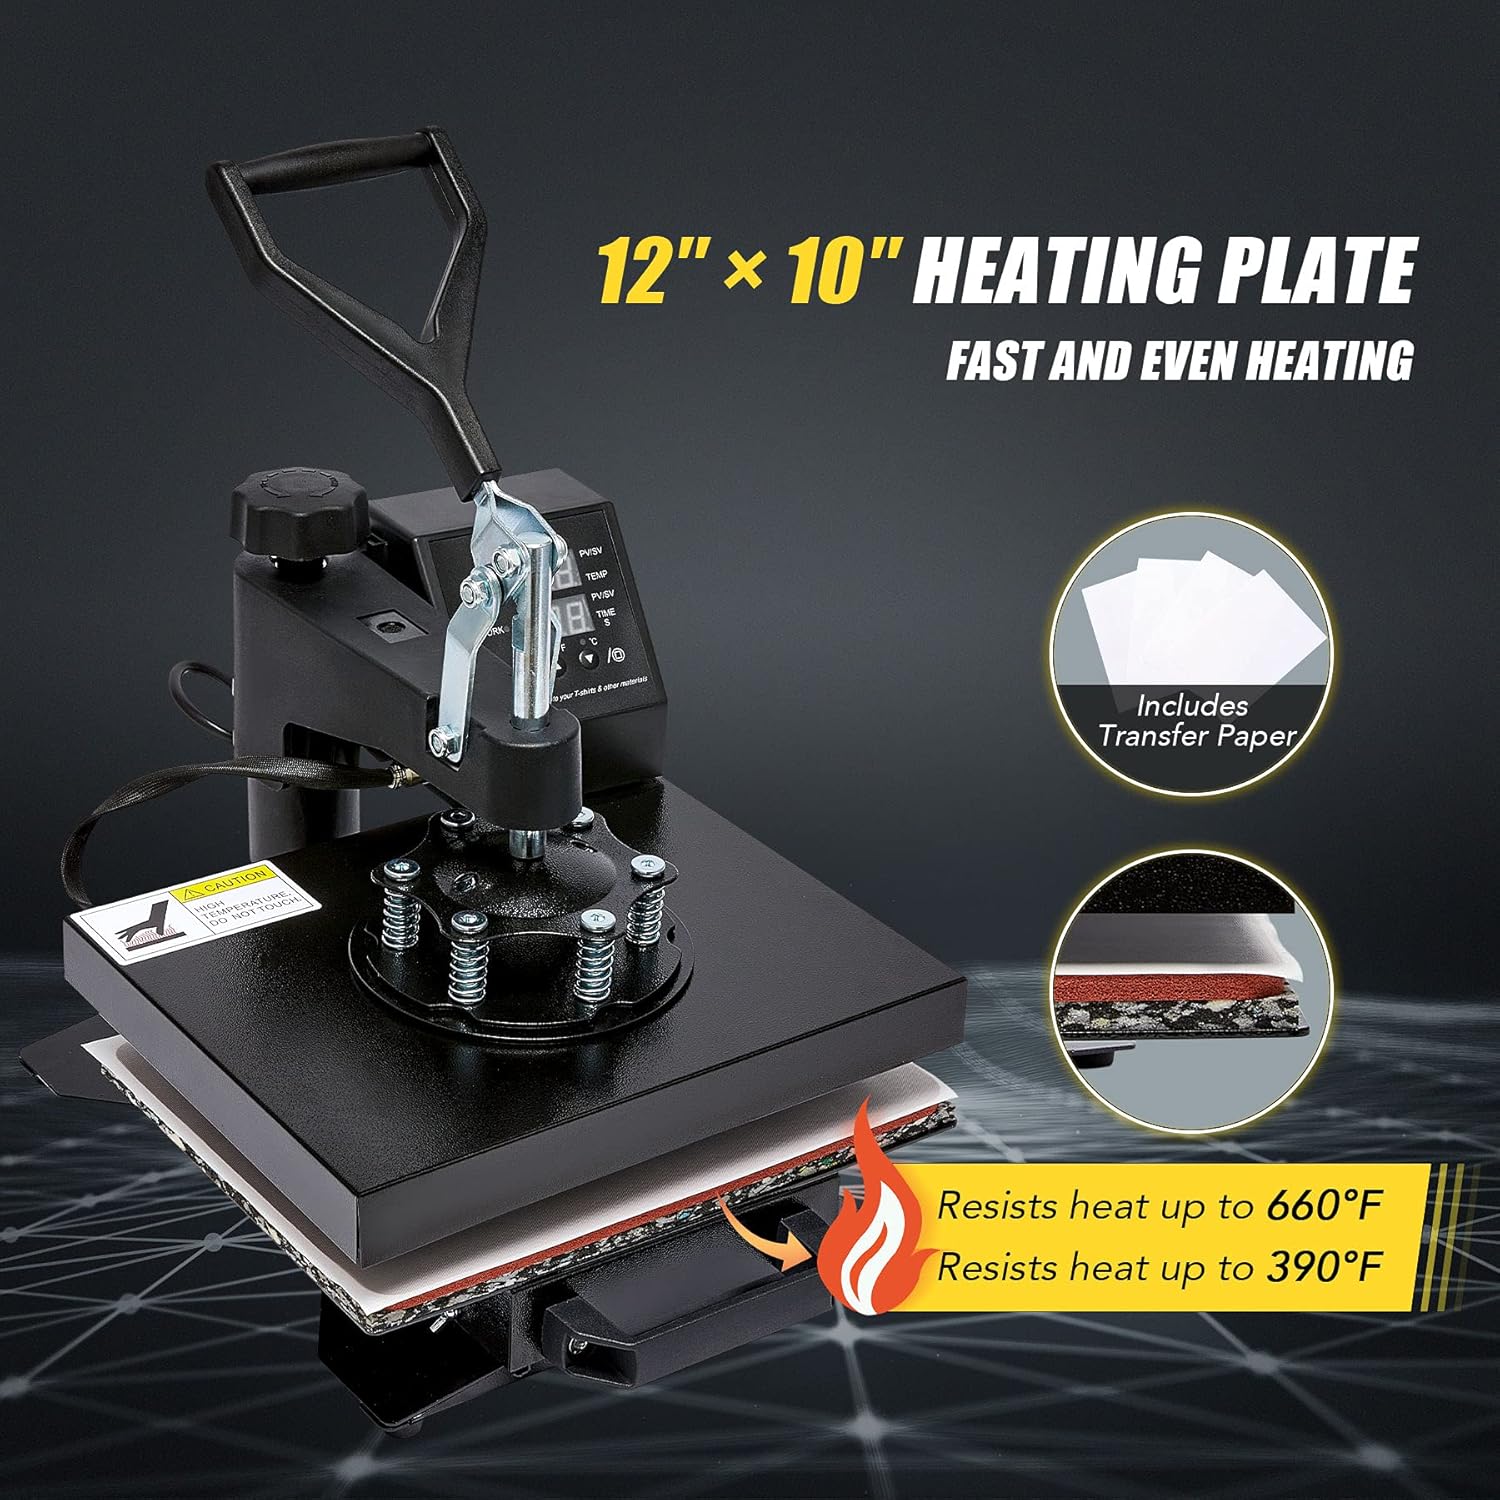
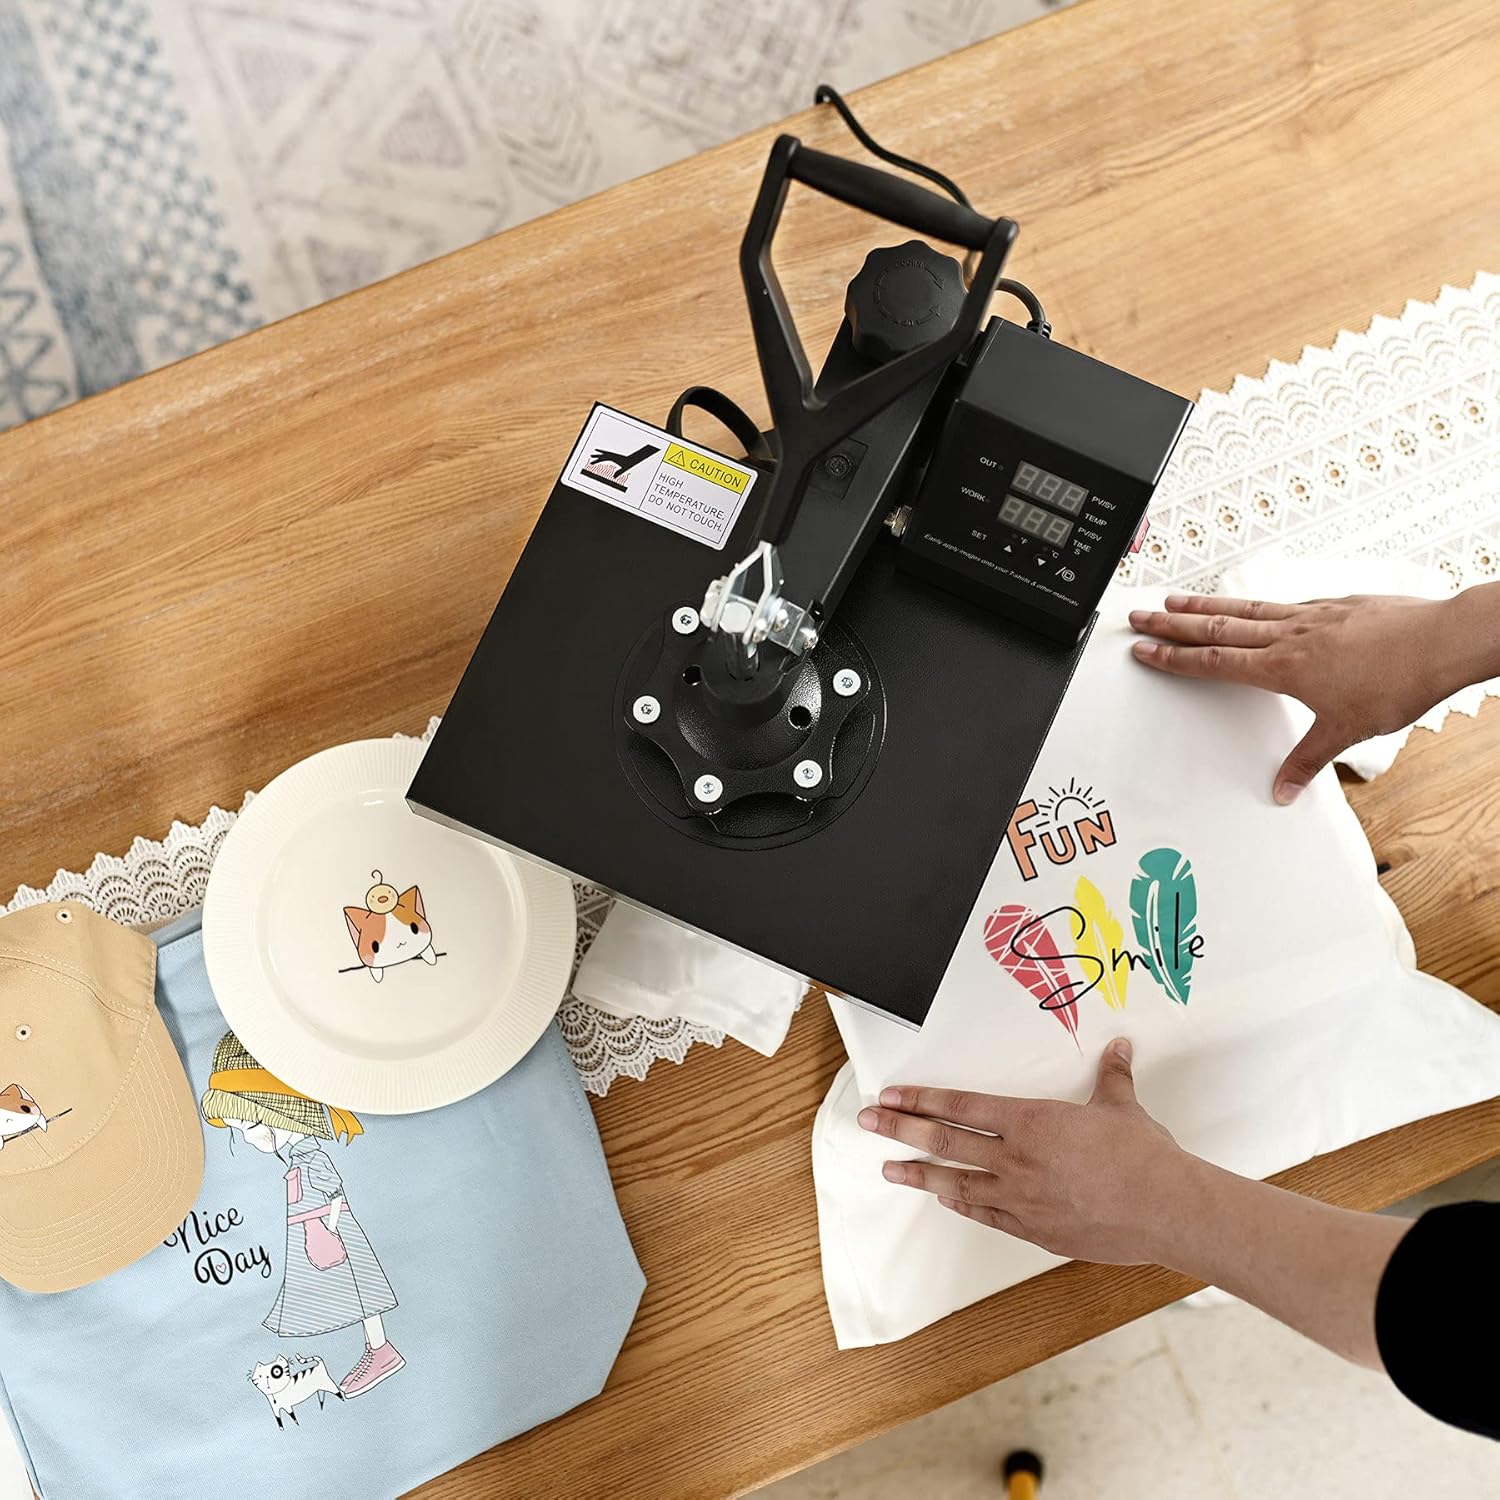
The CO-Z 5-in-1 Heat Press Machine is a versatile tool designed for transferring designs onto various materials. It features a large flat platen for items like T-shirts, mouse pads, and phone cases, along with four specialized attachments for curved surfaces such as mugs, caps, and plates.
- 5-in-1 Versatility: Includes attachments for T-shirts, mugs, caps, and plates, expanding creative possibilities.
- Intuitive Control: Features dual LED displays for precise temperature (up to 482°F / 250°C) and time (up to 999 seconds) settings.
- Swing-Away Design: The platen swings 360 degrees, reducing the risk of accidental contact with the heated element.
- Adjustable Pressure: A star knob allows for quick and easy adjustment of pressure for various material thicknesses.
- Safety Features: Durable rails for smooth lower plate movement help prevent burns.

This image displays the complete CO-Z 5-in-1 Heat Press Machine, showcasing the main flat press, along with the included attachments for pressing mugs, caps, and plates. Two white T-shirts and transfer paper are also visible, indicating the machine's primary use.
Safety Instructions
- Always operate the heat press on a stable, heat-resistant surface.
- Keep hands and fingers clear of the heating element and platen during operation.
- Do not touch the heated platen directly. Use heat-resistant gloves if necessary.
- Ensure proper ventilation in the work area to dissipate heat and any fumes from materials.
- Unplug the machine when not in use or before cleaning and maintenance.
- Keep out of reach of children and pets.
- Do not operate the machine if the power cord or plug is damaged.
- This appliance is for indoor use only.
Package Contents
Verify that all items are present in your package:
- CO-Z Heat Press Machine (Main Unit with Flat Platen)
- Cap Press Attachment
- Mug Press Attachment
- Plate Press Attachments (2 sizes: 5" and 6")
- Power Cord
- User Manual (this document)
- 2 T-shirts (for initial testing/practice)
- 4 Heat Transfer Sheets

This image illustrates the comprehensive package contents, featuring the main heat press unit, the cap press, mug press, and two plate press attachments. Also shown are two white T-shirts and several sheets of transfer paper, highlighting the ready-to-use nature of the kit.
Setup
- Unpacking: Carefully remove all components from the packaging.
- Placement: Place the main heat press unit on a sturdy, level, and heat-resistant surface. Ensure there is adequate space around the machine for safe operation and heat dissipation.
- Connect Display Unit: Install the dual display screen unit onto the main machine. Connect the power cord to the display unit.
- Power Connection: Plug the power cord into a grounded electrical outlet.
- Attachment Installation: For specific applications (mugs, caps, plates), install the appropriate attachment by following the instructions in the 'Operating Instructions' section.
This video demonstrates the initial setup of the CO-Z Heat Press Machine, including connecting the display unit and power cord. It also provides a visual guide on how to adjust temperature and time settings, and shows the process of heat pressing designs onto T-shirts, caps, mugs, and plates.
This image provides a labeled diagram of the heat press machine, identifying key components such as the Pressure Handle, Height Regulator, Time & Temperature Control Box, Power Switch, Heat Pad, and Slide Rails. This helps users familiarize themselves with the machine's parts.
Operating Instructions
General Operation
- Power On: Flip the power switch to the 'ON' position.
- Set Temperature: Press the 'SET' button once. Use the '▲' or '▼' arrows to adjust the desired working temperature. Press 'SET' again to confirm. The temperature range is up to 482°F (250°C).
- Set Time: Press the 'SET' button twice. Use the '▲' or '▼' arrows to adjust the desired heating duration (up to 999 seconds). Press 'SET' again to confirm.
- Pre-heat: Allow the machine to reach the set temperature. The 'OUT' display will show the current temperature, and 'WORK' will show the set temperature.
- Prepare Item: Place your item (e.g., T-shirt, mug, cap) onto the appropriate lower pad or attachment. Ensure it is flat and smooth.
- Position Design: Place your transfer design (e.g., heat transfer vinyl, sublimation paper) onto the item, ensuring it is correctly aligned.
- Press: Lower the heating platen firmly onto the item. The timer will begin counting down.
- Remove Item: Once the timer reaches zero, lift the heating platen and swing it away from the item. Carefully remove the item and allow it to cool.
Specific Applications
The CO-Z Heat Press Machine comes with various attachments for different items:
T-Shirt/Flat Press (12 x 10 Inch)
Ideal for T-shirts, mouse pads, phone cases, and other flat objects.
- Ensure the flat platen is installed.
- Place the T-shirt or flat item on the lower silicone pad.
- Position your design.
- Lower the heating platen and apply pressure.
- Recommended Settings: Refer to your transfer material's specific instructions. Typical settings are 350-380°F for 20-30 seconds.

This image illustrates the four-step process of heat pressing a T-shirt. Step 1 shows placing the item on the lower pad, Step 2 shows placing the design over the item, Step 3 shows lowering the heating platen, and Step 4 shows removing the platen and allowing the item to cool, revealing the transferred design.
Cap/Hat Press
Customize headwear with ease.
- Replace the flat platen with the cap press attachment.
- Place the cap onto the curved lower platen.
- Position your design on the cap.
- Lower the upper curved platen and apply pressure.
- Recommended Settings: Typical settings are 330-350°F for 40 seconds.

This image focuses on the cap/hat heat press attachment, showing its curved design suitable for pressing designs onto various types of headwear.
Mug/Cup Press (11 oz.)
Create personalized mugs and cups.
- Replace the flat platen with the mug press attachment.
- Insert the mug into the mug press.
- Secure the mug and apply pressure.
- Recommended Settings: Typical settings are 330-380°F for 30 seconds.

This image displays the mug/cup heat press attachment, designed to securely hold and heat mugs for sublimation or heat transfer applications.
Plate Press (5" & 6")
Personalize ceramic plates.
- Replace the flat platen with the appropriate size plate press attachment.
- Place the plate onto the lower circular pad.
- Position your design.
- Lower the upper circular platen and apply pressure.
- Recommended Settings: Typical settings are 330-380°F for 30 seconds.
This image shows the plate heat press attachment, which consists of a circular heating element and a corresponding lower pad, designed for transferring designs onto plates.
Maintenance
- Cleaning: After each use, allow the machine to cool completely. Wipe down the heating platen with a soft, damp cloth. Do not use abrasive cleaners or solvents.
- Storage: Store the heat press in a dry, dust-free environment.
- Regular Inspection: Periodically check the power cord for any signs of damage. Ensure all bolts and connections are secure.
- Teflon Coating: The platen has a Teflon coating. Avoid scratching it with sharp objects. If the coating wears off, consider using a Teflon sheet or replacing the platen.
Troubleshooting
| Problem | Possible Cause | Solution |
|---|---|---|
| Machine does not power on. | Power cord not connected; power switch off; circuit breaker tripped. | Ensure power cord is securely plugged in. Turn power switch on. Check and reset circuit breaker if necessary. |
| Temperature not reaching set value. | Incorrect temperature setting; faulty heating element. | Verify temperature setting. If problem persists, contact customer support. |
| Design not transferring properly. | Incorrect temperature/time; insufficient pressure; wrong transfer paper/material. | Adjust temperature and time according to material instructions. Increase pressure using the adjustment knob. Ensure correct transfer material is used. |
| Uneven heat distribution. | Platen not level; worn heating element. | Ensure machine is on a flat surface. If problem persists, contact customer support. |
Specifications
- Model: HP2305IN1
- Brand: CO-Z
- Power: 900W
- Flat Platen Size: 12 x 10 inches
- Max Temperature: 482°F (250°C)
- Max Time Setting: 999 seconds
- Max Object Thickness: 4 inches
- Product Dimensions: 11.8 x 9.8 x 19.3 inches
- Item Weight: 33.1 pounds
- Certifications: FCC & CE certified
Warranty and Support
CO-Z products are designed for durability and performance. For warranty information, technical support, or replacement parts, please contact CO-Z customer service through their official website or the retailer where the product was purchased. Please have your model number (HP2305IN1) and purchase date available when contacting support.
For more information, visit the CO-Z Store on Amazon.
no relevant documents
Ask a question about this manual
Ask about setup, troubleshooting, compatibility, parts, safety, or missing instructions. Manuals+ will review the question and use this page’s manual context to help answer it.