1. Introduction
This manual provides essential information for the safe and efficient operation of your Arebos Infrared Heater, model AR-HE-HS2000WRS. This infrared heater is designed to provide targeted warmth for outdoor and indoor areas such as terraces, garages, and backyards. Its infrared technology efficiently heats objects and people directly, rather than the surrounding air, making it an effective solution for extending the usability of outdoor spaces.
The heater features three adjustable heating levels (750W, 1500W, 2000W) and can be conveniently operated via a remote control. It is built with an IP65 protection rating, ensuring its suitability for various environments.

Image 1: The Arebos Infrared Heater AR-HE-HS2000WRS, showcasing its sleek design and heating element.
2. Safety Instructions
Please read all safety instructions carefully before using the appliance. Failure to follow these instructions may result in electric shock, fire, or serious injury.
- Ensure the power supply voltage matches the rating label on the heater.
- Do not operate the heater with a damaged cord or plug. If the cord is damaged, it must be replaced by the manufacturer, its service agent, or similarly qualified persons to avoid a hazard.
- Keep flammable materials (e.g., furniture, curtains, paper) at least 1 meter (3.3 feet) away from the front of the heater and away from the sides and rear.
- Minimum Installation Distances:
- Minimum distance to floor: 180 cm (70.9 inches)
- Minimum distance to ceiling: 50 cm (19.7 inches)
- The heater is rated IP65, meaning it is protected against dust and water jets. This allows for safe indoor and outdoor use, including in rain. However, avoid submerging the unit in water.
- Do not touch the heater surface when in operation, as it becomes very hot. Use the remote control for adjustments.
- Always unplug the heater when not in use or before cleaning.
- This appliance is not intended for use by persons (including children) with reduced physical, sensory or mental capabilities, or lack of experience and knowledge, unless they have been given supervision or instruction concerning use of the appliance by a person responsible for their safety.
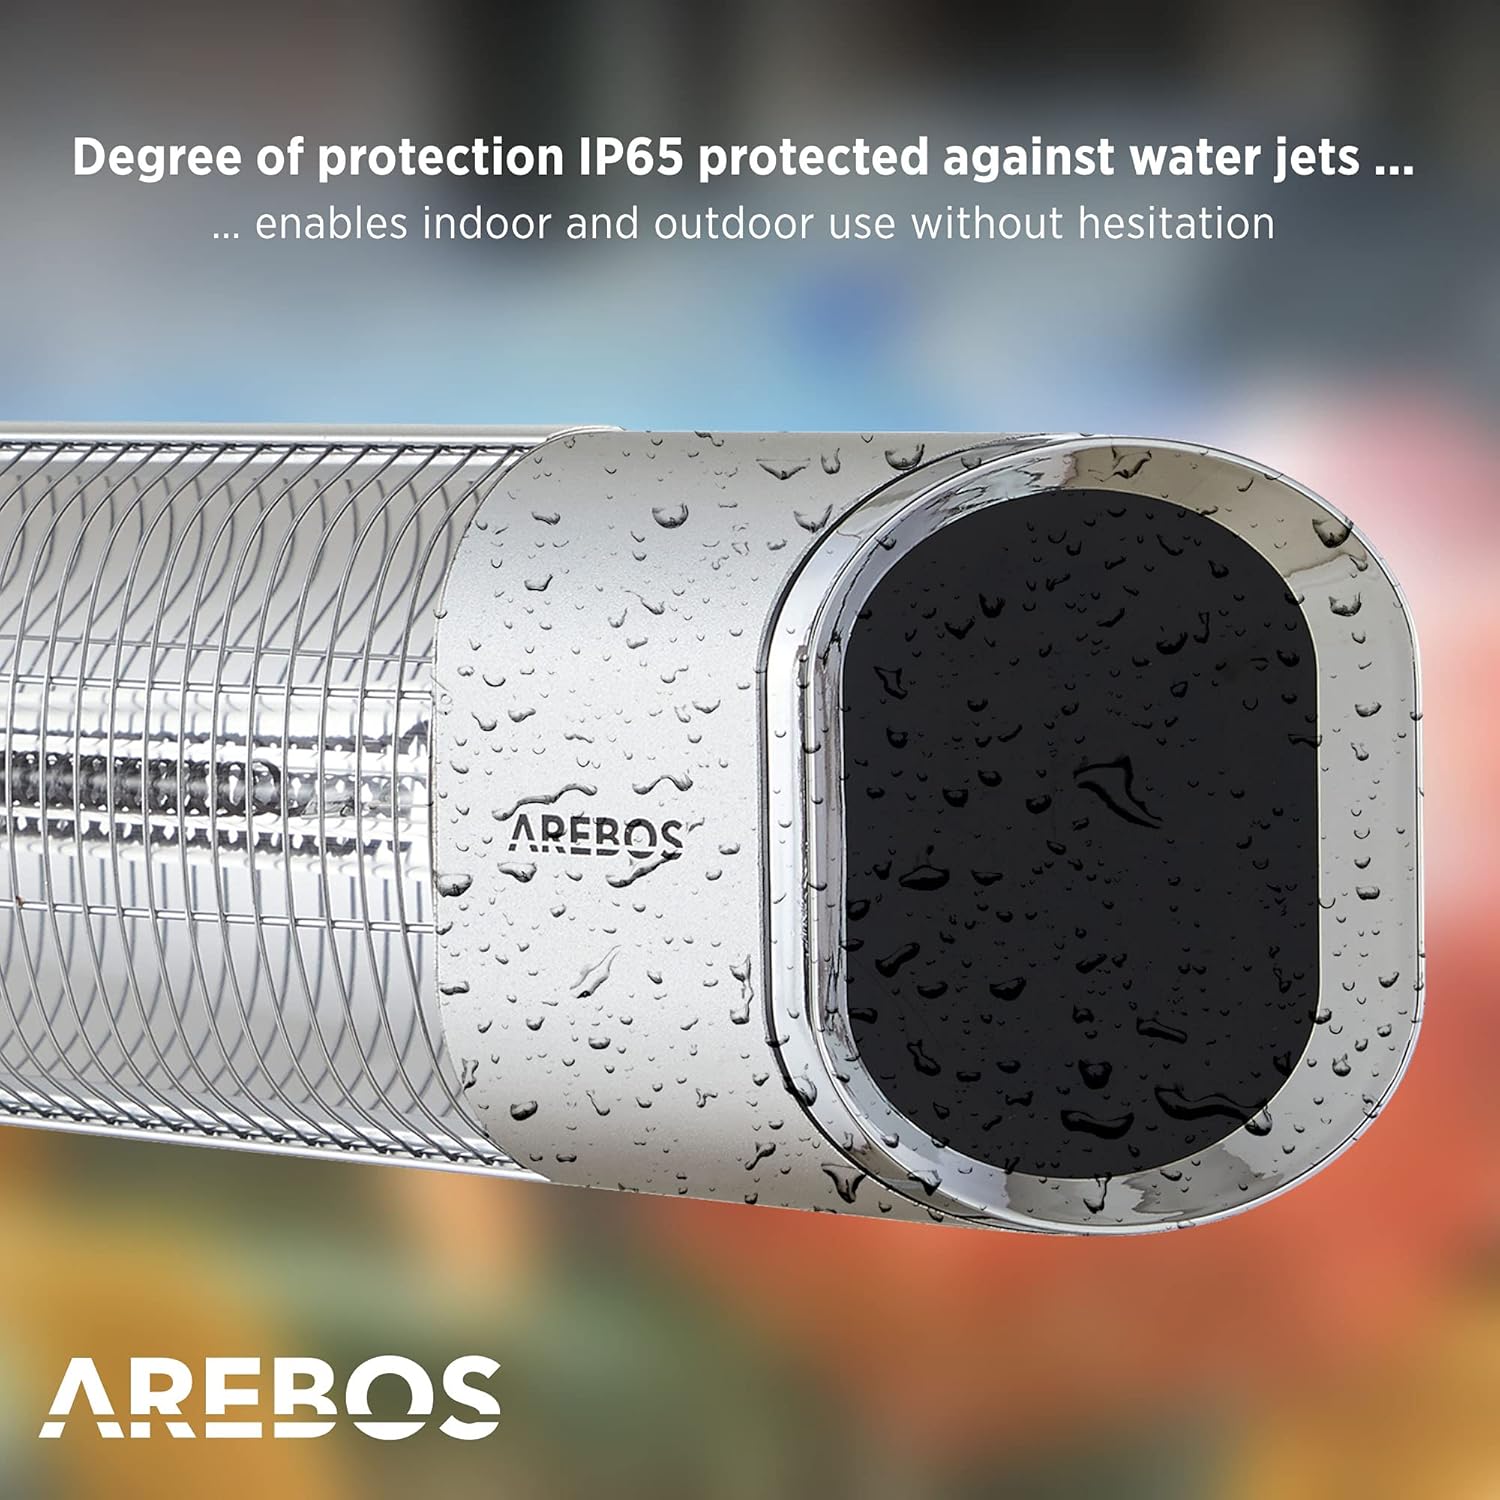
Image 2: Close-up of the heater demonstrating its IP65 protection against water jets, suitable for outdoor use.
3. Package Contents
Verify that all items are present and undamaged upon opening the package. If any items are missing or damaged, contact your retailer.
- 1x Arebos Infrared Heater (Model: AR-HE-HS2000WRS)
- 1x Remote Control
- 1x Set of Mounting Materials (including wall bracket)
- 1x User Manual

Image 3: Contents of the package, including the heater, remote control, mounting brackets, screws, and power plug.
4. Technical Specifications
| Feature | Specification |
|---|---|
| Model Number | AR-HE-HS2000WRS |
| Voltage | 220 – 240 V AC |
| Frequency | 50/60 Hz |
| Max. Power | 2000 W |
| Heat Settings | 3 (750W, 1500W, 2000W) |
| Cable Length | 1.7 m |
| Suitable Area | 8-20 m² |
| Protection Rating | IP65 (Jet-proof, Rain-resistant) |
| Dimensions (L x W x H) | 63 x 16.5 x 10.5 cm |
| Weight | 2.3 kg |
| Material | Aluminum |
| Min. Distance to Floor | 180 cm |
| Min. Distance to Ceiling | 50 cm |
| Max. Adjustable Tilt Angle | 60° |
| Mounting Options | Wall Mount (bracket included) |
| Special Features | 24-hour timer, Remote control, Energy efficient |

Image 4: Overview of the heater's properties, including 2000W power, assembly materials, and remote control.
5. Setup and Installation
The Arebos Infrared Heater is designed for wall mounting. Ensure the mounting surface is sturdy and capable of supporting the heater's weight.
5.1 Choosing a Location
- Select a location that allows for the minimum required distances from the floor (180 cm) and ceiling (50 cm).
- Ensure there are no flammable materials within 1 meter of the heater.
- The heater can be tilted up to 60° to direct heat. Consider this when choosing the mounting height and angle.
- The IP65 rating allows for installation in uncovered outdoor areas, but ensure the power outlet is also suitable for outdoor use or properly protected.
5.2 Wall Mounting Steps
- Mark the drilling points on the wall according to the dimensions of the provided wall bracket.
- Drill holes at the marked points and insert the wall plugs.
- Attach the wall bracket securely to the wall using the screws provided.
- Mount the heater onto the wall bracket. Ensure it is firmly attached and stable.
- Adjust the tilt angle of the heater as desired, up to a maximum of 60°.

Image 5: The infrared heater mounted on a wall in an outdoor patio setting, providing warmth to individuals.
6. Operating Instructions
The heater can be operated using the control panel on the unit or the included remote control.
6.1 Powering On/Off
- Plug the power cord into a suitable electrical outlet.
- Press the Power button on the remote control or the control panel to turn the heater on or off.
6.2 Adjusting Heat Settings
The heater offers three heat settings: 750W, 1500W, and 2000W.
- Use the P1, P2, or P3 buttons on the remote control to select the desired power level. (Note: The product description mentions 3 levels, while the image shows P1/P2 buttons. Assume P1/P2 cycle through the levels or represent specific levels).
- Alternatively, cycle through the power levels using the control panel on the unit. The display will indicate the current setting.
6.3 Timer Function
The heater includes a 24-hour timer function for scheduled operation.
- Refer to the specific instructions in the full manual for detailed timer setup, as this feature is typically controlled via the remote.

Image 6: A hand interacting with the digital display and touch controls on the side of the heater.
7. Maintenance
Regular maintenance ensures the longevity and efficient operation of your heater.
- Cleaning: Before cleaning, always unplug the heater and allow it to cool completely. Wipe the exterior with a soft, damp cloth. Do not use abrasive cleaners or solvents.
- Protective Grille: The heater features a protective grille. Ensure it remains clear of obstructions. Do not attempt to remove or modify the grille.
- Storage: If storing the heater for an extended period, ensure it is clean and dry. Store it in a cool, dry place, preferably in its original packaging.

Image 7: The heater showcasing its protective grille, designed to prevent direct contact with the heating element.
8. Troubleshooting
If you encounter issues with your heater, refer to the following common problems and solutions:
| Problem | Possible Cause | Solution |
|---|---|---|
| Heater does not turn on. | No power supply; Power button not pressed; Remote control battery depleted. | Check if the power cord is securely plugged in and the outlet is functional. Press the power button on the unit or remote. Replace remote control batteries. |
| No heat output. | Incorrect heat setting; Overheat protection activated. | Ensure a heat setting (750W, 1500W, or 2000W) is selected. Unplug the heater, let it cool down for 30 minutes, then plug it back in. Ensure proper ventilation. |
| Remote control not working. | Battery depleted; Obstruction between remote and heater; Remote not aimed correctly. | Replace remote control batteries. Ensure a clear line of sight to the heater's receiver. Aim the remote directly at the heater. |
9. Warranty and Support
For warranty information or technical support, please contact the manufacturer or your retailer. Keep your proof of purchase for any warranty claims.
Manufacturer: Canbolat Vertriebs GmbH
For further assistance, please refer to the contact information provided with your purchase documentation or visit the official Arebos website.