CHKOSDA CH3387
CHKOSDA Large 18-inch LED Digital Wall Clock User Manual
Model: CH3387 | Brand: CHKOSDA
1. Introduction
Thank you for purchasing the CHKOSDA Large 18-inch LED Digital Wall Clock. This manual provides detailed instructions for the proper setup, operation, and maintenance of your new clock. Please read this manual thoroughly before use to ensure optimal performance and longevity of the product.

Image 1.1: Front view of the CHKOSDA Large 18-inch LED Digital Wall Clock.
2. Package Contents
Please check the package for the following items:
- CHKOSDA Large LED Digital Wall Clock (Model CH3387)
- USB Power Cable
- Power Adapter
- Remote Control
- User Manual (this document)
- CR2032 Battery (for memory backup, not included in some packages)
3. Product Features
- Large LED Display: 18-inch display with clear green digits for excellent visibility up to 50 meters.
- Automatic Dimmer: Adjusts brightness automatically based on ambient light.
- 8 Brightness Levels: Manual adjustment available for customized viewing.
- Multiple Functions: Displays time, date, and temperature.
- 16 Alarms: Set multiple alarms for various needs.
- Countdown Timer: Supports countdown up to 364 days, 23 hours, 59 minutes, 59 seconds. Includes a 5-second pre-alarm.
- Stopwatch: Measures time up to 99 hours.
- 12/24 Hour Display: Easily switch between time formats.
- Energy Saving: Efficient LED technology.
- Memory Backup: CR2032 battery (not included) preserves settings during power outages.
- Ultra-Thin Design: Modern and elegant aesthetic suitable for various environments.

Image 3.1: Product overview with dimensions (45cm L x 16cm H x 2cm W), back panel details (hanging holes, power cable passage, battery compartment), and function icons (Time Display, Date Display, Remote Control, Countdown, Stopwatch, Alarm, Automatic Dimmer, Temperature, Memory, 12/24 Hour Mode).

Image 3.2: The clock features an extremely narrow bezel for a sleek appearance.
4. Setup
4.1 Power Connection
- Connect the USB power cable to the clock's power input port on the back.
- Plug the other end of the USB cable into the provided power adapter.
- Insert the power adapter into a standard electrical outlet. The clock will power on and display the default time.

Image 4.1: The clock can be powered via the included adapter, laptop, PC, or a power bank using the USB cable.
4.2 Battery Installation (Memory Backup)
The clock uses 2 CR2032 button cell batteries (not included) for memory backup. These batteries do not power the clock but save your settings (time, alarms) in case of a power outage.
- Locate the battery compartment on the back of the clock.
- Insert 2 CR2032 batteries, ensuring correct polarity (+/-).
- Close the battery compartment securely.
4.3 Wall Mounting
The clock can be mounted on a wall using the hanging holes on the back.
- Measure the distance between the hanging holes on the back of the clock.
- Mark two corresponding points on your desired wall location.
- Install appropriate screws or hooks into the wall at the marked points, ensuring they are securely fastened and can support the clock's weight.
- Carefully hang the clock onto the screws/hooks.
5. Operating Instructions
All functions are controlled via the included remote control.
5.1 Time Setting
- Press the SET button on the remote control. The hour digits will start flashing.
- Use the UP or DOWN arrows to adjust the hour.
- Press SET again to move to the minute digits. Use UP or DOWN to adjust the minutes.
- Press SET one more time to confirm and exit time setting mode.
5.2 12/24 Hour Mode
To switch between 12-hour and 24-hour display formats:
- Press the 12/24H button on the remote control. The display will toggle between the two formats.

Image 5.1: Illustration of switching between 12-hour and 24-hour time display modes.
5.3 Alarm Setting
The clock supports setting up to 16 alarms. Refer to the remote control for specific alarm buttons (e.g., AL1, AL2, etc.).
- Press the desired ALARM button (e.g., AL1) on the remote control. The alarm hour digits will flash.
- Use the UP or DOWN arrows to set the alarm hour.
- Press the ALARM button again to move to the minute digits. Use UP or DOWN to set the alarm minutes.
- Press the ALARM button one more time to confirm and activate the alarm. An alarm icon will appear on the display.
- To deactivate an alarm, press the corresponding ALARM button until the alarm icon disappears.
5.4 Brightness Adjustment
The clock offers both automatic and manual brightness control.
5.4.1 Automatic Dimmer
- Press the AUTO button on the remote control to activate the automatic dimmer. The clock will adjust its brightness based on the ambient light conditions.
5.4.2 Manual Brightness (8 Levels)
- Press the BRIGHTNESS +/- buttons on the remote control to manually cycle through 8 levels of brightness.

Image 5.2: The clock offers 8 levels of manual brightness adjustment (Lv.1 to Lv.8) and an automatic dimmer mode.
5.5 Countdown Timer
The countdown timer can be set for durations up to 364 days, 23 hours, 59 minutes, 59 seconds.
- Press the CD SET button on the remote control. The display will show '00:00'.
- Use the number buttons on the remote to input the desired countdown duration (e.g., for 1 hour 30 minutes, input '0130').
- Press START/PAUSE to begin the countdown.
- Press START/PAUSE again to pause the countdown.
- Press RESET to clear the countdown.
- The clock will sound an alarm 5 seconds before the countdown ends. This pre-alarm can be disabled.
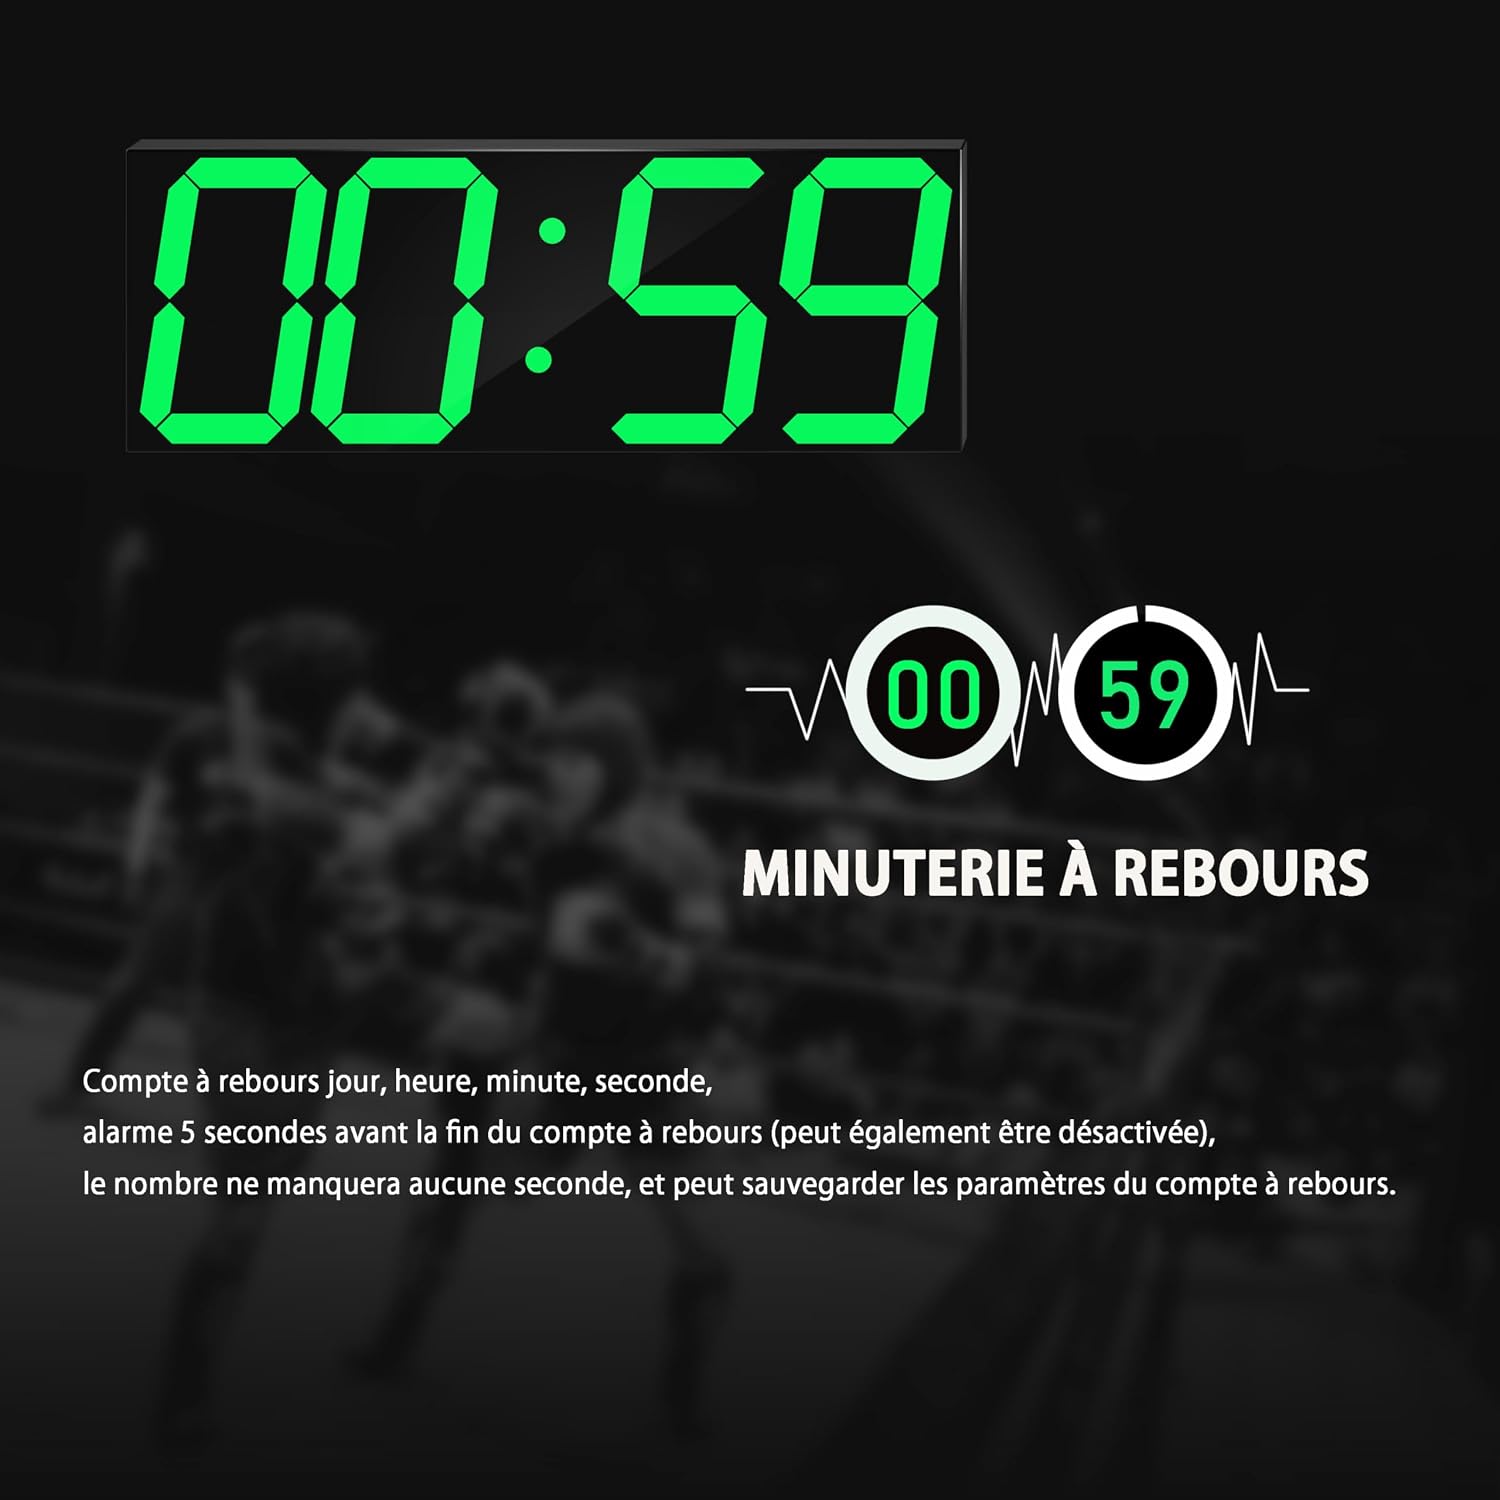
Image 5.3: The countdown timer function, showing 00:59. The timer supports days, hours, minutes, and seconds, with settings saved automatically.

Image 5.4: Examples of the countdown (up to 999 days, 23 hours, 59 minutes, 59 seconds) and stopwatch (up to 99 hours) functions, controlled by the remote.
5.6 Stopwatch
The stopwatch function measures time up to 99 hours.
- Press the ST button on the remote control. The display will show '00:00'.
- Press START/PAUSE to begin the stopwatch.
- Press START/PAUSE again to pause the stopwatch.
- Press RESET to clear the stopwatch.
5.7 Temperature Display
The clock automatically displays the ambient temperature. No specific setting is required for this function.
6. Maintenance
6.1 Cleaning
- To clean the clock, gently wipe the display and casing with a soft, dry, or slightly damp cloth.
- Do not use abrasive cleaners, solvents, or chemical sprays, as these may damage the surface.
6.2 Battery Replacement (Memory Backup)
If the clock loses its settings after a power outage, the CR2032 backup batteries may need replacement.
- Disconnect the clock from the main power supply.
- Open the battery compartment on the back of the clock.
- Remove the old CR2032 batteries.
- Insert new CR2032 batteries, ensuring correct polarity.
- Close the battery compartment.
- Reconnect the clock to the main power supply.
7. Troubleshooting
| Problem | Possible Cause | Solution |
|---|---|---|
| Clock does not turn on. | No power supply. | Ensure the USB cable is securely connected and the power adapter is plugged into a working outlet. |
| Settings are lost after power outage. | CR2032 backup batteries are dead or not installed. | Install or replace the CR2032 batteries. |
| Remote control is not working. | Remote battery is dead or line of sight is blocked. | Replace the remote control battery. Ensure there are no obstructions between the remote and the clock's IR receiver. |
| Display is too dim or too bright. | Automatic dimmer is active or manual brightness needs adjustment. | Press the AUTO button to toggle automatic dimmer. Use BRIGHTNESS +/- to adjust manually. |
| Countdown/Stopwatch not functioning correctly. | Incorrect input or not started. | Ensure correct duration is entered and START/PAUSE is pressed. Use RESET to clear and try again. |
8. Specifications
| Feature | Detail |
|---|---|
| Model Number | CH3387 |
| Brand | CHKOSDA |
| Display Type | LED Digital |
| Display Size | 18 inches (approx. 44 cm digits) |
| Dimensions (L x W x H) | 45 x 3.81 x 16 cm |
| Weight | 800 g |
| Material | Acrylic |
| Power Source | AC Powered (USB cable and adapter) |
| Backup Battery | 2 x CR2032 (for memory backup, not included) |
| Brightness Levels | 8 manual levels + Automatic Dimmer |
| Special Features | Temperature Display, Alarm, Countdown Timer, Stopwatch, 12/24 Hour Mode |
9. Warranty and Support
9.1 Warranty Information
This CHKOSDA product comes with a 1-year warranty from the date of purchase. This warranty covers manufacturing defects and malfunctions under normal use.
The warranty does not cover:
- Damage caused by improper use, accident, abuse, or neglect.
- Unauthorized repairs or modifications.
- Normal wear and tear.
9.2 Customer Support
If you encounter any issues with your CHKOSDA Large LED Digital Wall Clock or have questions not covered in this manual, please contact our customer support team immediately. We are committed to assisting you with any product-related concerns.
Please refer to your purchase documentation or the retailer's website for specific contact details.
Ask a question about this manual
Ask about setup, troubleshooting, compatibility, parts, safety, or missing instructions. Manuals+ will review the question and use this page’s manual context to help answer it.