1. Introduction
This manual provides detailed instructions for the installation, operation, and maintenance of your DAVITU Weinview Weintek MT8051iP HMI Panel. Please read this manual thoroughly before using the device to ensure proper and safe operation. Keep this manual for future reference.
2. Safety Information
Always observe the following safety precautions to prevent injury and damage to the device:
- Ensure the power supply matches the device's requirements.
- Do not expose the device to extreme temperatures, humidity, or direct sunlight.
- Avoid dropping or subjecting the device to strong impacts.
- Do not attempt to disassemble or modify the device. Refer all servicing to qualified personnel.
- Keep the device away from flammable materials and liquids.
- Use only approved accessories and cables.
3. Package Contents
Verify that all items are present in the package:
- DAVITU Weinview Weintek MT8051iP HMI Panel
- Mounting Brackets (if applicable)
- Power Connector
- User Manual (this document)
If any items are missing or damaged, please contact your vendor immediately.
4. Product Overview
The DAVITU Weinview Weintek MT8051iP is a 4.3-inch Human Machine Interface (HMI) touch panel designed for industrial control and monitoring applications. It features an intuitive touch screen and Ethernet connectivity for seamless integration into various systems.
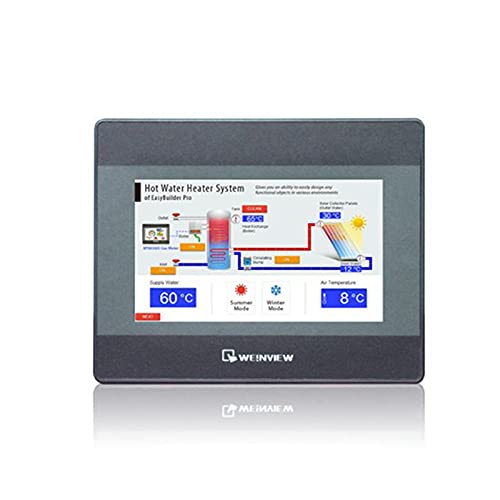
Figure 1: Front view of the DAVITU Weinview Weintek MT8051iP HMI Panel, showing the 4.3-inch touch display.
4.1 Key Features
- 4.3-inch TFT LCD Touch Screen
- Ethernet Communication Support
- Compact Design
- CE Certified
5. Setup and Installation
5.1 Mounting the HMI Panel
- Prepare an opening in the control panel according to the dimensions provided in the specifications section.
- Insert the HMI panel into the opening from the front.
- Secure the panel using the provided mounting brackets from the rear. Tighten the screws evenly to ensure a snug fit without over-tightening.
5.2 Power Connection
- Ensure the power source is turned off before connecting.
- Connect the power cable to the designated power input terminal on the HMI panel.
- Connect the other end of the power cable to a compatible DC power supply (e.g., 24V DC).
- Verify all connections are secure before applying power.
5.3 Ethernet Connection
- Connect a standard Ethernet cable (RJ45) from your network switch or PLC to the Ethernet port on the HMI panel.
- Ensure the connection is firm.
6. Operating Instructions
6.1 Powering On/Off
- Power On: Apply power to the HMI panel. The device will boot up automatically. The boot screen will display, followed by the configured application interface.
- Power Off: To power off, disconnect the power supply. It is recommended to save any unsaved data in the application before powering off.
6.2 Using the Touch Screen
- The HMI panel features a resistive touch screen. Use your finger or a non-sharp stylus to interact with the interface.
- Tap to select buttons, input fields, or navigate menus.
- Drag gestures may be supported by the application for scrolling or moving elements.
6.3 Software Configuration
The HMI panel requires project files created with compatible software (e.g., EasyBuilder Pro). Refer to the software's documentation for detailed instructions on project creation, downloading, and configuration. The Ethernet port allows for project downloads and communication with PLCs or other devices.
7. Maintenance
7.1 Cleaning the Panel
- Turn off the device and disconnect power before cleaning.
- Use a soft, lint-free cloth dampened with a mild, non-abrasive cleaner (e.g., screen cleaner or water) to wipe the screen and casing.
- Do not use harsh chemicals, solvents, or abrasive materials, as these can damage the surface.
- Ensure no liquid enters the device.
7.2 Environmental Considerations
To ensure optimal performance and longevity, operate the HMI panel within its specified environmental conditions (temperature, humidity). Avoid dusty environments, as dust accumulation can affect cooling and component lifespan.
8. Troubleshooting
| Problem | Possible Cause | Solution |
|---|---|---|
| Panel does not power on. | No power supply or incorrect voltage. | Check power cable connection. Verify power supply voltage matches specifications. |
| Touch screen unresponsive. | Screen calibration issue or software freeze. | Restart the device. If issue persists, check software configuration or recalibrate the touch screen (if supported by the application). |
| Ethernet communication failure. | Incorrect cable, network configuration, or device settings. | Check Ethernet cable connection. Verify IP address and network settings. Ensure PLC/device is properly configured. |
| Display shows garbled characters. | Software or firmware issue. | Re-download the project file. Contact technical support if the problem continues. |
9. Specifications
| Feature | Detail |
|---|---|
| Model Number | MT8051iP |
| Display Size | 4.3 inches |
| Display Type | TFT LCD |
| Touch Panel Type | Resistive |
| Communication | Ethernet |
| Certification | CE |
| Power Input | (Typical: 24V DC, check device label for exact range) |
| Operating Temperature | (Refer to product datasheet for specific range) |
| Dimensions (W x H x D) | (Refer to product datasheet for specific dimensions) |
10. Warranty and Support
10.1 Warranty Information
This product comes with a standard manufacturer's warranty. Please refer to the warranty card included with your purchase or contact your vendor for specific warranty terms and conditions. The warranty typically covers defects in materials and workmanship under normal use.
10.2 Technical Support
For technical assistance, troubleshooting beyond this manual, or service inquiries, please contact your authorized DAVITU distributor or reseller. When contacting support, please have your product model number (MT8051iP) and purchase information readily available.
Online Resources: For additional resources, including software downloads, FAQs, and updated documentation, please visit the official DAVITU or Weintek website.