DAVITU MT8071IP
DAVITU MT8071IP HMI User Manual
Model: MT8071IP
Introduction
This manual provides detailed instructions for the installation, operation, and maintenance of the DAVITU MT8071IP Human Machine Interface (HMI). The MT8071IP is a 7-inch TFT LCD touch panel featuring an 800 x 480 resolution, 128 MB RAM, a 32-bit RISC Cortex-A8 600MHz processor, and Ethernet connectivity. It is designed for industrial control applications requiring a reliable and efficient interface.
Please read this manual thoroughly before using the device to ensure proper functionality and to prevent damage.
Product Overview
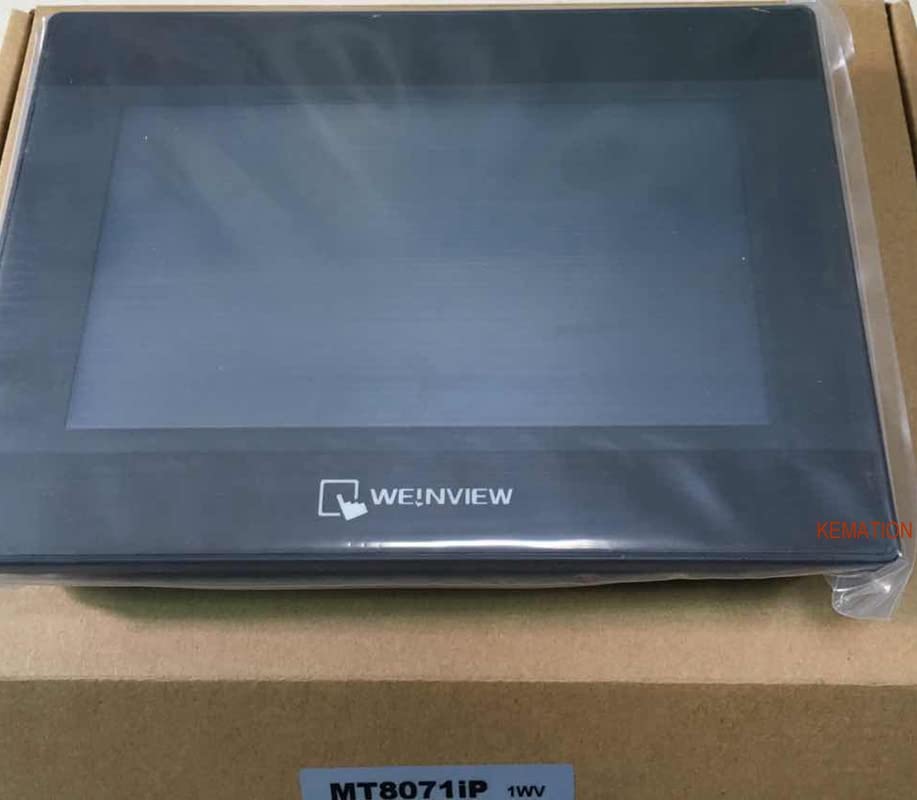
Figure 1: Front view of the DAVITU MT8071IP HMI unit. The image shows the 7-inch display panel with the "WEINVIEW" logo at the bottom center, indicating the display technology or brand. The unit is encased in a dark housing, likely plastic or metal, and appears to be new, still in its protective plastic wrapping, resting on a cardboard box.
The MT8071IP HMI serves as a central control and monitoring unit for various industrial automation systems. Its touch-sensitive display allows for intuitive interaction, while its robust processor ensures efficient data processing and communication.
Setup
1. Unpacking and Inspection
- Carefully remove the HMI unit from its packaging.
- Inspect the unit for any signs of physical damage during transit. If damage is found, contact your supplier immediately.
- Verify that all included components (e.g., mounting hardware, connectors) are present.
2. Mounting
The MT8071IP is designed for panel mounting. Ensure the mounting surface is flat and stable, and that there is adequate space for ventilation and cable connections.
- Cut an opening in the panel according to the dimensions provided in the technical specifications section.
- Insert the HMI unit into the opening from the front.
- Secure the unit using the provided mounting clamps from the rear of the panel. Tighten screws evenly to ensure a snug fit without over-tightening.
3. Wiring and Connections
Before making any connections, ensure that the power supply is disconnected.
- Power Supply: Connect the appropriate DC power supply (refer to specifications for voltage range) to the power input terminal. Ensure correct polarity.
- Ethernet: Connect an Ethernet cable to the RJ45 port for network communication.
- Serial Ports: If using serial communication (e.g., RS-232, RS-485), connect the appropriate cables to the designated serial ports.
- USB Ports: USB ports can be used for data transfer, firmware updates, or connecting peripheral devices.
Operating
1. Powering On
Once all connections are secure, apply power to the HMI unit. The unit will initiate its boot sequence, and the operating system or pre-loaded application will start.
2. Initial Configuration
Upon first power-on or after a factory reset, you may need to configure basic settings such as:
- Language settings
- Date and time
- Network settings (IP address, subnet mask, gateway)
- Display calibration (if prompted)
3. Using the Touch Panel
The HMI features a resistive touch panel. Use a finger or a non-sharp stylus for interaction. Avoid using sharp objects that could damage the screen.
- Tap: To select an item or activate a button.
- Drag: To scroll through lists or move objects (if supported by the application).
- Hold: For context-sensitive menus (if supported).
4. Application Interaction
The specific functions and screens available will depend on the application loaded onto the HMI. Refer to the documentation for your specific application for detailed operational procedures.
Maintenance
1. Cleaning the Display
To clean the touch screen, power off the unit and use a soft, lint-free cloth dampened with a mild, non-abrasive glass cleaner. Do not spray cleaner directly onto the screen.
2. Firmware Updates
Periodically check the manufacturer's website for firmware updates. Firmware updates can improve performance, add new features, or resolve issues. Follow the provided instructions carefully when performing updates.
3. Environmental Considerations
Ensure the HMI operates within its specified temperature and humidity ranges. Avoid exposure to direct sunlight, excessive dust, or corrosive substances.
Troubleshooting
| Problem | Possible Cause | Solution |
|---|---|---|
| HMI does not power on. | No power supply; incorrect wiring; faulty power adapter. | Check power connections; verify power supply voltage; test power adapter. |
| Touch screen unresponsive. | Screen calibration issue; physical damage; software freeze. | Perform screen calibration; inspect for damage; restart the HMI. |
| Network connection failure. | Incorrect IP settings; faulty Ethernet cable; network device issue. | Verify network settings; replace Ethernet cable; check network switch/router. |
| Display shows distorted image. | Software issue; hardware malfunction. | Restart the HMI; update firmware; contact technical support if problem persists. |
For issues not listed here, or if the suggested solutions do not resolve the problem, please contact DAVITU technical support.
Specifications
| Feature | Detail |
|---|---|
| Model Number | MT8071IP |
| Display Size | 7 Inch |
| Display Type | TFT LCD Touch Panel |
| Resolution | 800 x 480 |
| Processor | 32 Bits RISC Cortex-A8 600MHz |
| RAM | 128 MB |
| Connectivity | Ethernet, USB, Serial Ports (RS-232, RS-485) |
| Certification | CE |
| Material | Stainless Steel (as per product specifications, though the image suggests a plastic casing for the display itself, the internal components or mounting frame might be stainless steel) |
| Included Components | Touch Panel, Processor |
Warranty and Support
For warranty information, please refer to the warranty card included with your product or visit the official DAVITU website. Technical support is available for assistance with installation, operation, and troubleshooting.
Contact Information: Please visit the DAVITU official website for the most up-to-date contact details for technical support and customer service.
Related Documents - MT8071IP
 |
ROLINE LineSecure III Web/SNMP Adapter - Technical Specifications and Features The ROLINE LineSecure III is a powerful Web and SNMP management adapter for UPS systems, offering centralized monitoring, advanced protocol support, and smooth multi-OS shutdown. This document details its specifications and features. |
 |
Weintek EasyAccess2.0: Remote HMI Management and Startup Guide This user manual provides comprehensive guidance on Weintek's EasyAccess2.0 software, enabling secure remote access, monitoring, and management of industrial HMIs and PLCs. It covers domain creation, HMI activation, user management, and pass-through functionalities. |
 |
Soluzioni HMI Weintek: Innovazione e Performance per l'Industria 4.0 Scopri la gamma completa di Human-Machine Interfaces (HMI), Gateway IoT e soluzioni di I/O remoti di Weintek. Prodotti innovativi e performanti per l'automazione industriale e l'Industria 4.0, con focus su connettività, teleassistenza e soluzioni client/server. |
Ask a question about this manual
Ask about setup, troubleshooting, compatibility, parts, safety, or missing instructions. Manuals+ will review the question and use this page’s manual context to help answer it.