EACHPAI Corner Shower Caddy
EACHPAI Corner Shower Caddy with Hooks and Soap Dish Instruction Manual
Model: Corner Shower Caddy
Introduction
This manual provides comprehensive instructions for the installation, operation, and maintenance of your EACHPAI Corner Shower Caddy with Hooks and Soap Dish. Please read these instructions carefully before installation and use to ensure proper function and longevity of the product.

Image 1: Complete set of EACHPAI Corner Shower Caddies and Soap Dish installed in a shower.
Product Overview
The EACHPAI Corner Shower Caddy set is designed to optimize storage in 90-degree right-angle corners of bathrooms and kitchens. Made from durable SUS304 stainless steel with a black painted finish, these caddies are waterproof, rustproof, non-fading, and scratch-resistant. The wire bottom design facilitates quick drainage, preventing mildew and bacteria buildup. A protective fence ensures items remain secure.
Included Components:
- 3 x Corner Shower Caddies (various sizes)
- 1 x Soap Dish
- 7 x Large Adhesives
- 1 x Small Adhesive (for soap dish)
- 6 x S-Shape Plastic Hooks
- 16 x Screws
- 16 x Rubber Screw Plugs

Image 2: Dimensions of the EACHPAI Corner Shower Caddies and Soap Dish.
Setup and Installation
The EACHPAI Corner Shower Caddy offers two installation methods: adhesive for smooth surfaces and screw-in for rough or uneven surfaces. Ensure your corner is a 90-degree right angle; this product is not suitable for round corners.
Important Compatibility Note:
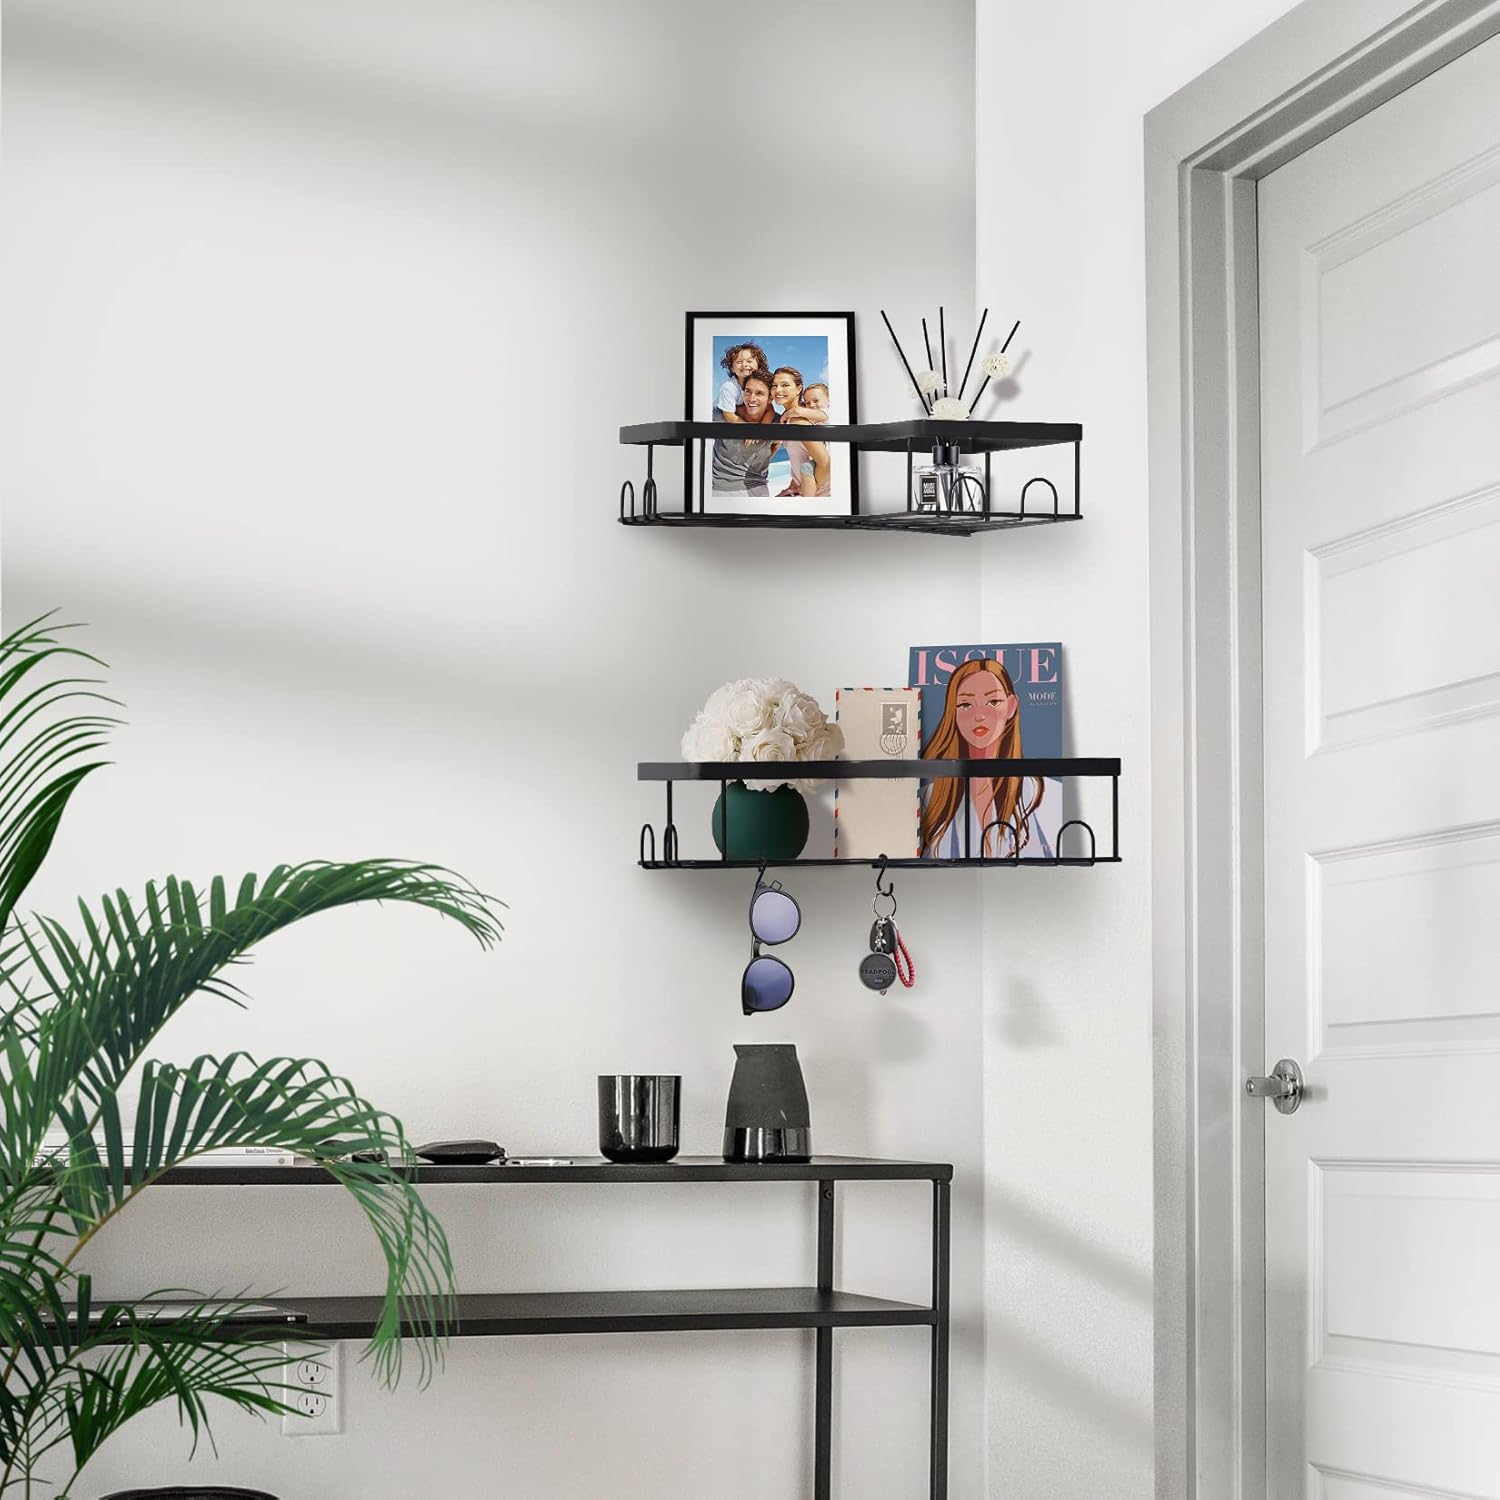
Image 3: Corner compatibility for installation. Only suitable for 90-degree right-angle corners.
Method 1: Adhesive Installation (No Drilling)
This method is suitable for smooth, flat, and dry surfaces such as smooth tiles, smooth marble, tempered glass, wooden walls, and solid metal. No drilling is required, preventing damage to your wall.
- Clean the Surface: Thoroughly clean and dry the corner surface where the caddy will be installed. Ensure it is free from dust, oil, and moisture.
- Mark Placement: Temporarily hold the caddy in place and mark the desired position for the adhesive pads.
- Apply Adhesive: Peel off the protective film from the back of the adhesive pads. Align the pads with your marks and firmly press them onto the wall, ensuring no air bubbles.
- Mount Caddy: Slide the caddy onto the installed adhesive pads.
- Wait: For optimal adhesion, wait at least 24 hours before placing items in the caddy. This allows the adhesive to fully cure.
Method 2: Screw Installation (For Rough/Uneven Walls)
This method is recommended for rough or uneven surfaces like rough plaster, painted walls, wallpaper, lime walls, or cement walls. All necessary screws and rubber screw plugs are included.
- Mark Drilling Points: Hold the caddy in the desired corner and mark the positions for drilling through the caddy's mounting holes.
- Drill Holes: Use an appropriate drill bit to drill holes at the marked positions.
- Insert Wall Plugs: Insert the rubber screw plugs into the drilled holes.
- Secure Caddy: Align the caddy's mounting holes with the wall plugs and insert the screws. Tighten the screws until the caddy is firmly secured to the wall.

Image 4: Illustration of adhesive and screw installation methods for various wall types.
Operating Instructions
Once installed, your EACHPAI Corner Shower Caddy is ready for use. It provides convenient storage for various bathroom and kitchen items.
- Load Capacity: The caddies can bear up to 40 lbs (18 kg) of weight. Distribute items evenly to maintain stability.
- Item Placement: Place shampoo, conditioner, body wash, face wash, shaving cream, and other toiletries in the main caddy baskets.
- Hook Usage: Utilize the fixed hooks on the caddies and the additional S-shape plastic hooks for hanging washcloths, razors, loofahs, sponges, or other small accessories.
- Soap Dish: The dedicated soap dish is designed to keep bar soap dry and easily accessible.
Video 1: Official product demonstration of the EACHPAI Corner Shower Caddy set, showcasing its features and use in a shower environment.
Maintenance and Care
To ensure the longevity and appearance of your EACHPAI Corner Shower Caddy, follow these simple maintenance guidelines:
- Cleaning: Wipe the caddies with a dry cloth regularly to remove water spots and soap residue. For stubborn stains, use a mild, non-abrasive cleaner and then dry thoroughly.
- Avoid Harsh Chemicals: Do not use abrasive cleaners, scouring pads, or harsh chemicals, as these can damage the black painted finish and stainless steel.
- Drainage: The wire bottom design promotes drainage. Ensure that water can freely drain to prevent standing water and potential mildew growth.
- Adhesive Longevity: If using adhesive installation, avoid excessive moisture or direct water spray on the adhesive pads for extended periods, especially immediately after installation.
Troubleshooting
| Problem | Possible Cause | Solution |
|---|---|---|
| Caddy not adhering properly (Adhesive method) |
|
|
| Caddy appears wobbly or loose (Screw method) |
|
|
| Rust or discoloration on caddy |
|
|
Specifications
| Feature | Detail |
|---|---|
| Brand | EACHPAI |
| Model | Corner Shower Caddy (B09FSFD1F7) |
| Material | SUS304 Stainless Steel |
| Finish | Black Painted |
| Special Features | Waterproof, Rustproof, Non-fading, Scratch-resistant |
| Number of Items | 4 (3 Corner Caddies, 1 Soap Dish) |
| Installation Type | Adhesive Wall Mounted / Screw Wall Mounted |
| Weight Capacity | Up to 40 lbs (18 kg) |
| Recommended Use | Bathroom and Kitchen Corner Storage |
| Corner Compatibility | Only 90-degree right-angle corners |
| Item Weight | 2.33 pounds (total package) |
| UPC | 671866253284 |
Warranty and Support
Specific warranty information is not provided in the product details. For any questions, concerns, or support regarding your EACHPAI Corner Shower Caddy, please contact EACHPAI customer service through the platform where you purchased the product. You can typically find contact information on the seller's store page or through your order history.
For additional information, visit the official EACHPAI Store: EACHPAI Store on Amazon.
Related Documents - Corner Shower Caddy
 |
cutefafa Rustproof Corner Shower Caddy Installation Manual Comprehensive installation guide for the cutefafa Corner Shower Caddy. Learn how to assemble the tension pole shower organizer, select the correct pole lengths based on measurements, and install it securely in your bathroom. |
 |
Aitatty Shower Caddy Installation Guide Step-by-step instructions for installing the Aitatty Shower Caddy Shelf Organizer Rack, including parts list and mounting guide. |
 |
Aitatty Shower Caddy Product Instructions and Specifications Comprehensive instructions and specifications for the Aitatty Shower Caddy, including installation guidance, product details, and customer service information. |
 |
Corner Shower Caddy Tension Pole Installation Guide and Assembly Instructions Detailed guide for assembling and installing a tension pole corner shower caddy. Learn how to measure, select parts, assemble poles, attach shelves, and secure the unit for bathroom organization. |
 |
Hamitor Corner Shower Caddy Installation and User Manual Comprehensive guide for installing and using the Hamitor Corner Shower Caddy, a 4-tier adjustable tension pole bathroom organizer. Includes parts list, assembly instructions, troubleshooting, and height dimension information. |
 |
Rebrilliant Rustproof 4 Tier Corner Shower Caddy Assembly Guide Step-by-step assembly instructions for the Rebrilliant Rustproof 4 Tier Floor Standing Corner Shower Caddy Organizer. Learn how to easily put together your bathroom storage solution. |
Ask a question about this manual
Ask about setup, troubleshooting, compatibility, parts, safety, or missing instructions. Manuals+ will review the question and use this page’s manual context to help answer it.