
1. Introduction
Thank you for choosing the vapeonly J3 Bone Conduction Speaker. This innovative portable wireless speaker utilizes bone conduction technology to transform various surfaces into sound sources, offering a unique audio experience. Its compact design and versatile features make it ideal for home, outdoor, and travel use. This manual will guide you through the setup, operation, and maintenance of your new speaker.
Included Components:
- vapeonly J3 Bone Conduction Speaker
- USB Charging Cable
- User Manual
- Adhesive Stickers
2. Safety Information
Please read and follow these safety guidelines to ensure proper use and prevent damage to the device or injury to yourself.
- Do not expose the speaker to water or excessive moisture.
- Avoid extreme temperatures (hot or cold) and direct sunlight.
- Do not disassemble, repair, or modify the device. This will void the warranty.
- Keep the speaker away from strong magnetic fields.
- Do not use abrasive cleaners or solvents on the speaker.
- Prolonged exposure to high volume levels may cause hearing damage.
- Dispose of the device and its battery responsibly according to local regulations.
3. Product Overview
Familiarize yourself with the components of your vapeonly J3 Bone Conduction Speaker.

Image: Diagram illustrating the various parts of the J3 Bone Conduction Speaker, including the Lanyard Hole, Function Keys, Microphone Hole, Power Button/FM Radio, Transducer, LED Indicator, Viscose, and Charging Port.
- Lanyard Hole: For attaching a lanyard for portability.
- Function Keys: Control playback, volume, and call functions.
- Microphone Hole: For hands-free calling.
- Power Button/FM Radio: Long press to power on/off, short press to switch modes (Bluetooth/FM).
- Transducer: The bone conduction element that vibrates to create sound on surfaces.
- LED Indicator: Displays device status (e.g., charging, paired, low battery).
- Viscose: Adhesive base for attaching to surfaces.
- Charging Port: USB port for charging the speaker.
4. Setup
4.1 Charging the Speaker
Before first use, fully charge your speaker.
- Connect the provided USB charging cable to the speaker's charging port (8).
- Connect the other end of the USB cable to a standard USB power adapter (not included) or a computer's USB port.
- The LED indicator (6) will illuminate during charging and turn off once fully charged.
4.2 Bluetooth Pairing
Pair your speaker with a Bluetooth-enabled device (e.g., smartphone, tablet).
- Long press the Power Button (4) to turn on the speaker. The LED indicator (6) will flash, indicating it's in pairing mode.
- On your device, enable Bluetooth and search for available devices.
- Select "Humbird Speaker" or similar from the list.
- Once connected, the LED indicator (6) will stop flashing and remain solid. You will hear a confirmation tone.
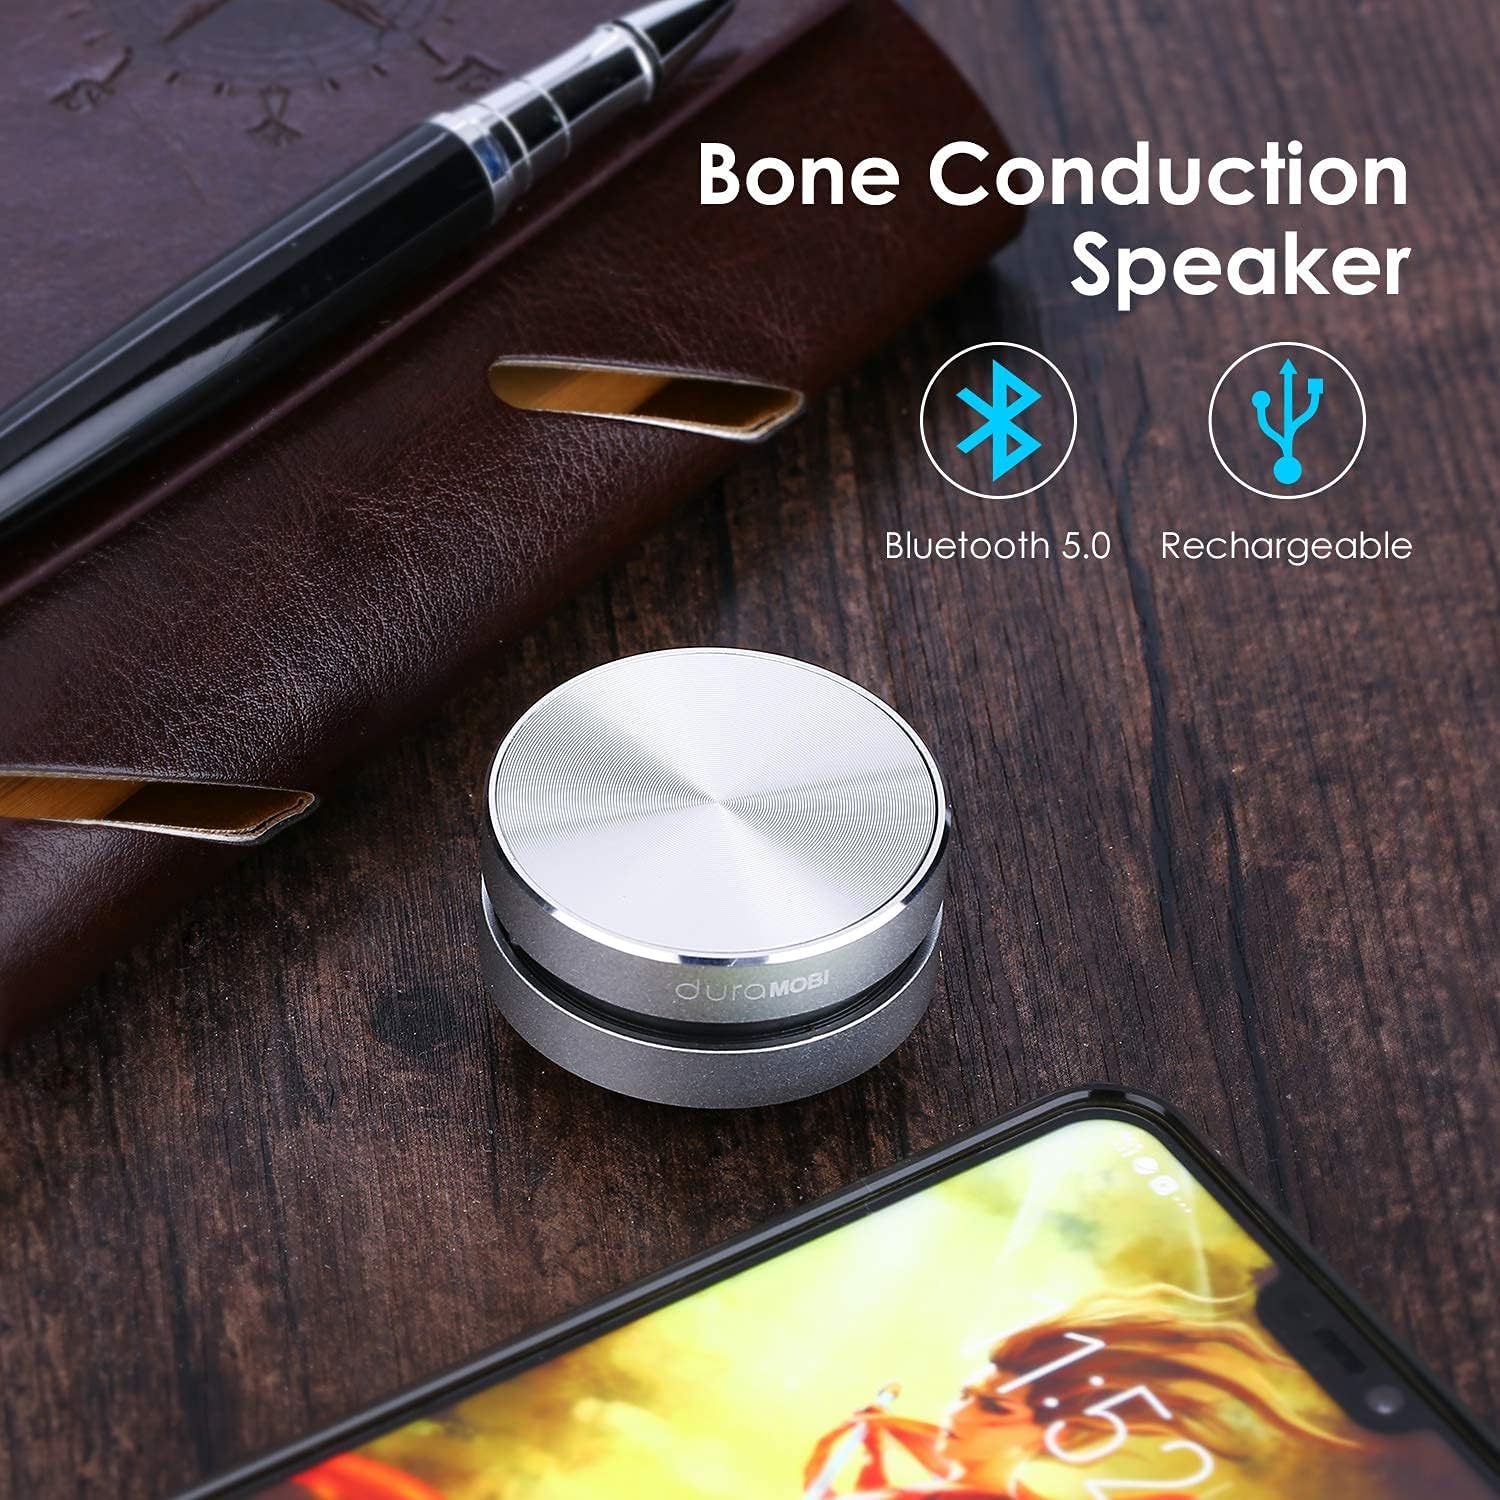
Image: The J3 Bone Conduction Speaker highlighting its Bluetooth 5.0 connectivity and rechargeable battery feature.
4.3 True Wireless Stereo (TWS) Pairing (Optional)
For an enhanced stereo experience, you can pair two J3 Bone Conduction Speakers together.
- Ensure both speakers are fully charged and turned off.
- Turn on both speakers simultaneously. They will enter pairing mode.
- Wait for a few seconds; the speakers will automatically attempt to pair with each other. You will hear a confirmation tone when TWS pairing is successful.
- Once TWS paired, connect your device to one of the speakers via Bluetooth as described in section 4.2. Both speakers will then play audio in stereo.
5. Operating Instructions
5.1 Power On/Off
- Power On: Long press the Power Button (4) until the LED indicator (6) lights up and you hear a power-on tone.
- Power Off: Long press the Power Button (4) until the LED indicator (6) turns off and you hear a power-off tone.
5.2 Music Playback
Once connected via Bluetooth, you can control music playback from your paired device or using the speaker's Function Keys (2).
- Play/Pause: Short press the Function Key (2).
- Next Track: Double press the Function Key (2).
- Previous Track: Triple press the Function Key (2).
- Volume Control: Adjust volume directly from your connected device.
5.3 Call Management
The built-in microphone (3) allows for hands-free calls when connected to a smartphone.
- Answer Call: Short press the Function Key (2) when an incoming call rings.
- End Call: Short press the Function Key (2) during a call.
- Reject Call: Long press the Function Key (2) when an incoming call rings.

Image: The J3 Bone Conduction Speaker highlighting its capabilities for hands-free calls, FM radio, stereo sound, and durable aluminum construction.
5.4 FM Radio Mode
The speaker includes an FM radio function.
- Switch to FM Mode: Short press the Power Button (4) to cycle between Bluetooth and FM radio modes.
- Auto-Scan Stations: In FM mode, long press the Function Key (2) to automatically scan and save available FM stations.
- Change Station: Short press the Function Key (2) to switch between saved stations.
5.5 Utilizing Bone Conduction Technology
The J3 speaker's unique feature is its ability to transmit sound through vibrations. Different surfaces will produce different sound effects.
- Ensure the speaker is powered on and playing audio.
- Peel off the protective film from the viscose (7) at the bottom of the speaker.
- Firmly press the speaker onto a clean, smooth, hollow surface. Experiment with various materials like wood, glass, cardboard, plastic, or metal.
- Listen to how the sound changes with each surface. Hollow objects generally produce louder and more resonant sound.

Image: The J3 Bone Conduction Speaker demonstrating its versatility by being attached to different objects, showcasing how various surfaces can produce distinct sound effects.
6. Maintenance
6.1 Cleaning
- Wipe the speaker with a soft, dry cloth.
- Do not use liquid cleaners, aerosols, or solvents.
- Ensure the charging port is free of dust and debris.
6.2 Storage
- Store the speaker in a cool, dry place away from direct sunlight and extreme temperatures.
- If storing for an extended period, charge the battery periodically to maintain its lifespan.
7. Troubleshooting
If you encounter issues with your speaker, refer to the following common problems and solutions.
| Problem | Possible Solution |
|---|---|
| Speaker does not power on. | Ensure the battery is charged. Connect to a power source and try again. |
| Cannot pair via Bluetooth. | Ensure the speaker is in pairing mode (flashing LED). Turn off and on your device's Bluetooth. Move speaker closer to device. Forget previous pairings on your device. |
| No sound or low volume. | Increase volume on both the speaker and your connected device. Ensure the speaker is firmly attached to a suitable surface. Try a different surface. |
| Sound distortion. | Reduce the volume on your connected device. Try a different surface. Ensure the speaker is not vibrating excessively on the surface. |
| TWS pairing fails. | Ensure both speakers are turned off before attempting TWS pairing. Make sure they are close to each other. |
| FM radio not working. | Ensure you are in FM mode. Perform an auto-scan for stations. |
8. Specifications
Key technical specifications for the vapeonly J3 Bone Conduction Speaker.
| Feature | Detail |
|---|---|
| Model Name | Humbird Speaker (J3 Bone Conduction Speaker) |
| Speaker Type | Bone Conduction |
| Connectivity Technology | Bluetooth |
| Wireless Communication Technology | Bluetooth |
| Bluetooth Range | 10 Meters |
| Audio Output Mode | Stereo, Surround |
| Speaker Maximum Output Power | 10 Watts |
| Frequency Response | 200 Hz |
| Power Source | Battery Powered |
| Battery Capacity | 800 mAh (8E+2 Milliamp Hours) |
| Item Weight | 4.97 ounces (approx. 141 grams) |
| Product Dimensions | 1"D x 2"W x 1"H (approx. 2.54cm D x 5.08cm W x 2.54cm H) |
| Control Method | Voice (and physical buttons) |
| Special Feature | Built-in Microphone, Stereo Pairing |
| Color | Silver |
9. Warranty and Support
9.1 Warranty Information
The vapeonly J3 Bone Conduction Speaker comes with a Limited Warranty. Please refer to the warranty card included in your package or contact the seller for specific terms and conditions.
9.2 Customer Support
If you have any questions, require technical assistance, or experience issues not covered in the troubleshooting section, please contact your retailer or the manufacturer's customer support. Contact information can typically be found on the product packaging or the brand's official website.