
Diswoe Controller for Nintendo Switch
Diswoe Wireless Pro Controller User Manual
Model: Controller for Nintendo Switch
Introduction
Thank you for choosing the Diswoe Wireless Pro Controller. This gamepad is designed to enhance your gaming experience on Nintendo Switch, Switch Lite, OLED, and PC. It features advanced functionalities such as a 6-axis gyro, adjustable Turbo function, dual shock vibration, and a comfortable ergonomic design for extended play sessions. This manual provides detailed instructions on setup, operation, maintenance, and troubleshooting to ensure optimal performance of your controller.

Figure 1: Diswoe Wireless Pro Controller
Package Contents
- Diswoe Wireless Pro Controller
- USB Charging Cable
- User Manual
Controller Layout

Figure 2: Controller Button Layout
- Left 3D Stick: For directional movement.
- D-pad: Directional Pad for precise inputs.
- Home Button: Returns to the console's home screen.
- Screenshot Button: Captures in-game screenshots.
- Turbo Button: Activates and adjusts Turbo function.
- +/- Buttons: System menu navigation, volume control.
- A/B/X/Y Buttons: Standard action buttons.
- Right 3D Stick: For camera control or aiming.
- L1/R1 Buttons: Shoulder buttons.
- L2/R2 Buttons: Trigger buttons.
- TAPY-C Port: USB-C port for charging and wired connection.
Setup
1. Initial Charging
Before first use, fully charge the controller. Connect the supplied USB charging cable to the controller's USB-C port and the other end to a USB power source (e.g., Switch dock, PC, or USB wall adapter). The charging time is approximately 2-3 hours for a full charge, providing up to 12 hours of continuous gameplay.

Figure 3: Battery and Charging Indication
2. Pairing with Nintendo Switch/Switch Lite/OLED
- From the HOME Menu, select "Controllers" > "Change Grip/Order".
- While on the "Change Grip/Order" screen, press and hold the Home button on the Diswoe controller for 3-5 seconds until the LED indicators start flashing rapidly.
- Once paired, the corresponding player LED(s) on the controller will light up solid.
- The controller supports up to 4 players simultaneously.

Figure 4: Controller in use with Nintendo Switch
3. Connecting to PC (Wired Only)
The Diswoe controller can be connected to a PC via the USB charging cable. No specific driver installation is required for basic functionality.
- Connect the USB-C end of the cable to the controller and the USB-A end to your PC.
- The PC should automatically recognize the controller as a gamepad.
Operating Instructions
1. Basic Controls
Utilize the Left and Right 3D sticks for analog movement and camera control. The D-pad provides precise digital inputs. The A/B/X/Y buttons are for in-game actions. L1/R1 and L2/R2 serve as shoulder and trigger buttons respectively.
2. Gyro Axis Motion Sensors
The controller features a high-quality 6-axis centrifugal chip for precise somatosensory targeting. This allows for motion control in compatible games, enabling actions like rotation, tilt, and acceleration-based inputs.

Figure 5: 6-Axis Gyro Motion Sensors in Action
3. Adjustable TURBO Function
The Turbo function allows for rapid, automatic pressing of a button. To set up Turbo:
- Press and hold the Turbo button, then press the desired action button (A/B/X/Y/L1/R1/L2/R2) to enable Turbo for that button.
- To adjust Turbo speed, press and hold the Turbo button and move the Right 3D stick Up/Down. There are 3 speeds: 5 shots/s, 12 shots/s, and 20 shots/s.
- To clear Turbo for a specific button, press and hold the Turbo button and press the action button again. To clear all Turbo settings, press and hold the Turbo button for 5 seconds.

Figure 6: Turbo Function Activation
4. Dual Shock Vibration Adjustment
The controller features dual motors for realistic vibration feedback. You can adjust the vibration intensity:
- Press and hold the Turbo button and move the Left 3D stick Up/Down to cycle through 3 vibration intensities: Low, Medium, and Strong.
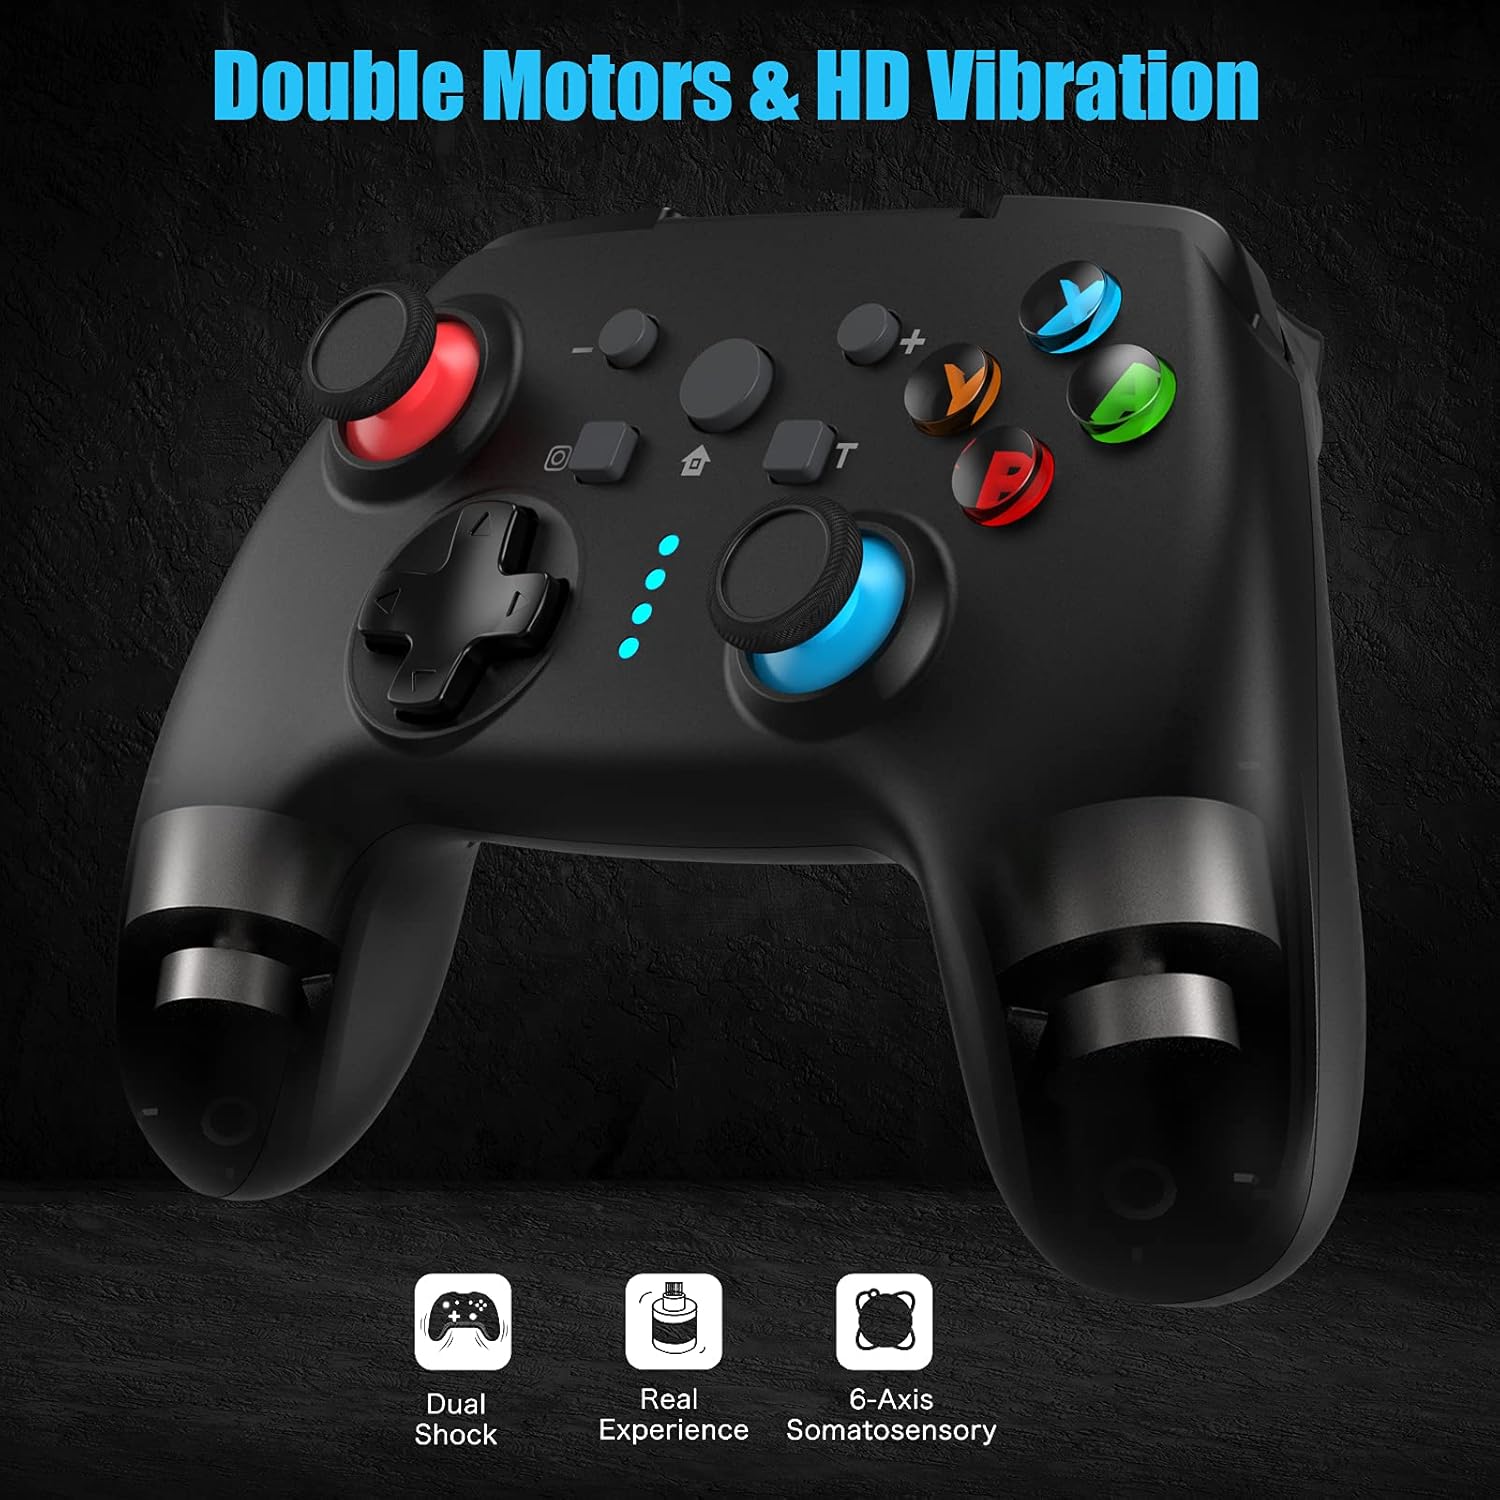
Figure 7: Dual Shock Vibration Feature
5. Screenshot Capture
Press the Screenshot button (located near the Home button) to instantly capture your in-game moments.
6. Wake-up Function
When the Switch console is in sleep mode, you can press the Home button on the controller to wake up the console and automatically reconnect the controller.
Maintenance
1. Charging Guidelines
- Charge the controller when the battery indicator is low.
- Avoid overcharging; disconnect once fully charged.
- The controller supports charging while playing.
2. Cleaning and Storage
- Clean the controller with a soft, dry cloth. Do not use harsh chemicals or abrasive materials.
- Store the controller in a cool, dry place away from direct sunlight and extreme temperatures.
- If not used for an extended period, charge the controller at least once every three months to maintain battery health.
3. Auto Sleep Function
The controller will automatically enter sleep mode after 5 minutes of no input to conserve battery life. Press any button to wake it up.
Troubleshooting
- Controller not connecting/pairing:
- Ensure the controller is charged.
- Make sure the Switch console is updated to the latest system version.
- Try restarting the Switch console.
- Repeat the pairing process carefully.
- If issues persist, try connecting the controller via USB cable to the Switch dock (if applicable) to force a connection, then try wireless pairing again.
- Buttons or sticks unresponsive:
- Check battery level.
- Ensure the controller is within the 10m wireless range.
- Restart the controller by holding the Home button for 10 seconds until it turns off, then turn it back on.
- If connected to PC, try a different USB port.
- Vibration not working or too weak/strong:
- Adjust the vibration intensity as described in the "Operating Instructions" section.
- Ensure the game supports vibration feedback.
- Turbo function not working:
- Ensure you have correctly assigned the Turbo function to the desired button.
- Check if the Turbo speed is set appropriately.
Specifications
| Feature | Detail |
|---|---|
| Brand | Diswoe |
| Model Name | Controller for Nintendo Switch |
| Connectivity Technology | Wireless (Bluetooth), USB (Wired) |
| Controller Type | Gamepad |
| Compatible Platforms | Nintendo Switch, Switch Lite, OLED, PC |
| Battery Type | Lithium-ion (600 mAh) |
| Charging Time | Approx. 2-3 hours |
| Playing Time | Up to 12 hours |
| Wireless Range | Up to 10 meters |
| Special Features | 6-Axis Gyro, Adjustable Turbo, Dual Shock Vibration, Screenshot Capture, Wake-up Function |
| Number of Buttons | 16 |
| Color | Black |
Warranty and Support
Information regarding specific warranty terms and conditions for this product is not provided in the available data. For warranty claims, technical support, or further inquiries, please contact the manufacturer or your point of purchase. Keep your purchase receipt as proof of purchase.
Manufacturer: Diswoe
Ask a question about this manual
Ask about setup, troubleshooting, compatibility, parts, safety, or missing instructions. Manuals+ will review the question and use this page’s manual context to help answer it.