1. Product Overview
This manual provides essential information for the installation and use of the Mintu Dryer Timer Replacement part. This component is designed to replace the original timer in various dryer models, restoring proper cycle control and functionality.

Image 1: Top-down view of the Mintu Dryer Timer Replacement part, highlighting its metal mounting plate and the central white plastic shaft.
2. Safety Information
WARNING: Before attempting any repair or installation, always disconnect the dryer from its power source by unplugging it or turning off the circuit breaker. Failure to do so can result in serious injury or death from electrical shock.
- Always wear appropriate personal protective equipment, such as gloves, during installation.
- If you are unsure about any step of the installation process, consult a qualified appliance technician.
- Ensure all connections are secure before restoring power to the appliance.
- Keep children and pets away from the work area during installation.
3. Compatibility
This Mintu Dryer Timer Replacement part is compatible with a wide range of dryer models from various brands. Please verify your dryer's model number against the list below to ensure compatibility. You can typically find your model number on a label inside the dryer door, on the back, or on the control panel.
Compatible Kenmore Models:
- 110.60222510
- 110.602225100
- 110.60222511
- 110.62332510
- 110.62332511
- 110.C60222510
- 110.C60222511
- 110.C60242510
- 110.C60242511
- 110.C62332510
- 110.C62332511
Compatible Amana Models:
- NED4700YQ0
- NED4700YQ1
- NED4705EW0
- NED4705EW1
- YNED4700YQ0
- YNED4700YQ1
- YNED4705EW0
Compatible Inglis Models:
- YIED4700YQ0
- YIED4700YQ1
Compatible Whirlpool Models:
- 1MWED1750EM0
- 3LWED4705FW0
- 3LWED4730FW0
- 4KWED4705FW0
- 4KWED5700JW0
- 7MWED1650EQ0
- WED4616FW0
- YWED4616FW0
- YWED4850HW0
4. Product Features
The Mintu Dryer Timer Replacement is a critical component responsible for controlling the duration and sequence of various drying cycles. Its features include:
- Precise Cycle Control: Ensures accurate timing for different drying settings.
- Durable Construction: Manufactured to meet or exceed original equipment specifications for longevity.
- Direct Replacement: Designed for a straightforward fit in compatible dryer models.
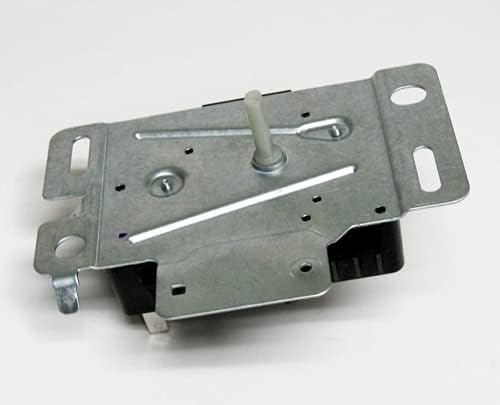
Image 2: Side view of the timer, illustrating the electrical terminals and the robust metal bracket for mounting.
5. Setup and Installation
Replacing a dryer timer typically involves accessing the control panel. The exact steps may vary by dryer model. It is highly recommended to consult your specific dryer's service manual or a professional technician for detailed instructions.
General Installation Steps:
- Disconnect Power: Unplug the dryer from the wall outlet or turn off the corresponding circuit breaker at your home's electrical panel.
- Access the Control Panel: Depending on your dryer model, this may involve removing screws from the back of the control panel or prying off a top panel.
- Locate the Old Timer: Identify the existing timer unit. It is usually mounted behind the control knob.
- Photograph Wiring: Before disconnecting any wires, take clear photos of the existing wiring connections to the timer. This will serve as a reference for reassembly.
- Disconnect Wires: Carefully disconnect all wires from the old timer. Note that some terminals may be labeled.
- Remove Old Timer: Unscrew or unclip the old timer from its mounting bracket.
- Install New Timer: Position the new Mintu timer in the same location and secure it with the screws or clips.
- Connect Wires: Using your photographs as a guide, connect the wires to the corresponding terminals on the new timer. Ensure all connections are firm and correct.
- Reassemble Control Panel: Carefully reattach the control panel and any other components removed during disassembly.
- Restore Power: Plug the dryer back into the outlet or turn on the circuit breaker.
- Test Functionality: Run a short drying cycle to ensure the new timer operates correctly and advances through cycles as expected.

Image 3: A different side angle of the timer, detailing the electrical pins and manufacturing information.
6. Operating Instructions
Once installed, the Mintu Dryer Timer Replacement functions identically to the original timer. Operation of your dryer will remain unchanged. Refer to your dryer's user manual for specific instructions on selecting cycles, setting drying times, and using special features.
- Turn the dryer knob to select the desired drying cycle (e.g., Timed Dry, Delicates, Permanent Press).
- The timer will automatically advance through the cycle, controlling heating and tumbling until the selected time or dryness level is reached.
- Ensure the dryer vent is clear for optimal performance and safety.
7. Maintenance
The dryer timer itself is a sealed unit and does not require routine maintenance. However, proper maintenance of your dryer can extend the life of all its components, including the timer.
- Regularly clean the lint filter before or after each load.
- Periodically inspect and clean the dryer vent system to prevent lint buildup, which can cause overheating and reduce efficiency.
- Ensure the dryer is level and stable to minimize vibration.
8. Troubleshooting
If your dryer is experiencing issues after timer replacement, consider the following common troubleshooting steps. Always disconnect power before inspecting internal components.
| Problem | Possible Cause | Solution |
|---|---|---|
| Dryer does not start | No power, door switch issue, thermal fuse, or wiring error. | Check power supply. Ensure door is fully closed. Verify all wiring connections to the new timer are correct. Consult a technician for other component checks. |
| Timer does not advance | Faulty timer (unlikely if new), motor issue, or clogged vent. | Ensure the dryer is heating and tumbling. Clean the dryer vent thoroughly. If the issue persists, the timer may be faulty or there's another underlying electrical problem. |
| Dryer runs continuously | Faulty timer or wiring error. | Verify all wiring connections to the new timer are correct. If connections are correct, the timer may be defective. |
For complex issues or if troubleshooting does not resolve the problem, it is recommended to contact a certified appliance repair technician.
9. Specifications
Key specifications for the Mintu Dryer Timer Replacement part:
- Brand: Mintu
- Part Type: Dryer Timer Replacement
- Number of Settings: 2 (as per product data, refers to internal settings/modes)
- UPC: 824252618680
- Global Trade Identification Number: 00824252618680
- Manufacturer: Mintu
- First Available Date: September 1, 2021
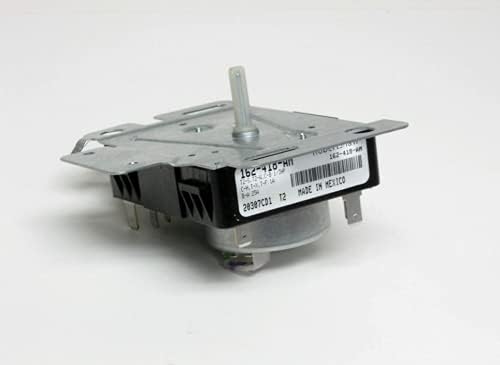
Image 4: Detailed view of the timer's label, showing part numbers and country of origin.
10. Warranty and Support
This product is sold by ZAL Wholesale. For specific warranty information, please refer to the terms provided by the seller at the time of purchase. A 30-day return policy is typically offered for this item.
For technical support or inquiries regarding the product, please contact the seller directly through the platform where the purchase was made. For general dryer repair advice, consult a qualified appliance technician or your dryer's manufacturer support resources.
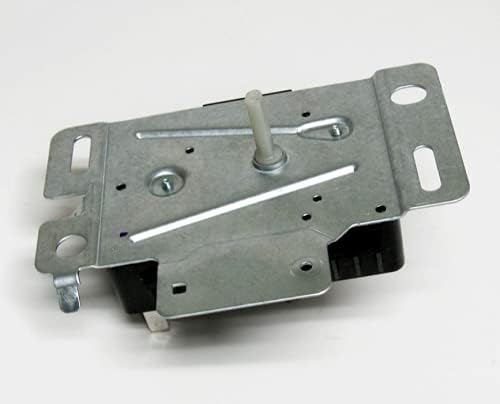
Image 5: An additional view of the timer, showcasing its compact form factor and mounting features.