1. Introduction
Thank you for choosing the YunLone 31MP 1080P FHD Kids Digital SLR Camera. This camera is designed to be user-friendly for children aged 5-12, encouraging creativity and exploration through photography. It features a 31MP Sony FHD lens, 1080P/30fps video recording, autofocus, and a durable, child-friendly design. Please read this manual carefully to ensure proper use and to maximize your child's enjoyment of the camera.
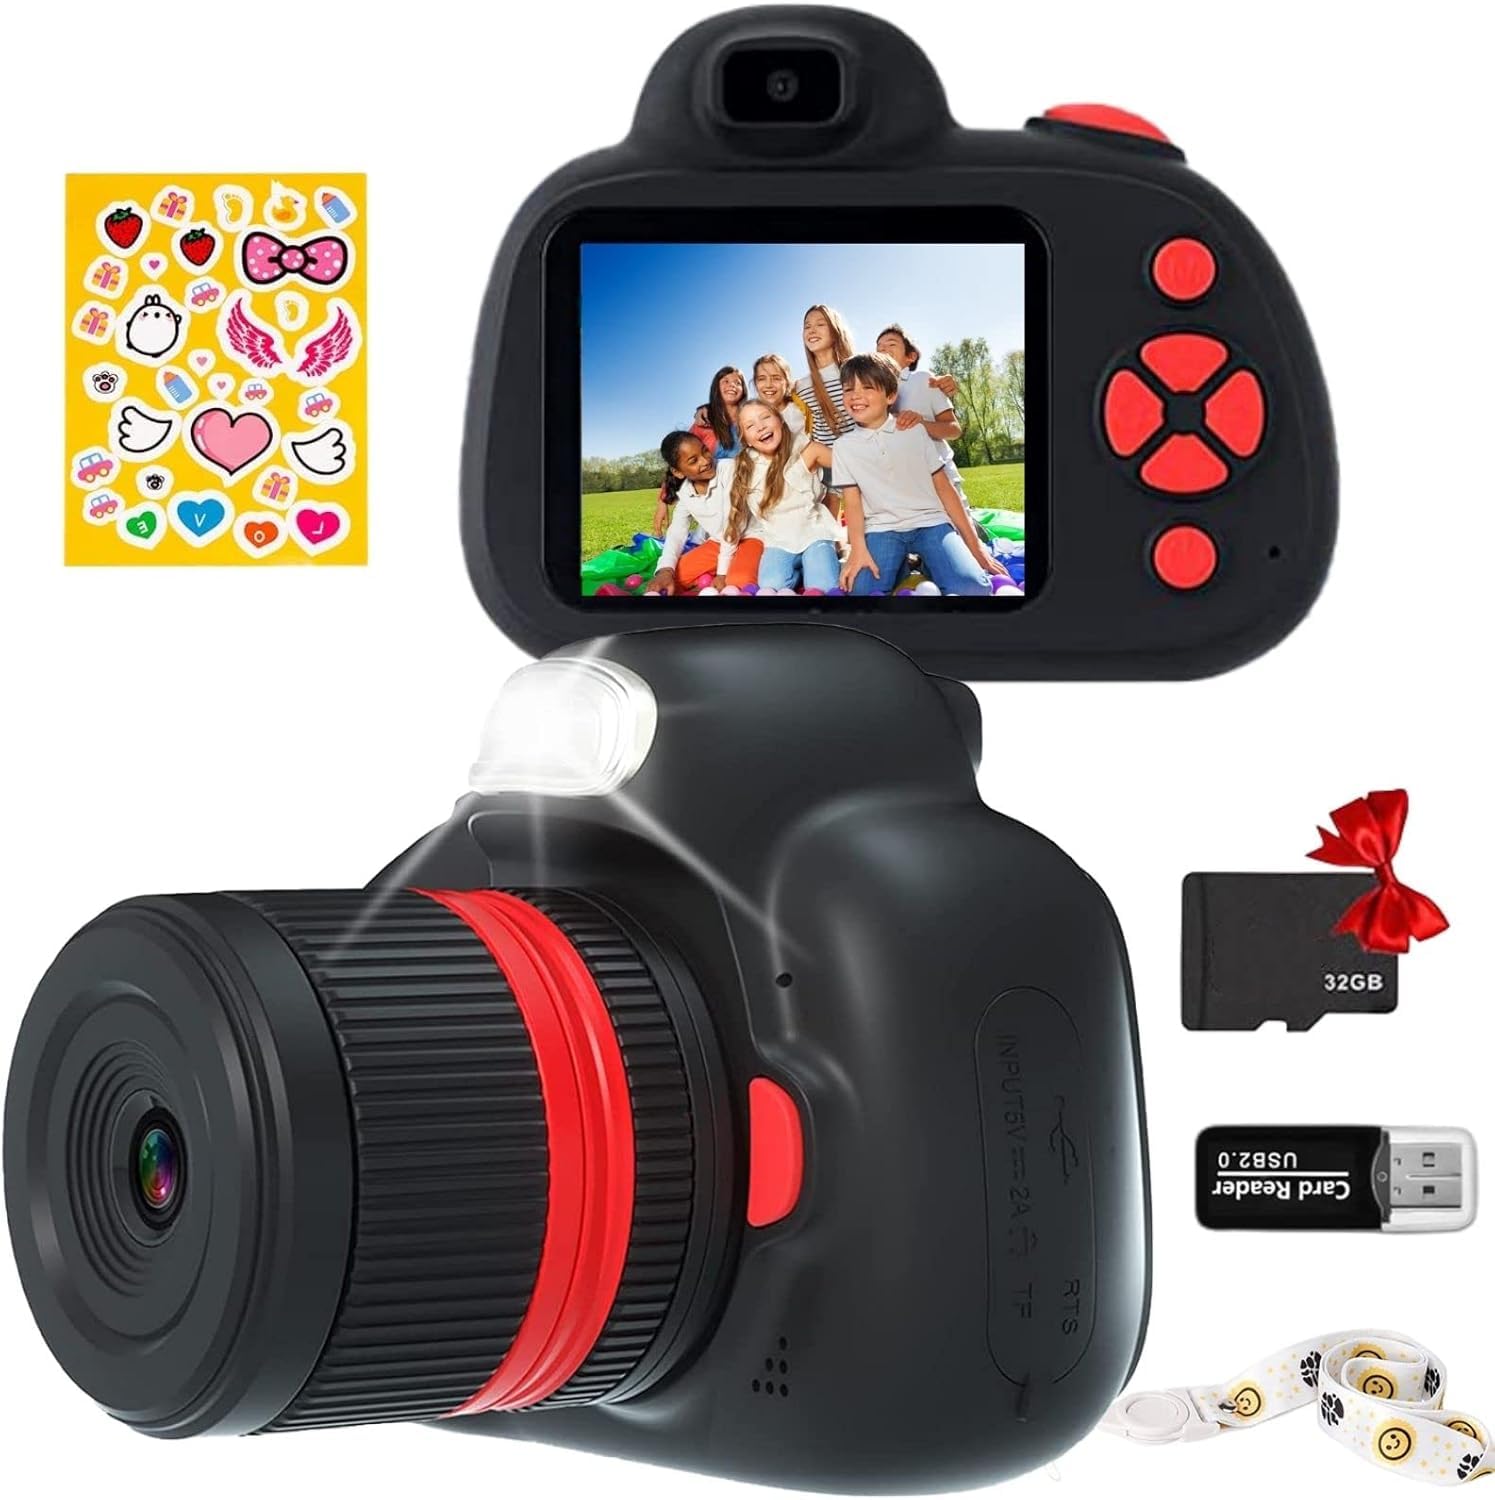
Image: The YunLone Kids Digital SLR Camera, available in black and pink, shown with children enjoying outdoor activities, highlighting its target audience and use case.
2. Product Components
Familiarize yourself with the main components of your YunLone Kids Digital SLR Camera.

Image: Overview of camera features including 1080P video, 28MP resolution, dual cameras, 20x digital zoom, time-lapse, burst shooting, 1200mAh battery, flash, and auto power-off.

Image: Detailed view highlighting the rotatable digital zoom lens (1.0x-20.0x) and the AF (Autofocus) button on the camera body.
Package Contents:
- YunLone Kids Digital SLR Camera (Model RM)
- USB Charging Cable
- 32GB Micro SD Card (pre-installed or included separately)
- Lanyard
- User Manual (this document)
3. Setup
3.1 Charging the Battery
The camera is equipped with a 1200mAh rechargeable Lithium-ion battery. Before first use, fully charge the camera.
- Connect the provided USB charging cable to the camera's USB port.
- Connect the other end of the USB cable to a standard USB power adapter (not included) or a computer's USB port.
- The charging indicator light will illuminate. Once fully charged, the light may change color or turn off.
- A full charge typically provides up to 5 hours of continuous photo taking.
3.2 Inserting the Micro SD Card
A 32GB Micro SD card is included to store photos and videos. Ensure it is correctly inserted before use.
- Locate the Micro SD card slot on the side or bottom of the camera.
- Gently insert the Micro SD card with the metal contacts facing the front of the camera until it clicks into place.
- To remove, gently press the card inward until it clicks, then release, and it will spring out.
3.3 Attaching the Lanyard
Attach the lanyard to prevent accidental drops and for easy carrying.
- Thread the thin loop of the lanyard through the designated lanyard hole on the camera body.
- Pass the main strap of the lanyard through the loop and pull tight to secure.
4. Operating Instructions
4.1 Power On/Off
- To power on: Press and hold the Power button (usually marked with a power symbol) for a few seconds.
- To power off: Press and hold the Power button again. The camera also features an auto-power-off function after 5 minutes of inactivity to conserve battery.
4.2 Taking Photos
- Switching Modes: Use the mode button (if available) or navigation buttons to select photo mode.
- Framing: Use the 2.4-inch IPS screen to frame your shot. The camera has both front and rear lenses for selfies.
- Autofocus: Press the AF button (Autofocus) to ensure the subject is clear. The camera features 1-click autofocus.
- Zoom: Rotate the zoom lens to adjust the focal length (1x to 20x digital zoom).
- Capture: Press the Shutter button to take a photo.
- Smile Capture: The camera supports smile capture for automatic photo taking when a smile is detected.
- Burst Shooting: Activate burst mode for taking multiple photos in quick succession (3 seconds burst).
- Timer: Use the timer function for delayed shots.

Image: Demonstrates the camera's selfie capability and face detection feature, showing a child and adult smiling while taking a photo.

Image: Illustrates the burst shooting function, showing three consecutive frames of children playing soccer, captured by the camera.
4.3 Recording Videos
- Switching Modes: Select video recording mode.
- Start Recording: Press the Shutter button to start recording. The camera records at 1080P/30fps.
- Stop Recording: Press the Shutter button again to stop recording.
4.4 Using Filters and Frames
The camera includes 32 frames and 6 filters to add creative effects to photos and videos.
- Navigate to the filter/frame menu using the navigation buttons.
- Select your desired filter or frame before taking a photo or recording a video.

Image: The camera screen showing a photo of children with balloons, demonstrating the application of a creative frame or effect.

Image: Examples of different color filters (e.g., sepia, black and white, pink tint) applied to a portrait, showcasing the camera's filter options.
4.5 Playback and Deleting Files
- Enter playback mode to view your captured photos and videos.
- Use the navigation buttons to scroll through files.
- To delete an unwanted image or video, select it and follow the on-screen prompts for deletion.
4.6 Connecting to a Computer
You can transfer photos and videos to a computer using the USB cable.
- Connect the camera to your computer using the USB cable.
- The camera should appear as a removable disk drive on your computer.
- Open the drive to access and transfer your files.
5. Maintenance
5.1 Cleaning the Camera
- Use a soft, dry cloth to clean the camera body.
- For the lens and screen, use a specialized lens cleaning cloth. Do not use abrasive cleaners or solvents.
5.2 Storage
- Store the camera in a cool, dry place away from direct sunlight and extreme temperatures.
- Ensure the camera is powered off before storing.
5.3 Battery Care
- Avoid fully discharging the battery frequently.
- If storing for extended periods, charge the battery to about 50% capacity.
6. Troubleshooting
| Problem | Possible Cause | Solution |
|---|---|---|
| Camera does not turn on. | Low battery; faulty power button. | Charge the battery fully. Ensure the power button is pressed correctly. If issues persist, contact support. |
| Cannot take photos/videos. | No Micro SD card; Micro SD card full or corrupted. | Insert a Micro SD card. Check available space on the card. Format the card (this will erase all data) or try a different card. |
| Photos are blurry. | Autofocus not engaged; camera movement; dirty lens. | Press the AF button to autofocus. Hold the camera steady. Clean the lens with a soft cloth. |
| Camera turns off automatically too quickly. | Auto-power-off setting. | Check camera settings for auto-power-off duration. The default is 5 minutes of inactivity. |
| Cannot connect to computer. | Faulty USB cable; incorrect connection. | Try a different USB cable. Ensure the cable is securely connected to both the camera and the computer. Try a different USB port on the computer. |
7. Specifications
| Feature | Detail |
|---|---|
| Brand | YunLone |
| Model Number | RM |
| Effective Still Resolution | 28 Megapixels |
| Video Resolution | 1080P at 30fps |
| Camera Lens | Sony FHD Lens |
| Autofocus Points | 15 |
| Digital Zoom | 20x |
| Screen Size | 2.4 inches LCD (IPS) |
| Image Stabilization | Digital |
| Battery Type | 1200mAh Lithium-ion (rechargeable) |
| Connectivity Technology | USB |
| Storage | Supports Micro SD card (32GB included) |
| Dimensions (L x W x H) | 4.5 x 9.3 x 6.8 cm |
| Item Weight | 120 Grams |
| Special Features | Autofocus, Smile Capture, Burst Shooting, Time-lapse, Built-in Flash, 32 Frames, 6 Filters, Dual Camera (front/rear) |
| Water Resistance Level | Not waterproof |
8. Warranty & Support
8.1 Product Warranty
The YunLone Kids Digital SLR Camera comes with a 12-month warranty from the date of purchase. This warranty covers manufacturing defects and malfunctions under normal use. It does not cover damage caused by misuse, accidents, unauthorized repairs, or normal wear and tear.
Please retain your proof of purchase for warranty claims.
8.2 Customer Support
For any questions, technical assistance, or warranty claims, please contact YunLone customer support through the retailer where the product was purchased or refer to the contact information provided in the product packaging.
When contacting support, please have your product model (RM) and purchase details ready.