
RIVECO 2U
RIVECO 2U Vented Rack Panel User Manual
Model: 2U
Introduction
Thank you for choosing the RIVECO 2U Vented Rack Panel. This manual provides essential information for the proper installation, operation, and maintenance of your new rack panel. Designed for 19-inch server and network racks, this panel helps manage airflow and maintain a clean, organized appearance within your rack system.
Product Features
- Universal Design: Meets international 19-inch rack, EIA/ECA-310-E Compliant standards, ensuring compatibility with standard server and network racks.
- Durable Construction: Manufactured from high-quality cold-rolled SPCC Steel with a firm powder coating for strength and longevity.
- Enhanced Airflow: Vented design facilitates air circulation, guiding airflow through equipment gaps to dissipate heat and extend equipment lifespan.
- Tool-less Installation: Designed for fast and easy installation, latching onto standard 19-inch server racks without requiring specialized tools.
- Improved Aesthetics: Covers empty rack spaces and visible cables, contributing to a clean and organized rack appearance.
Package Contents
Verify that all components are present in your package:
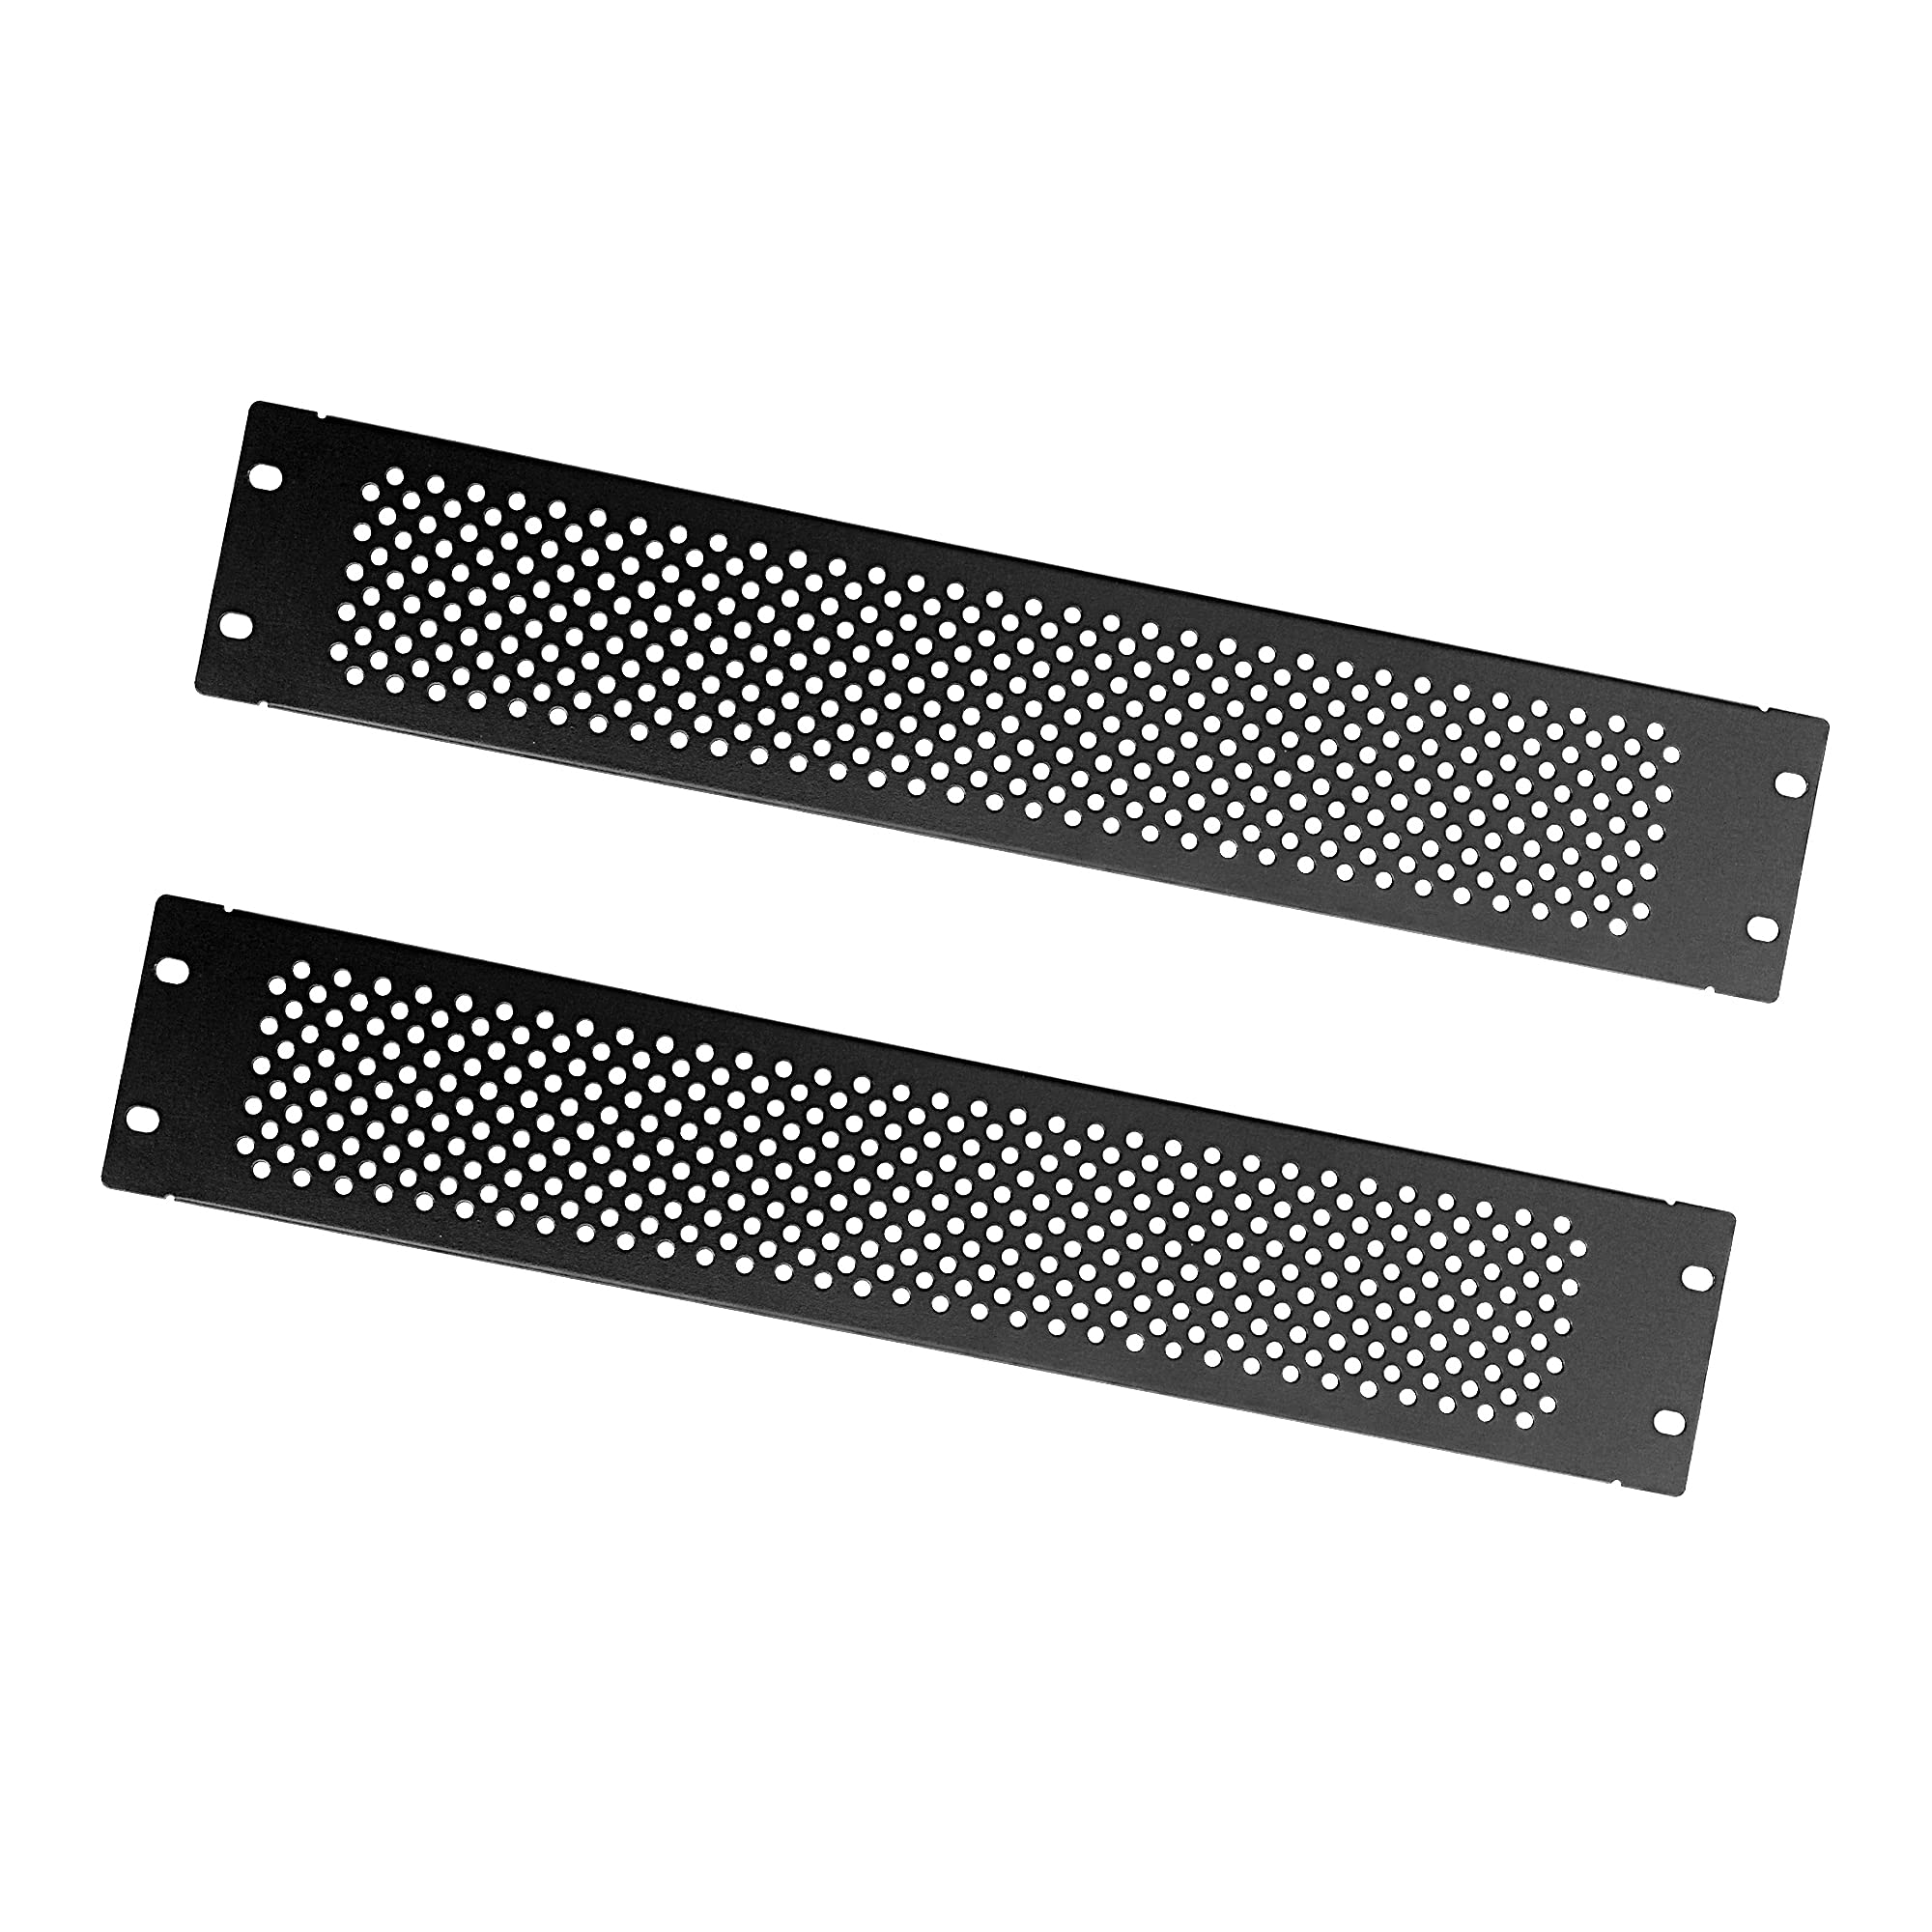 RIVECO 2U Vented Rack Panel (Quantity: 1)
 M6 Screws (Quantity: 8)
- Cage Nuts (Quantity: 8)
Note: The image for M6 Screws and Cage Nuts is a general representation of hardware included.
Dimensions
The RIVECO 2U Vented Rack Panel is designed to fit standard 19-inch rack units. Refer to the diagram below for detailed dimensions.

Figure 1: RIVECO 2U Vented Rack Panel Dimensions. The panel measures 19 inches (48.3 cm) in width and 3.46 inches (8.8 cm) in height, corresponding to 2U rack space.
Installation
Follow these steps to install your RIVECO 2U Vented Rack Panel:
- Identify Rack Space: Locate an available 2U space within your 19-inch server or network rack where you wish to install the panel.
- Insert Cage Nuts: For racks requiring cage nuts, insert four cage nuts into the square holes of the rack rails corresponding to the middle of the 2U space. Ensure they are securely seated.
- Position the Panel: Align the oval screw holes on the RIVECO 2U Vented Rack Panel with the cage nuts or threaded holes on your rack rails.
- Secure the Panel: Insert the provided M6 screws through the panel's oval holes and into the cage nuts or threaded holes. Tighten the screws until the panel is firmly secured to the rack. Do not overtighten.


Figure 2: Installation details showing screw holes and mesh design. The oval screw holes allow for easy alignment, and the mesh ensures proper ventilation.

Figure 3: Example of the RIVECO 2U Vented Rack Panel installed in a rack, covering empty space and promoting airflow.
Operation (Airflow Management)
The primary function of the RIVECO 2U Vented Rack Panel is to optimize airflow within your rack. By filling unused rack spaces with a vented panel, you can:
- Direct Airflow: Prevent hot air recirculation and ensure that cooling air is directed efficiently over active equipment.
- Reduce Hot Spots: Minimize areas of elevated temperature within the rack, protecting sensitive components.
- Improve Cooling Efficiency: Contribute to a more effective cooling system, potentially reducing energy consumption and extending the life of your hardware.
Figure 4: Detailed view of the mesh pattern, designed for optimal ventilation and heat dissipation.
Maintenance
The RIVECO 2U Vented Rack Panel requires minimal maintenance:
- Cleaning: Periodically wipe the panel with a soft, dry cloth to remove dust. For stubborn marks, a slightly damp cloth can be used, followed by immediate drying. Avoid abrasive cleaners or solvents.
- Inspection: Occasionally check the mounting screws to ensure they remain tight.
Troubleshooting
If you encounter any issues during installation or use, consider the following:
- Panel Does Not Fit:
- Ensure your rack is a standard 19-inch width.
- Verify that you are attempting to install the panel into a 2U height space.
- Check if the cage nuts (if used) are correctly positioned and aligned with the panel's screw holes.
- Screws Do Not Tighten:
- Confirm that you are using the correct M6 screws for the cage nuts or threaded rack holes.
- Ensure cage nuts are fully seated and not cross-threaded.
Specifications
| Attribute | Value |
|---|---|
| Brand | RIVECO |
| Model | 2U Vented Blank Panel |
| Material | Alloy Steel (SPCC Cold Rolled Steel) |
| Color | Black |
| Size | 2U |
| Product Dimensions (W x H x D) | 19 x 3.46 x 0.39 inches (48.3 x 8.8 x 1 cm) |
| Item Weight | 1.43 pounds (0.65 kg) |
| Compatible Devices | 19" standard equipment racks |
| Compliance | EIA/ECA-310-E Compliant |
Warranty and Support
RIVECO products are manufactured to high-quality standards. For specific warranty information or technical support, please refer to the RIVECO official website or contact their customer service directly. Keep your purchase receipt for warranty claims.
Ask a question about this manual
Ask about setup, troubleshooting, compatibility, parts, safety, or missing instructions. Manuals+ will review the question and use this page’s manual context to help answer it.