1. Introduction
Thank you for choosing the Greadio MD-T26 Portable AM/FM/SW Radio. This manual provides detailed instructions for the proper setup, operation, and maintenance of your radio. Please read this manual thoroughly before use to ensure optimal performance and longevity of your device.
The Greadio MD-T26 is a versatile portable radio featuring AM, FM, and Shortwave (SW) bands, an LCD display for clear frequency and time viewing, and dual power options for both indoor and outdoor use. It is designed for ease of use with large, accessible controls and a built-in speaker for clear audio.

Figure 1: Front view of the Greadio MD-T26 Portable AM/FM/SW Radio.
2. Product Features
- Multi-Band Reception: Receives AM, FM, and Shortwave (SW) frequencies.
- LCD Display: Clear digital display for frequency and time settings.
- Dual Power Options: Operates via AC power or 4 x D cell batteries (not included).
- High-Quality Speaker: Integrated 2W speaker for clear sound output.
- Tone Control: Adjustable tone settings (Low/High) for personalized audio.
- Earphone Jack: 3.5mm stereo earphone jack for private listening.
- Portable Design: Equipped with a sturdy handle for easy transport.
3. Setup
3.1 Powering the Radio
The Greadio MD-T26 radio offers two methods for power supply:
- AC Power Supply: For indoor use, connect the included AC power cable to the radio's AC input jack and then plug it into a standard wall outlet.
- Battery Power Supply: For portable use, insert four (4) D cell batteries (not included) into the battery compartment located on the back of the radio. Ensure correct polarity (+/-) as indicated inside the compartment.
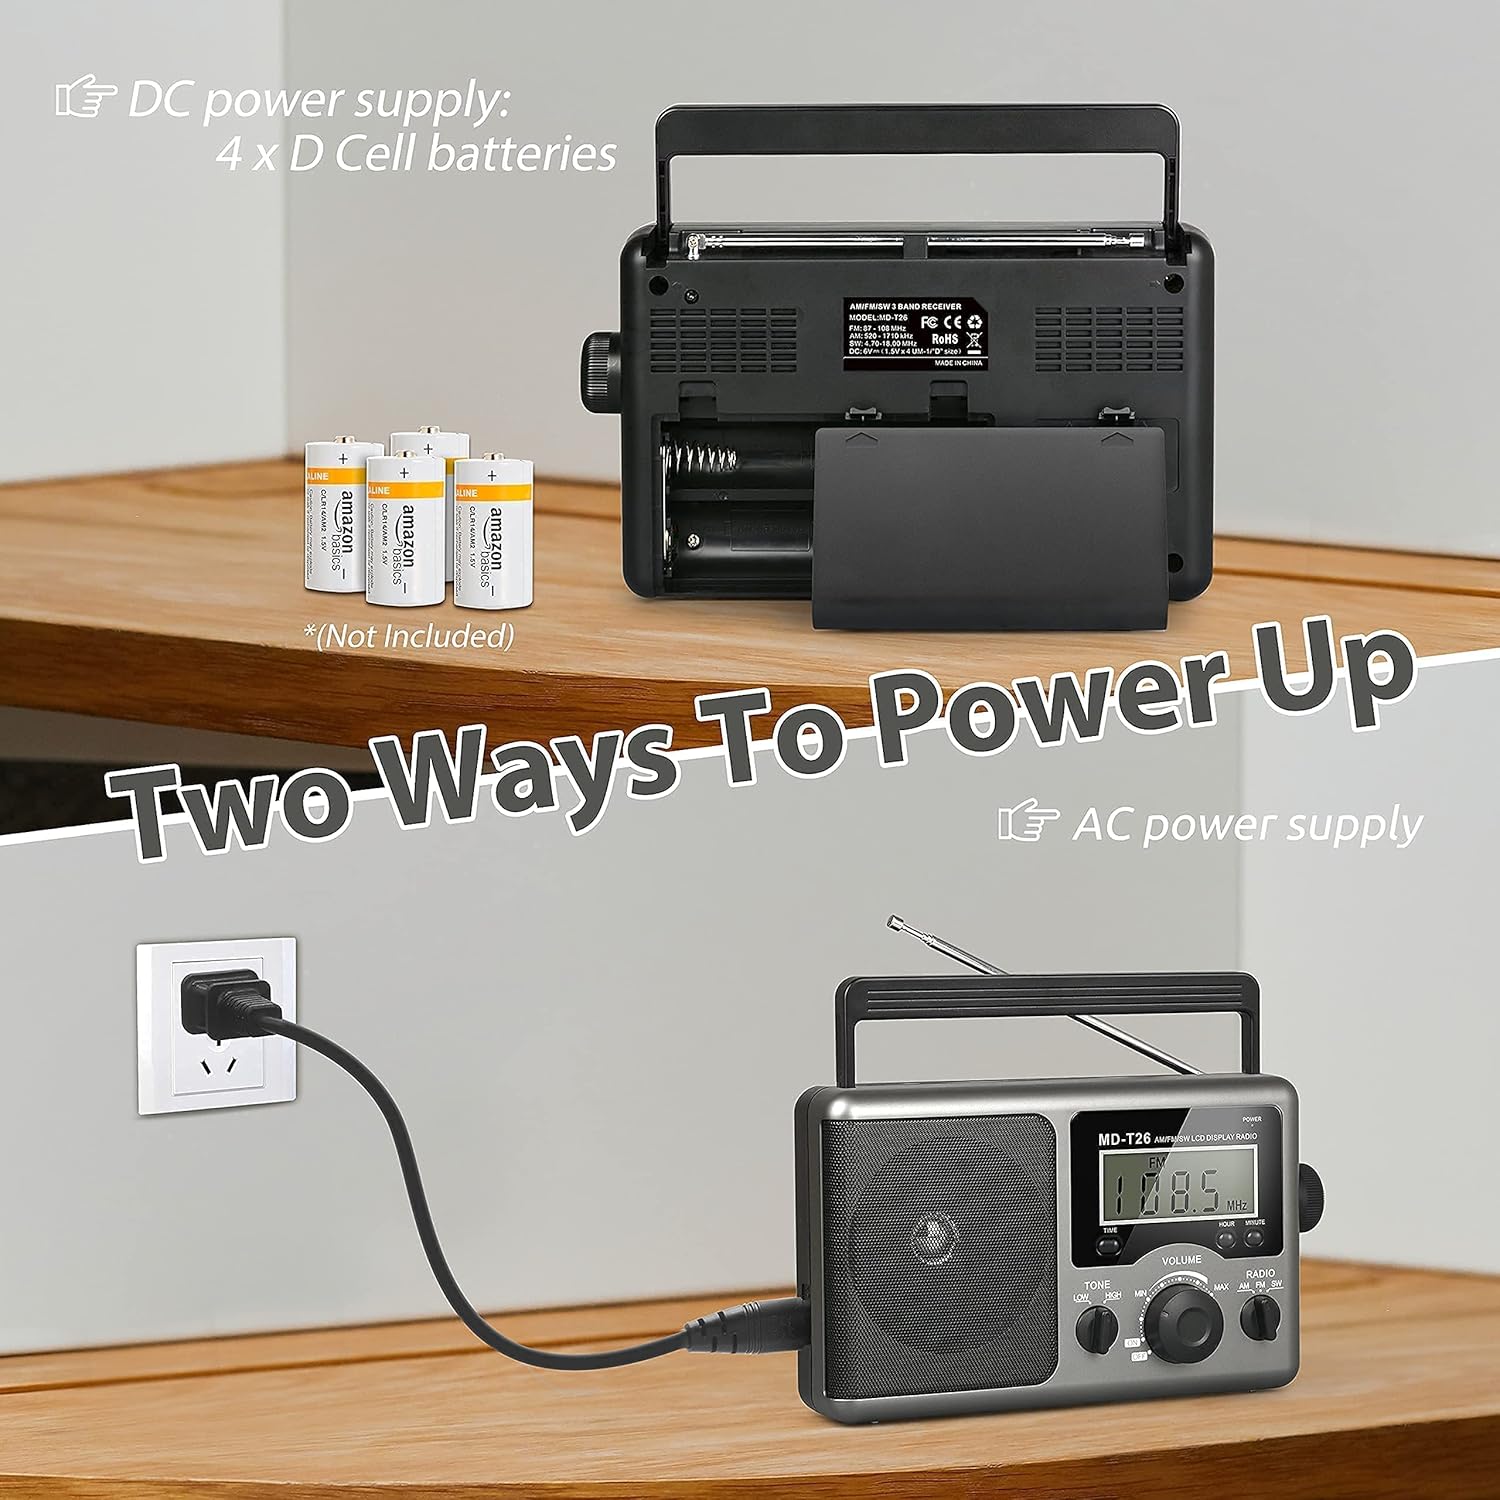
Figure 2: Illustration of AC power connection and battery compartment for D cell batteries.
3.2 Antenna Adjustment
For optimal reception, adjust the antenna as follows:
- FM/SW Reception: Extend the telescopic antenna fully and adjust its angle for the clearest signal.
- AM Reception: The radio uses a built-in ferrite rod antenna for AM. Rotate the entire radio unit to find the strongest signal.
4. Operating Instructions
4.1 Controls Overview

Figure 3: Detailed view of the radio's control panel.
- POWER Button: Located on the top right, press to turn the radio ON/OFF.
- TUNING Knob: Located on the right side, rotate to select radio stations.
- VOLUME Knob: Located on the front panel, rotate to adjust the sound level.
- RADIO Band Selector: Switch between AM, FM, and SW bands.
- TONE Switch: Select between LOW and HIGH tone settings.
- TIME/HOUR/MINUTE Buttons: Used for setting the time on the LCD display.
4.2 Turning On and Selecting a Band
- Press the POWER button to turn on the radio. The LCD display will illuminate.
- Use the RADIO band selector switch to choose your desired band: AM, FM, or SW.
4.3 Tuning to a Station
Once a band is selected, slowly rotate the TUNING knob on the right side of the radio. Observe the frequency displayed on the LCD screen. Stop rotating when you hear your desired station clearly.
4.4 Adjusting Volume and Tone
- Volume: Rotate the VOLUME knob on the front panel clockwise to increase volume and counter-clockwise to decrease it.
- Tone: Use the TONE switch to select between 'LOW' for a warmer sound or 'HIGH' for a brighter sound, according to your preference.
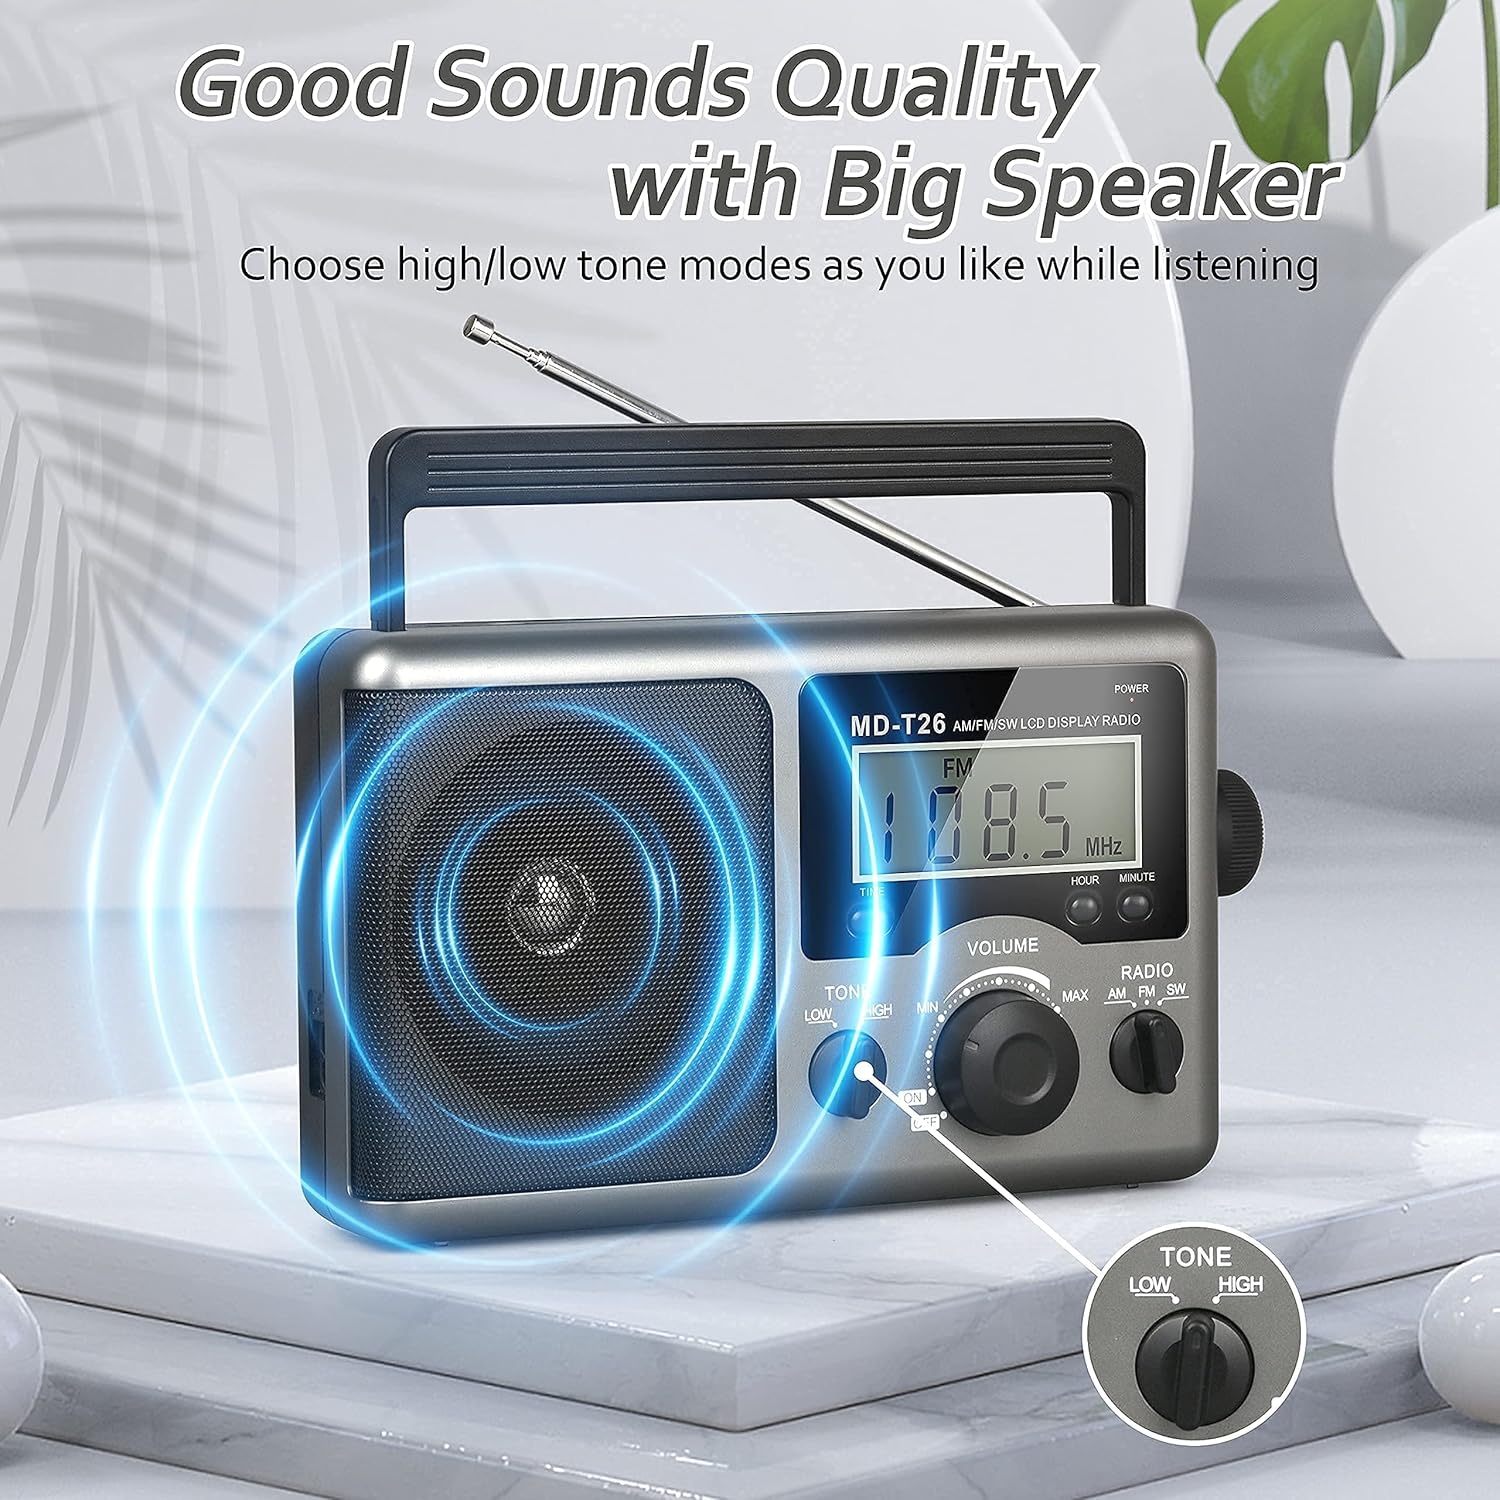
Figure 4: Speaker and Tone control detail.
4.5 Setting the Time
The LCD display can also show the current time. To set the time:
- Press the TIME button once to enter time setting mode.
- Use the HOUR button to adjust the hour.
- Use the MINUTE button to adjust the minute.
- The time system is 24-hour format.
4.6 Using the Earphone Jack
For private listening, plug any standard 3.5mm stereo earphones (not included) into the EARPHONE JACK located on the side of the radio. The internal speaker will automatically mute when earphones are connected.
5. Maintenance
- Cleaning: Wipe the radio's exterior with a soft, dry cloth. Do not use abrasive cleaners or solvents.
- Battery Care: If the radio will not be used for an extended period, remove the D cell batteries to prevent leakage and damage.
- Storage: Store the radio in a cool, dry place away from direct sunlight and extreme temperatures.
- Water Resistance: This radio is not water resistant. Avoid exposure to rain, moisture, or splashing water.
6. Troubleshooting
| Problem | Possible Cause | Solution |
|---|---|---|
| No power | AC cable not connected, batteries depleted or incorrectly inserted. | Check AC cable connection. Replace batteries or ensure correct polarity. |
| Poor reception / Static | Antenna not extended/adjusted, weak signal area, interference. | Extend and adjust telescopic antenna (FM/SW). Rotate radio for AM. Move to an area with better signal. Avoid sources of electronic interference. |
| No sound from speaker | Volume too low, earphones connected. | Increase volume. Disconnect earphones if not intended for private listening. |
| LCD display not working | Power issue, internal fault. | Check power supply. If problem persists, contact customer support. |
7. Specifications
| Feature | Detail |
|---|---|
| Brand | Greadio |
| Model Number | MD-T26 |
| Connectivity Technology | Auxiliary (for earphone) |
| Tuner Technology | AM, FM, SW |
| Power Source | AC Power, 4 x D Cell Batteries |
| Compatible Devices | Earphone |
| Display Type | LCD |
| Hardware Interface | 3.5mm Audio Jack |
| Water Resistance Level | Not Water Resistant |
8. Warranty and Support
8.1 Warranty Information
Greadio provides a 12-month warranty for this product, covering manufacturing defects from the date of purchase. Additionally, a 30-day money-back guarantee is offered.
This warranty does not cover damage caused by misuse, accident, unauthorized modification, or normal wear and tear.
8.2 Customer Support
For any questions, technical assistance, or warranty claims, please contact Greadio customer service. We offer 24/7 customer service to assist you.
Please refer to the product packaging or the retailer's website for the most current contact information.


