Introduction
Thank you for purchasing the FoodSaver FM2010DTC Vacuum Sealer. This manual provides essential information for the safe and efficient operation, maintenance, and troubleshooting of your new appliance. Please read it thoroughly before use and keep it for future reference.

Figure 1: FoodSaver FM2010DTC Vacuum Sealer unit.
Important Safety Instructions
- Read all instructions before using the appliance.
- Do not immerse the appliance, power cord, or plug in water or other liquids.
- Close supervision is necessary when the appliance is used by or near children.
- Unplug from outlet when not in use and before cleaning.
- Do not operate any appliance with a damaged cord or plug, or after the appliance malfunctions or has been damaged in any manner.
- Use only manufacturer-recommended attachments.
- Do not use outdoors.
- Do not place on or near a hot gas or electric burner, or in a heated oven.
- Always attach plug to appliance first, then plug cord into the wall outlet. To disconnect, turn any control to "off", then remove plug from wall outlet.
- Use appliance only for intended household use.
Setup
- Unpack the Unit: Carefully remove the vacuum sealer from its packaging. Retain all packaging materials for future storage or shipping.
- Inspect for Damage: Check the appliance for any signs of damage. Do not use if damaged.
- Placement: Place the vacuum sealer on a flat, stable, and dry surface. Ensure there is enough space around the unit for operation.
- Power Connection: Plug the power cord into a standard electrical outlet.
- Prepare Bags/Rolls: If using a roll, insert it into the internal storage compartment (if available) and pull out the desired length. Use the built-in cutter to create a bag. Seal one end of the bag using the sealing function before vacuuming.
Video 1: Demonstrates the process of vacuum sealing, including preparing a bag from a roll and sealing it. This video shows the general operation of a vacuum sealer, which is relevant to setup and initial use.
Operating Instructions
1. Vacuum Sealing with Bags
- Fill the Bag: Place the food item(s) into a FoodSaver vacuum seal bag. Ensure there is at least 3 inches of space between the food and the top of the bag to allow for proper sealing.
- Position the Bag: Open the lid of the vacuum sealer. Place the open end of the bag into the vacuum channel. Ensure the bag is flat and smooth, covering the vacuum gasket.
- Close and Lock: Close the lid firmly until you hear a "click" on both sides, indicating it is locked.
- Start Vacuum and Seal: Press the "Vacuum & Seal" button. The machine will automatically remove air from the bag and then heat-seal it. The indicator light will turn green when the process is complete.
- Release and Remove: Once the light turns green, unlock the lid and remove the sealed bag.
Video 2: Demonstrates the vacuum sealing process for food items in a bag. It shows placing the bag, closing the lid, initiating the vacuum and seal, and removing the finished product.
2. Sealing Only (No Vacuum)
This function is useful for sealing delicate items or creating custom-sized bags from a roll.
- Position the Bag: Place the open end of the bag over the sealing strip, ensuring it is flat.
- Close and Lock: Close the lid firmly until it locks.
- Start Sealing: Press the "Seal Only" button. The machine will heat-seal the bag without removing air. The indicator light will turn green when complete.
- Release and Remove: Unlock the lid and remove the sealed bag.
3. Using with Accessory Hose (for Containers/Canisters)
The FoodSaver FM2010DTC can be used with FoodSaver vacuum containers and canisters (sold separately or as part of a set) to vacuum seal liquids or delicate items.
- Prepare Container: Place food into the FoodSaver container/canister and secure its lid.
- Connect Hose: Insert one end of the accessory hose into the accessory port on the vacuum sealer. Insert the other end into the port on the container lid.
- Start Vacuum: Press the "Accessory" or "Canister" button (if available, otherwise use "Vacuum & Seal" and monitor). The machine will remove air from the container.
- Disconnect: Once vacuuming is complete, remove the hose from both the machine and the container.
- To Open Container: Press the release button on the container lid to equalize pressure before opening.
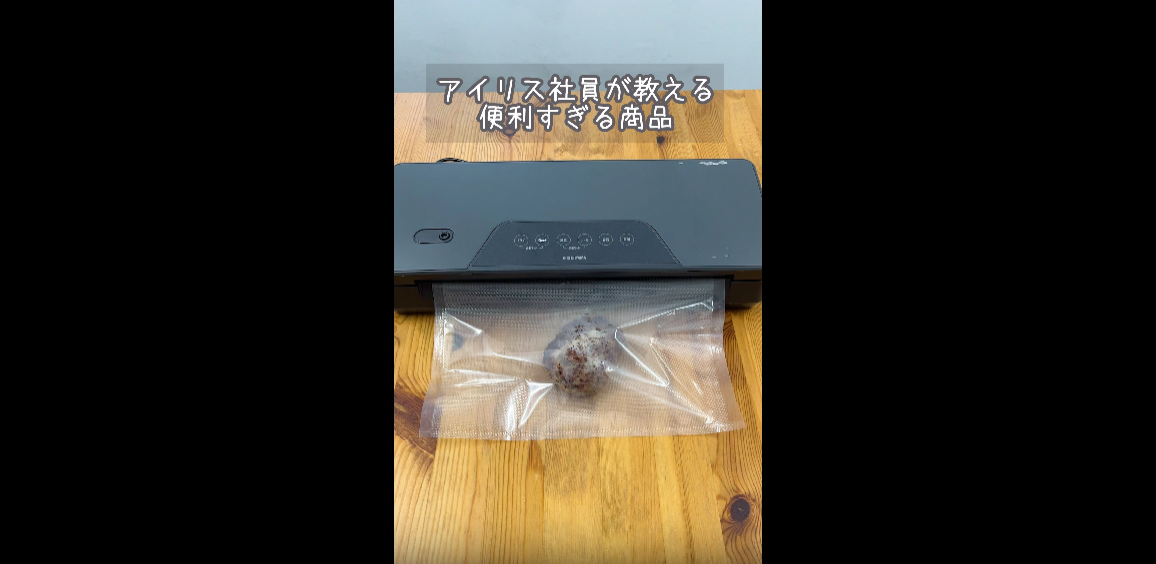
Figure 2: FoodSaver FM2010DTC connected to a vacuum container via an accessory hose for sealing liquids or delicate items.
Maintenance and Cleaning
Regular cleaning ensures optimal performance and extends the life of your vacuum sealer.
- Unplug: Always unplug the appliance before cleaning.
- Clean Exterior: Wipe the exterior of the unit with a damp cloth and mild soap. Do not use abrasive cleaners.
- Clean Drip Tray: The drip tray (if removable) should be washed with warm, soapy water. Dry thoroughly before reinserting.
- Clean Gaskets: Gently wipe the vacuum gaskets with a damp cloth. Ensure they are free of food debris. Do not remove the gaskets.
- Storage: Store the appliance in a clean, dry place with the lid unlocked to prevent compression of the gaskets, which can affect sealing performance.
Troubleshooting
| Problem | Possible Cause | Solution |
|---|---|---|
| Machine does not turn on. | Not plugged in; power outlet not working. | Ensure the power cord is securely plugged into a working electrical outlet. |
| Bag does not vacuum properly. | Bag not positioned correctly; vacuum gasket dirty/damaged; bag has a hole. | Reposition the bag, ensuring it is flat and covers the vacuum gasket. Clean the vacuum gasket. Check the bag for punctures and use a new bag if necessary. |
| Bag does not seal. | Sealing strip dirty; bag is wet; too much food in the bag. | Clean the sealing strip. Ensure the inside of the bag opening is dry. Leave at least 3 inches of space between food and the top of the bag. |
| Vacuum is weak or slow. | Vacuum gasket dirty/damaged; lid not properly locked. | Clean or inspect the vacuum gasket. Ensure the lid is firmly closed and locked on both sides. |
Specifications
- Model: FM2010DTC
- Brand: FoodSaver
- Power Source: Corded Electric
- Product Weight: 0.5 kg (approximately 1.1 lbs)
- Package Weight: 4.15 kg (approximately 9.15 lbs)
- Package Dimensions: 52 x 34.5 x 31.5 cm (approximately 20.5 x 13.6 x 12.4 inches)
- Batteries Required: No
Warranty and Support
This FoodSaver product comes with a standard manufacturer's warranty. For specific warranty details, please refer to the warranty card included in your product packaging or visit the official FoodSaver website.
For technical support, replacement parts, or service inquiries, please contact FoodSaver Customer Service:
- Website: www.foodsaver.com (Please check your regional FoodSaver website for local support.)
- Phone: Refer to your product documentation for regional contact numbers.
Please have your model number (FM2010DTC) and purchase date ready when contacting support.


