Introduction
This manual provides comprehensive instructions for the installation, operation, and maintenance of your Craftmade Builder Chime Kit, Model CK1001-FB. This wired doorbell chime system is designed to provide distinct audible alerts for two different entry points.
Please read these instructions thoroughly before beginning installation or operation to ensure proper function and safety.
Safety Information
- Electrical Hazard: Always disconnect power at the circuit breaker before installing, servicing, or removing the chime unit or transformer. Failure to do so can result in serious injury or death.
- Qualified Electrician: If you are unsure about any part of the installation process, consult a qualified electrician.
- Voltage Compatibility: Ensure your existing wiring and transformer (if not using the included one) are compatible with the 16 Volt/10VA requirements of this chime kit. For compatibility with most video doorbell systems, a 16 Volt 30 Watt transformer (T1630, sold separately) may be required.
- Indoor Use Only: This chime unit is designed for indoor use. Do not expose to moisture or extreme temperatures.
Package Contents
Verify that all components are present before beginning installation:
- Builder Chime Unit (Model CK1001-FB)
- 16 Volt / 10VA (10 Watts) Transformer
- 2 Matte Black Doorbell Buttons
- Mounting Hardware (screws, wall anchors)
- Instruction Manual (this document)
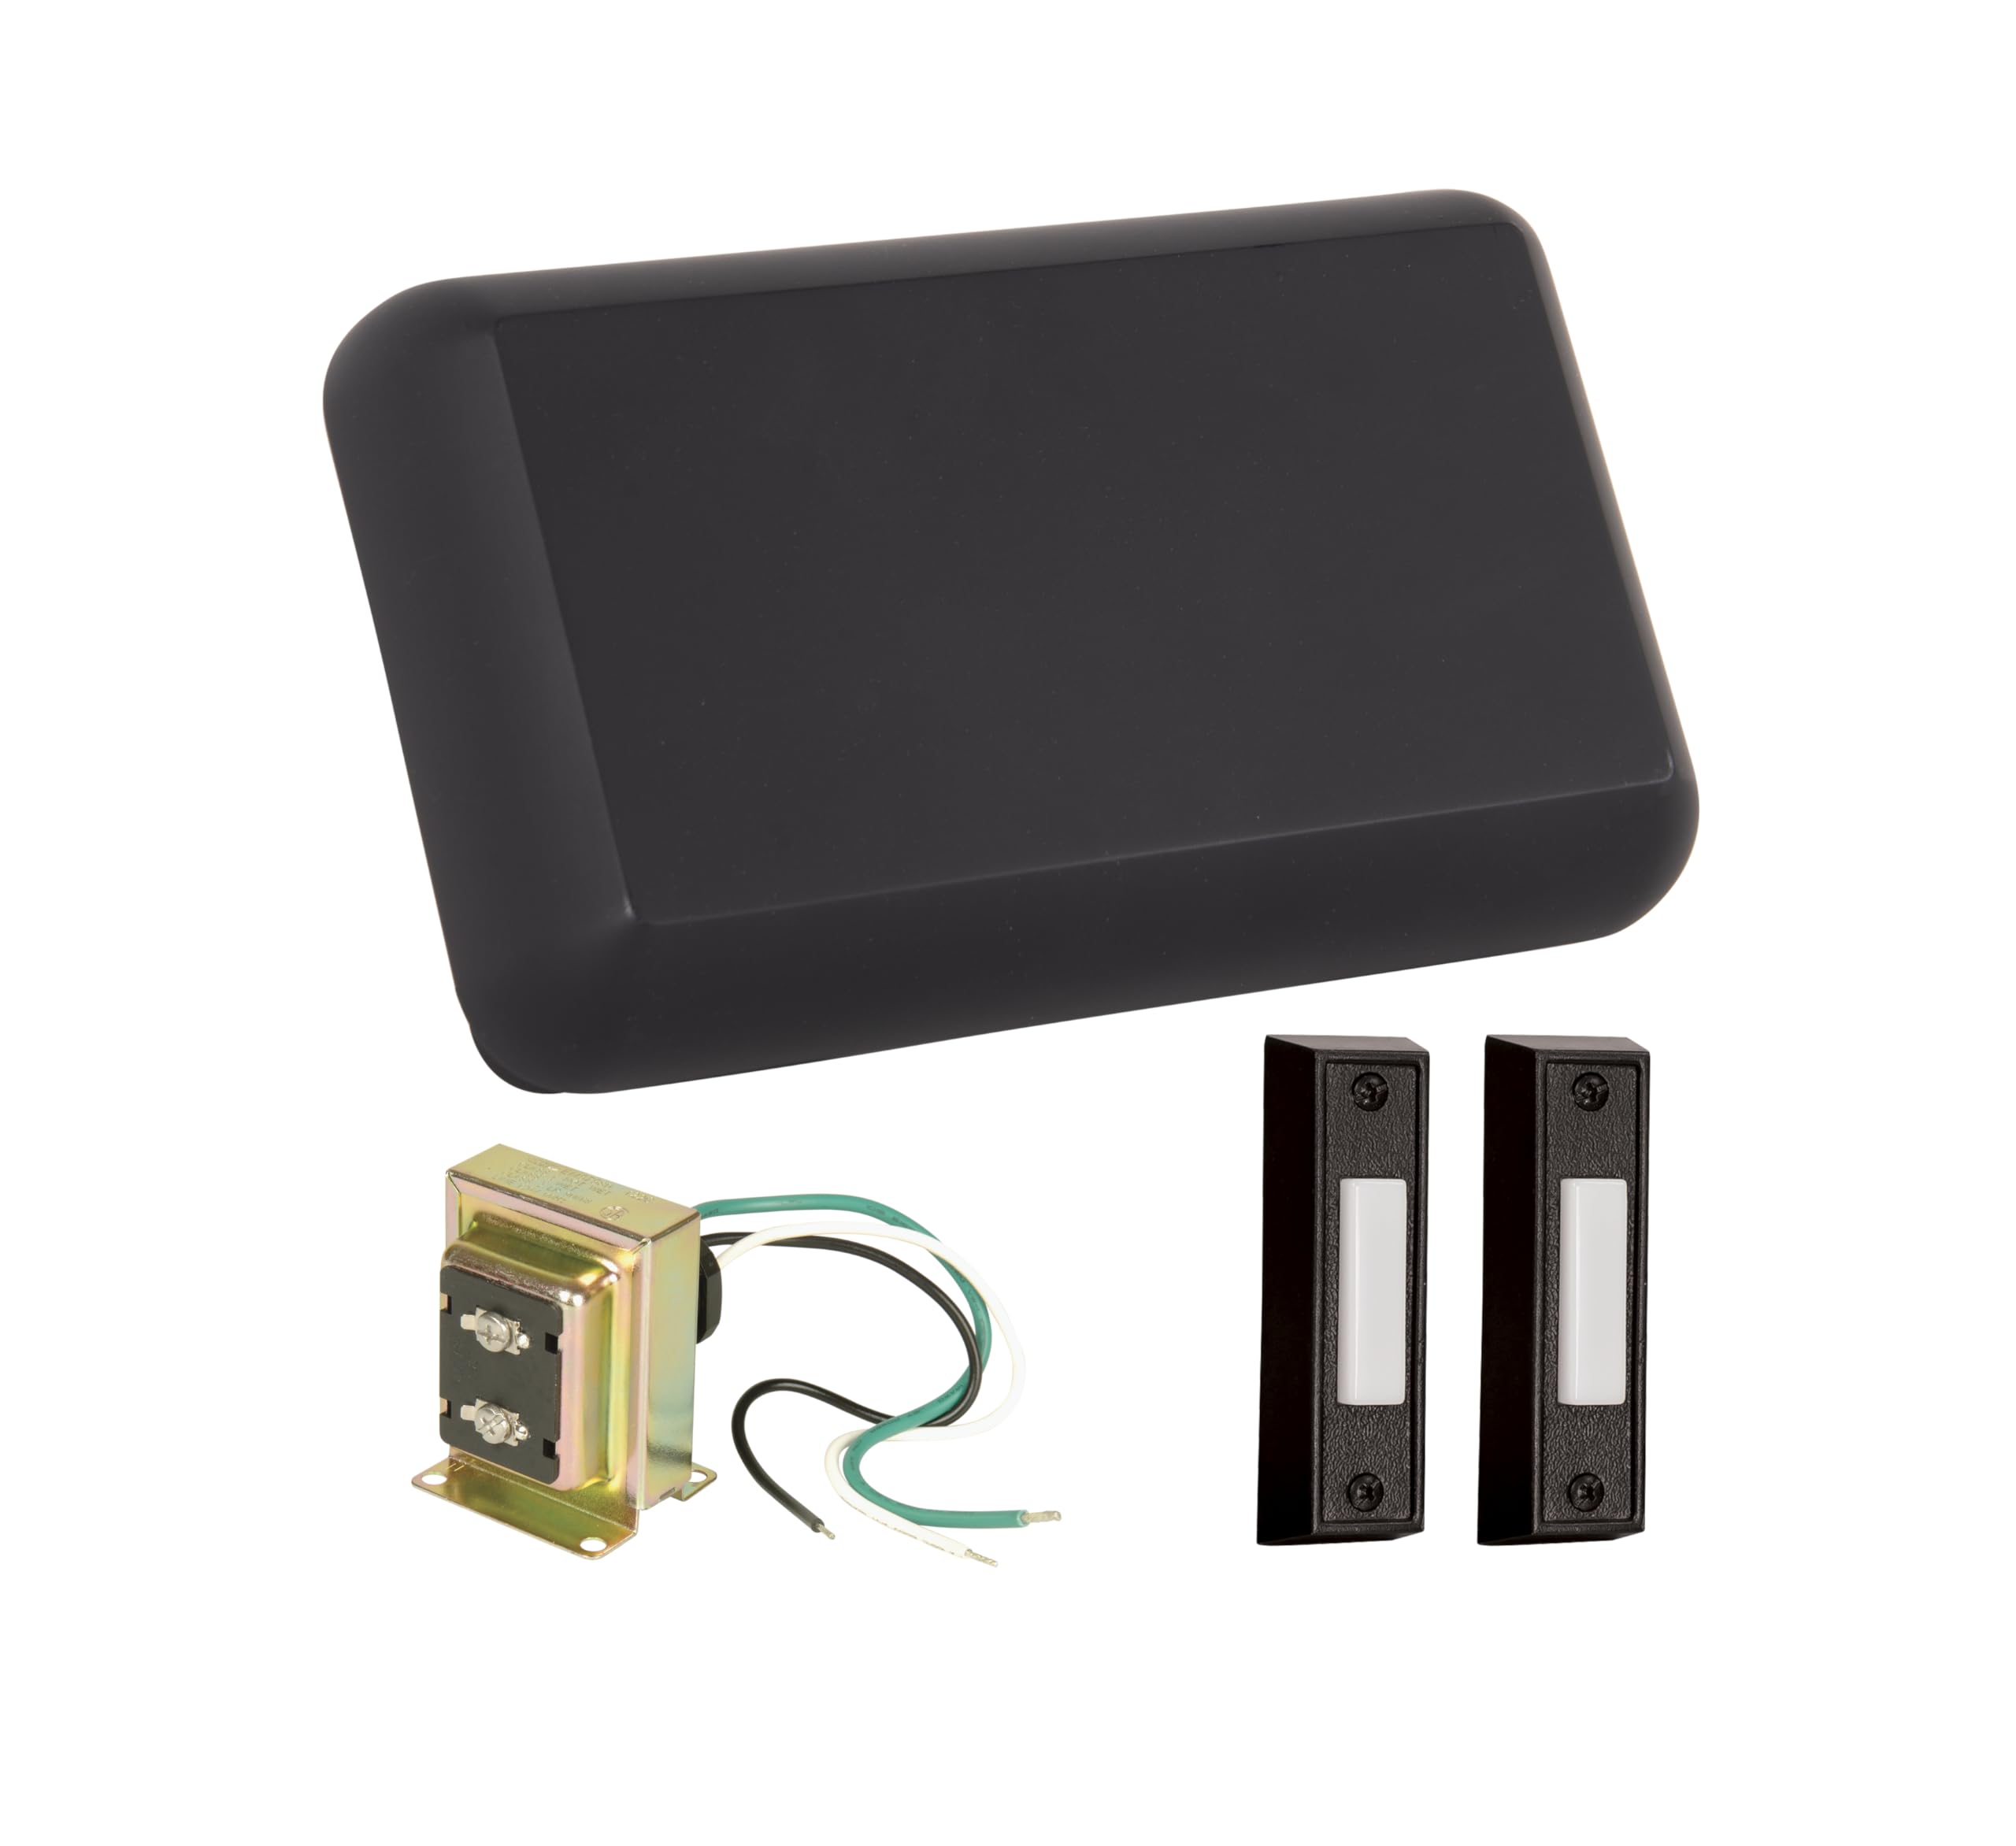
Image: The Craftmade Builder Chime Kit showing the main chime unit, the included transformer, and two matte black doorbell buttons.
Specifications
| Model Number | CK1001-FB |
| Dimensions (Chime Unit) | 5.51 x 7.79 x 2.16 inches |
| Weight | 1.81 pounds |
| Color/Finish | Flat Black |
| Power Source | Corded Electric |
| Transformer Included | 16 Volt / 10VA (10 Watts) |
| Doorbell Buttons Included | 2 Matte Black Buttons |
| Mounting Type | Wall Mount (Horizontal/Vertical, 7.56in / 4.72in Hole Pattern) |
| Chime Notes | 2 Notes for Front Door, Single Note for Second Door |
| Video Doorbell Compatibility | Compatible with most video doorbell systems when using a 16 Volt 30 Watt transformer (T1630, sold separately). |
Setup and Installation
Tools Required: Screwdriver, Wire Strippers, Drill (if mounting to drywall), Voltage Tester.
- Disconnect Power: Locate your home's circuit breaker panel and turn off the power to the doorbell circuit. Verify power is off using a voltage tester.
- Remove Old Chime (if applicable): Carefully disconnect and remove your existing doorbell chime unit. Note the wiring connections for reference.
- Mount the New Chime Unit:
- Choose a suitable indoor location for the chime unit.
- Use the chime unit as a template to mark the mounting screw locations on the wall. The unit supports horizontal or vertical mounting with a 7.56in / 4.72in hole pattern.
- Drill pilot holes if necessary and insert wall anchors for drywall.
- Secure the chime unit to the wall using the provided mounting screws. Do not overtighten.
- Wire the Chime Unit:
- Connect the wires from your doorbell buttons and transformer to the appropriate terminals on the chime unit. Typically, there will be terminals for "TRANS" (transformer), "FRONT" (front doorbell button), and "REAR" (second doorbell button).
- Ensure all connections are secure and wires are properly stripped and inserted.
- Install the Transformer:
- The included 16 Volt / 10VA transformer connects to your home's low-voltage doorbell wiring. Follow the transformer's specific installation instructions.
- Note: If integrating with a video doorbell, you may need to replace the included 10VA transformer with a 16 Volt 30 Watt transformer (Model T1630, sold separately) to provide sufficient power.
- Install Doorbell Buttons:
- Mount the doorbell buttons at your desired entry points (e.g., front door, back door).
- Connect the low-voltage wiring from the chime unit to the terminals on each doorbell button.
- Restore Power and Test: Once all connections are made and secured, restore power at the circuit breaker. Test each doorbell button to ensure the chime sounds correctly.
Operating Instructions
The Craftmade Builder Chime Kit is designed for simple operation:
- Front Door: Pressing the doorbell button connected to the "FRONT" terminal will produce a two-note chime sequence.
- Second Door: Pressing the doorbell button connected to the "REAR" terminal will produce a single-note chime. This allows for easy differentiation between entry points.
Maintenance
The Craftmade Builder Chime Kit requires minimal maintenance:
- Cleaning: Wipe the chime unit and doorbell buttons with a soft, dry cloth. Do not use abrasive cleaners or solvents, as these can damage the finish.
- Inspection: Periodically check wiring connections for tightness and ensure no wires are frayed or exposed.
Troubleshooting
| Problem | Possible Cause | Solution |
|---|---|---|
| Chime does not sound. | No power; loose wiring; faulty button; faulty chime unit; incorrect transformer. | Check circuit breaker. Verify all wiring connections are secure. Test doorbell buttons. Ensure transformer is providing correct voltage (16V). If using a video doorbell, confirm transformer is 16V 30W. |
| Chime sounds continuously or incorrectly. | Stuck doorbell button; short circuit in wiring. | Inspect doorbell buttons for sticking. Check wiring for any exposed or touching wires. |
| Chime sounds weak or distorted. | Low voltage; faulty chime unit. | Verify transformer is providing adequate power (16V 10VA minimum, 16V 30W for video doorbells). |
Warranty and Support
This Craftmade Builder Chime Kit (Model CK1001-FB) is covered by a 1 Year Manufacturer Warranty from the date of purchase.
For warranty claims, technical support, or further assistance, please contact Craftmade customer service. Refer to the official Craftmade website or your purchase documentation for current contact information.
Craftmade Website: www.craftmade.com