iMagic fc4f7a48-e9aa-49c1-9b26-08283feeb2e2
iMagic Keypad Deadbolt User Manual
Model: fc4f7a48-e9aa-49c1-9b26-08283feeb2e2 | Brand: iMagic
Introduction
This manual provides comprehensive instructions for the installation, operation, and maintenance of your iMagic Keypad Deadbolt. Please read this manual thoroughly before installation and use to ensure proper function and safety. This keyless entry deadbolt lock offers enhanced security and convenience for your home or office.
Product Overview
The iMagic Keypad Deadbolt is designed for secure and convenient access. Key features include:
- Keyless Entry: Supports up to 50 unique user codes.
- Automatic Lock Function: Configurable auto-lock delay from 20 to 900 seconds.
- Vague Code Feature: Allows entry with a correct code embedded within a longer sequence of up to 20 digits.
- Battery Operated: Powered by 4 AA alkaline batteries with approximately 1 year of battery life and a low battery indicator.
- Durable Construction: Oil Rubbed Bronze finish.
Product Components

Figure 1: Front and back units of the iMagic Keypad Deadbolt.

Figure 2: Illustrates the capacity for up to 50 user codes.

Figure 3: Demonstrates both keyless code entry and traditional key entry methods.
Installation Guide
The iMagic Keypad Deadbolt is designed for easy DIY installation. A screwdriver is typically the only tool required. This lock is suitable for wooden doors with a thickness range of 1-3/8 inches to 1-13/16 inches (35 mm-45 mm).
Installation Video
Video 1: Official iMagic Keypad Deadbolt Installation Video. This video provides a step-by-step visual guide for installing your new deadbolt lock.
Step-by-Step Installation
- Prepare the Door: Ensure your door has the correct holes. The lock body hole should be 2-1/8 inches in diameter, and the lock cylinder hole should be 1-1/8 inches wide by 2-1/4 inches high.

Figure 4: Door preparation showing required hole dimensions.
- Install the Deadbolt Latch Set: Insert the deadbolt latch set into the door edge, ensuring the "UP" arrow on the latch is facing upwards. Secure it with screws.
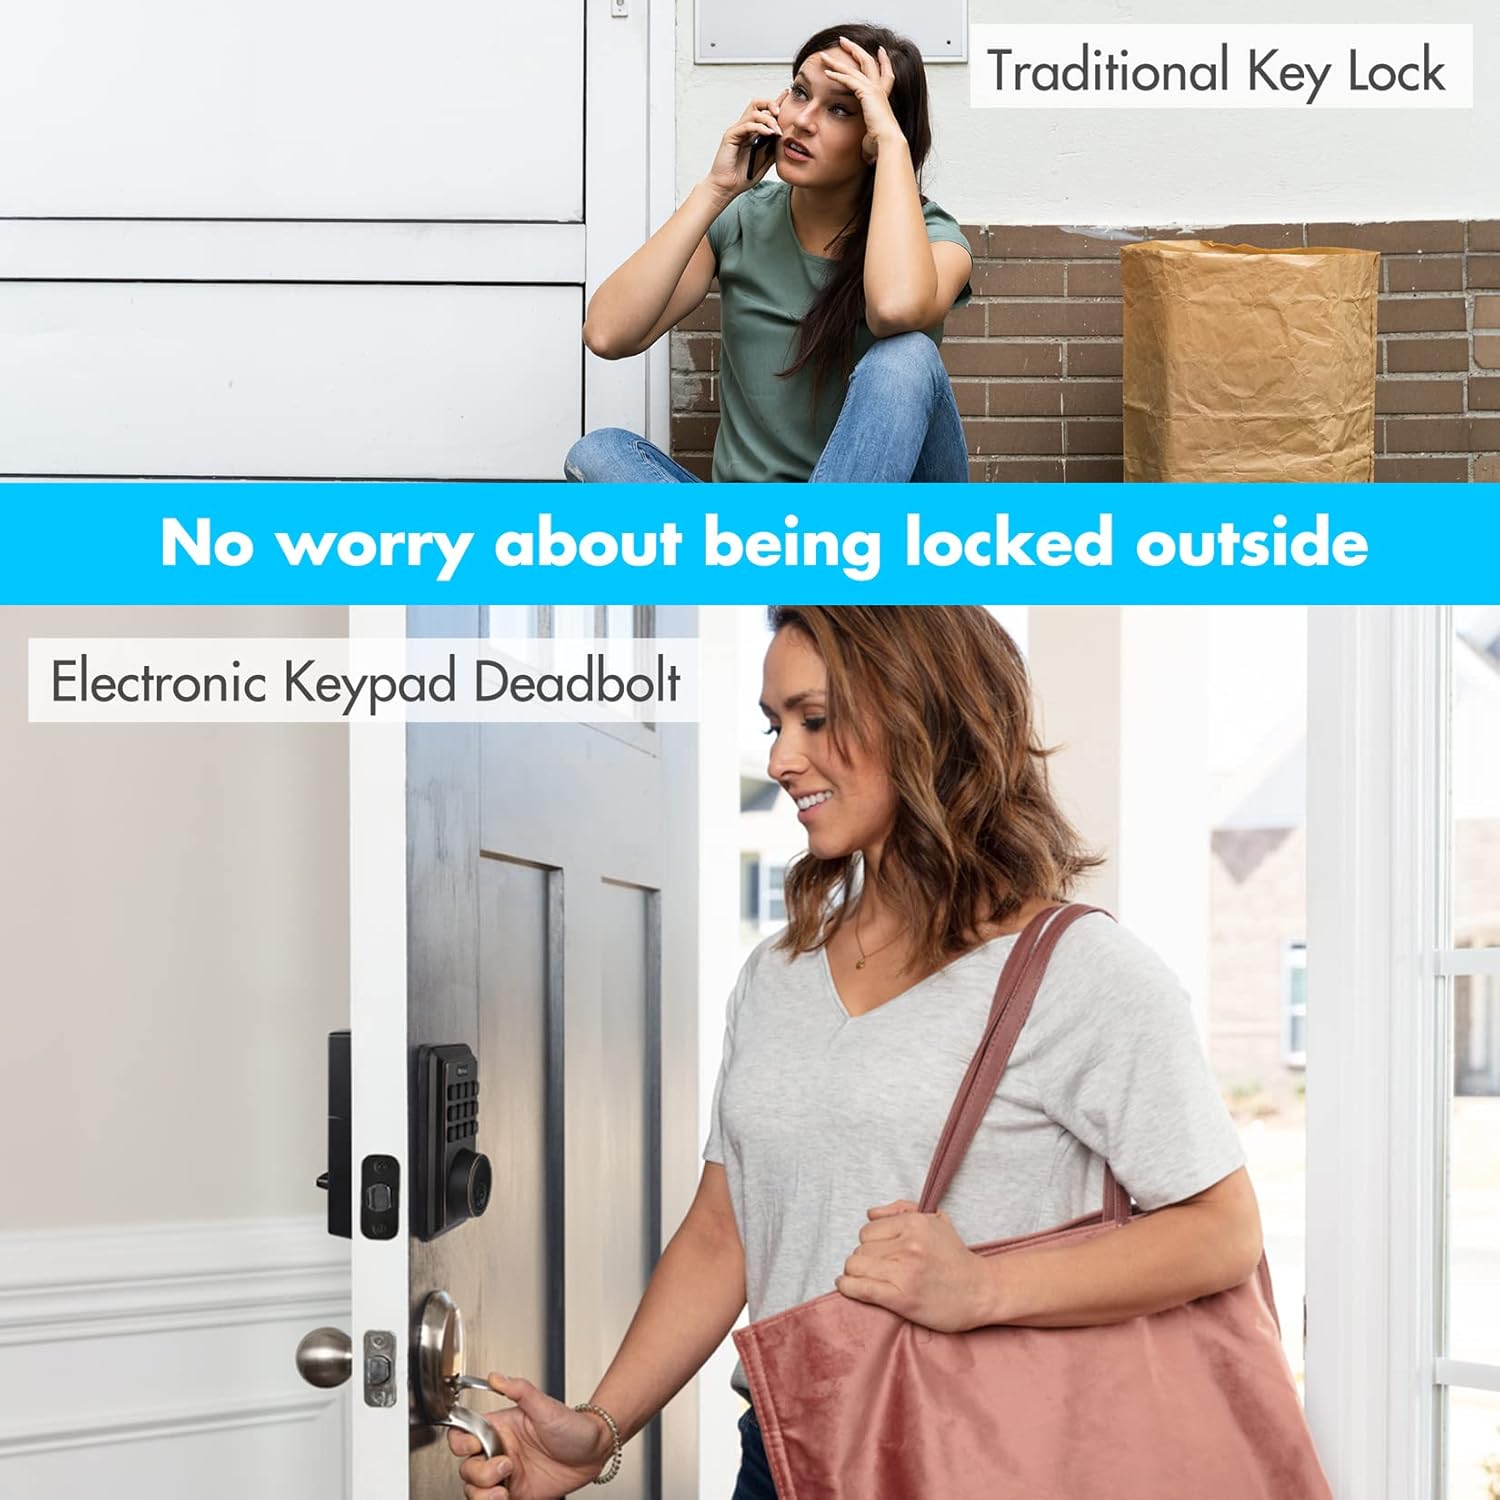
Figure 5: Proper orientation and installation of the deadbolt latch set.
- Attach Outside Housing: Carefully insert the exterior assembly onto the door, ensuring the tailpiece goes through the deadbolt latch set in the vertical position.
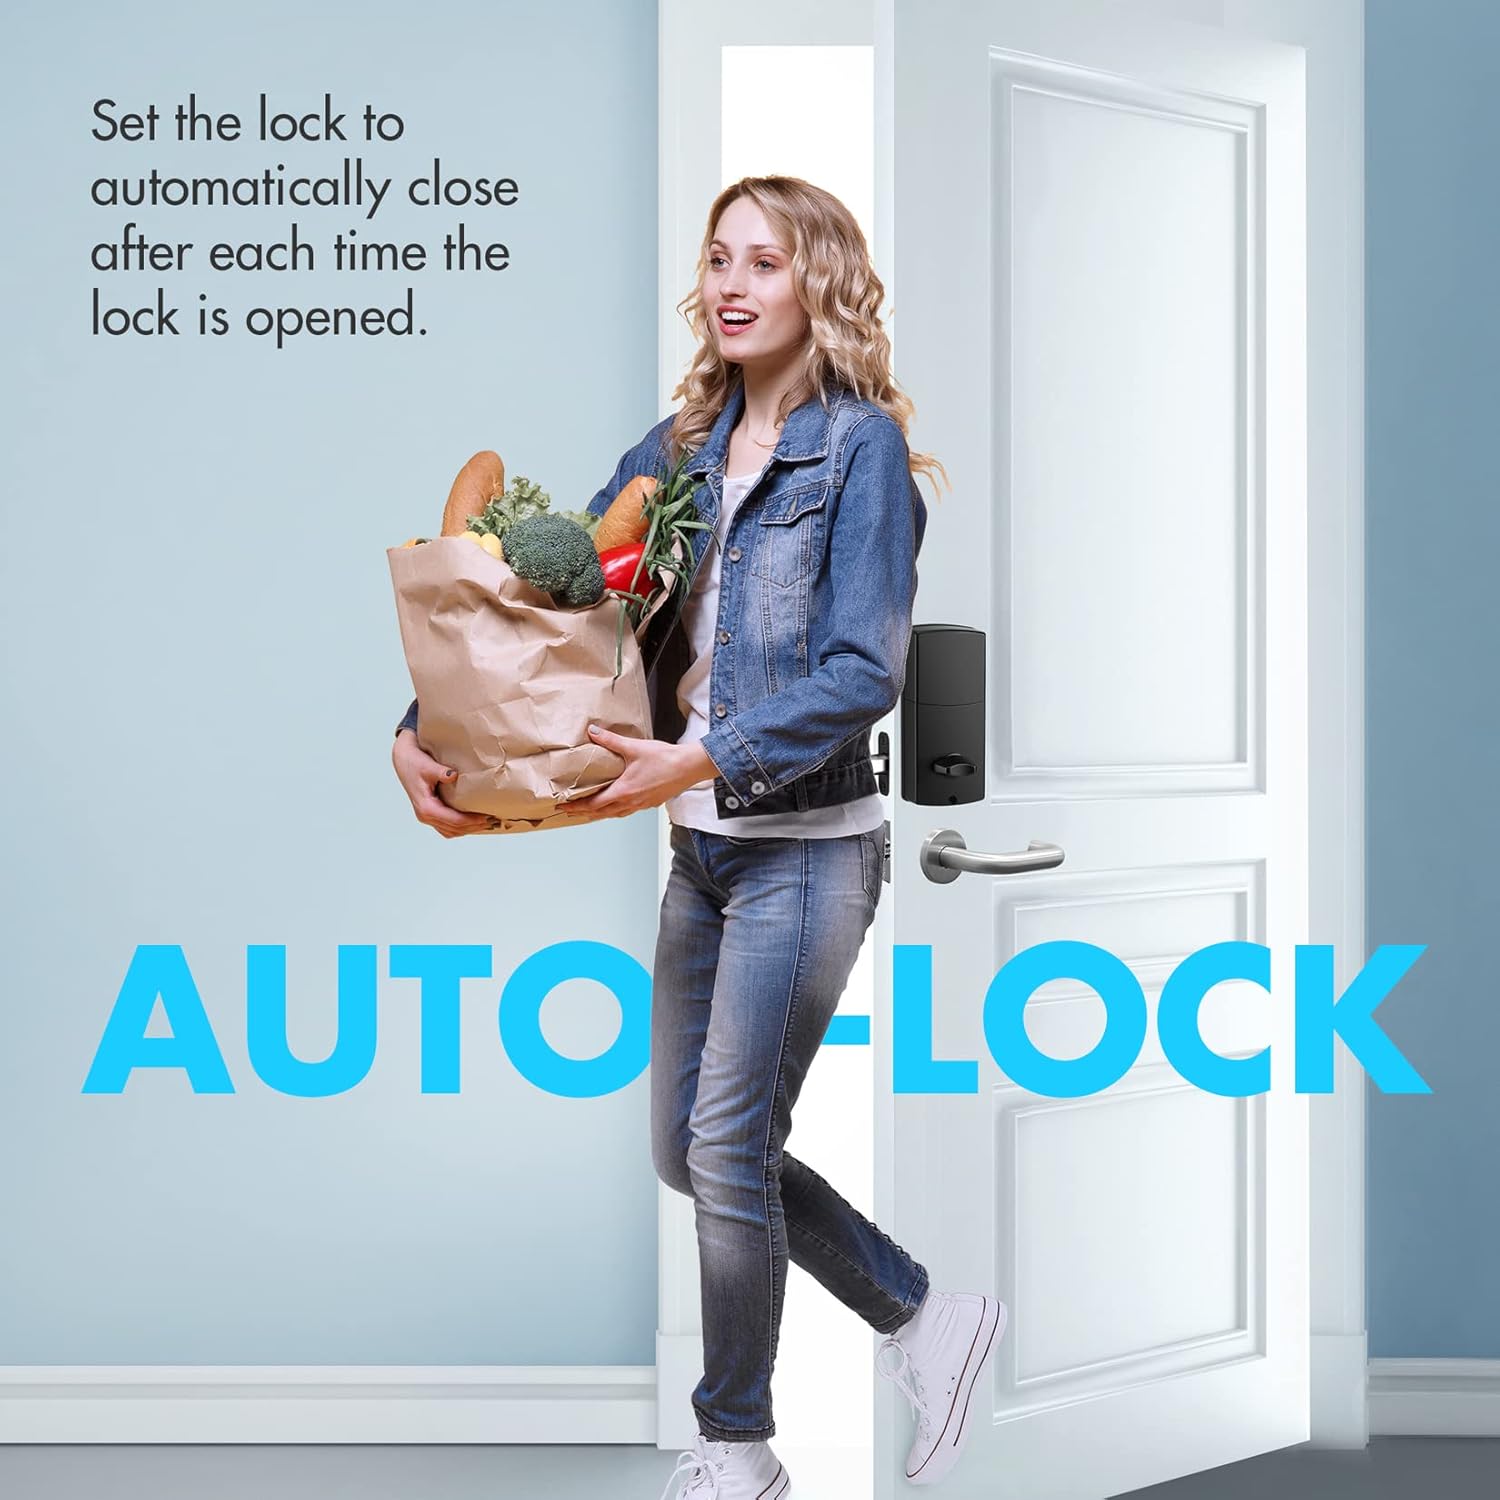
Figure 6: Attaching the exterior keypad unit to the door.
- Secure Mounting Plate: Secure the mounting plate to the door using the provided screws. Ensure the control wire is carefully inserted into the wire connector.

Figure 7: Securing the interior mounting plate and connecting the control wire.
- Install Batteries and Cover: Insert 4 AA alkaline batteries into the battery compartment, observing polarity. Secure the battery cover.

Figure 8: Installing the 4 AA batteries into the lock's interior unit.
- Test the Lock: After installation, test the lock using both the keypad and the physical key to ensure it operates smoothly.
Operating Instructions
Setting User Codes
The lock supports up to 50 unique user codes. Refer to the included paper instructions for detailed programming steps to add, modify, or delete user codes.
Automatic Lock Function
This feature allows the deadbolt to automatically re-lock after a set period (20-900 seconds) once it has been unlocked. This provides added security and peace of mind.
Figure 9: The auto-lock feature automatically secures the door after entry.
Vague Code Entry
For enhanced security, the lock supports a "Vague Code" feature. You can enter any sequence of up to 20 digits, as long as the correct user code is embedded within that sequence, the lock will open.
Figure 10: Illustration of the Vague Code feature, allowing a correct code within a longer sequence.
Sound On/Off
The keypad provides an option to mute or enable sound feedback for button presses and lock operations. Consult the programming instructions for how to toggle this setting.

Figure 11: Option to enable or disable sound feedback on the keypad.
Maintenance
Battery Replacement
The iMagic Keypad Deadbolt is powered by 4 AA alkaline batteries, which typically last approximately 1 year. The lock is equipped with a low battery indicator. When batteries are low, the lock will flash red 7 times and emit a beeping sound. Replace all four batteries promptly when this occurs to ensure continuous operation.

Figure 12: The low battery warning light on the keypad.
Cleaning
To clean the lock, use a soft, damp cloth. Avoid abrasive cleaners or solvents that could damage the finish or electronic components.
Troubleshooting
| Problem | Possible Cause | Solution |
|---|---|---|
| Lock does not respond to keypad entry. | Low batteries or incorrect code entered. | Replace batteries. Ensure correct code is entered. Try the Vague Code feature. |
| Lock does not auto-lock. | Auto-lock feature is disabled or set to a long delay. | Check programming settings for auto-lock duration. Ensure the door closes properly. |
| Keypad buttons are not lighting up. | Batteries are completely drained. | Replace batteries immediately. |
| Physical key does not work. | Incorrect key or internal mechanism issue. | Ensure you are using the correct key. If the issue persists, contact customer support. |
Specifications
- Brand: iMagic
- Model Number: fc4f7a48-e9aa-49c1-9b26-08283feeb2e2
- Lock Type: Keypad Deadbolt
- Material: Bronze
- Color: Oil Rubbed Bronze
- Power Source: 4 AA Alkaline Batteries (included)
- Door Thickness Compatibility: 1-3/8 inch to 1-13/16 inches (35 mm-45 mm)
- Item Weight: 2.55 pounds
- UPC: 820909981695
- Special Features: Automatic Lock, Battery Indicator
Warranty and Support
For warranty information and technical support, please refer to the documentation included with your product or visit the official iMagic website. You may also contact the seller, GreatStar Tools, for assistance.
Additional resources, including a PDF installation manual, can be found at: iMagic Installation Manual (PDF)
Ask a question about this manual
Ask about setup, troubleshooting, compatibility, parts, safety, or missing instructions. Manuals+ will review the question and use this page’s manual context to help answer it.