1. Important Safety Information
Please read and understand all instructions and warnings before assembling, operating, or servicing this fire pit table. Failure to follow these instructions may result in property damage, personal injury, or death.
- For residential use only. This appliance is not intended for commercial use.
- Fuel Type: Use only with a standard 20lb propane (LP) tank. Do not use any other fuel.
- Burn Hazard: Avoid direct contact with the heating element and surrounding surfaces during and after operation to prevent burns.
- Placement: Do not use this fire pit table on wooden decks or other combustible surfaces. Ensure adequate clearance from combustible materials (walls, furniture, etc.).
- Ventilation: Operate only in well-ventilated outdoor areas. Never use indoors or in enclosed spaces.
- Supervision: Never leave the fire pit table unattended while in operation. Keep children and pets away from the unit.
- Gas Leaks: Before each use, check all gas connections for leaks using a soapy water solution. Do not use if a gas leak is detected.
- Ignition: Always follow the ignition instructions carefully. Do not stand over the unit when lighting.
- Storage: Always disconnect the propane tank when the fire pit is not in use. Store the propane tank outdoors in a well-ventilated area, away from direct sunlight or heat sources.
2. Product Overview
The Best Choice Products 42-inch Rectangular Propane Gas Fire Pit Table is designed to provide warmth and ambiance to your outdoor living space. It features a durable steel construction and a convenient design for ease of use and maintenance.
Key Features:
- Hideaway Tank Storage: A side door allows for easy access and concealment of a standard 20-pound propane tank (not included).
- Rust-Resistant Steel: Constructed with heavy-duty, weather-resistant steel panels and frame for long-lasting outdoor use.
- Removable Burner Lid & Glass Beads: Includes decorative glass beads for the burner and a removable lid to convert the fire pit into a functional table when not in use.
- Weather-Resistant Cover: A durable nylon cover is provided to protect the fire pit table from the elements.
- Auto Ignition: Features an automatic ignition system for quick and easy startup.

Image: The fire pit table providing warmth and ambiance in an outdoor setting.
3. Setup Instructions
Follow these steps to properly set up your fire pit table. It is recommended to have two people for assembly.
- Unpack Components: Carefully remove all parts from the packaging. Verify that all components listed in the parts list (refer to your product packaging for the complete list) are present and undamaged.
- Assemble the Frame: Follow the detailed assembly instructions provided in your product packaging to construct the main body and table top of the fire pit. Ensure all screws and fasteners are securely tightened.
- Install Propane Tank:
- Open the side door of the fire pit table.
- Place a standard 20lb propane tank onto the tank holder inside the compartment.
- Connect the gas hose from the fire pit to the propane tank valve. Hand-tighten securely.
- Close the side door to conceal the tank.
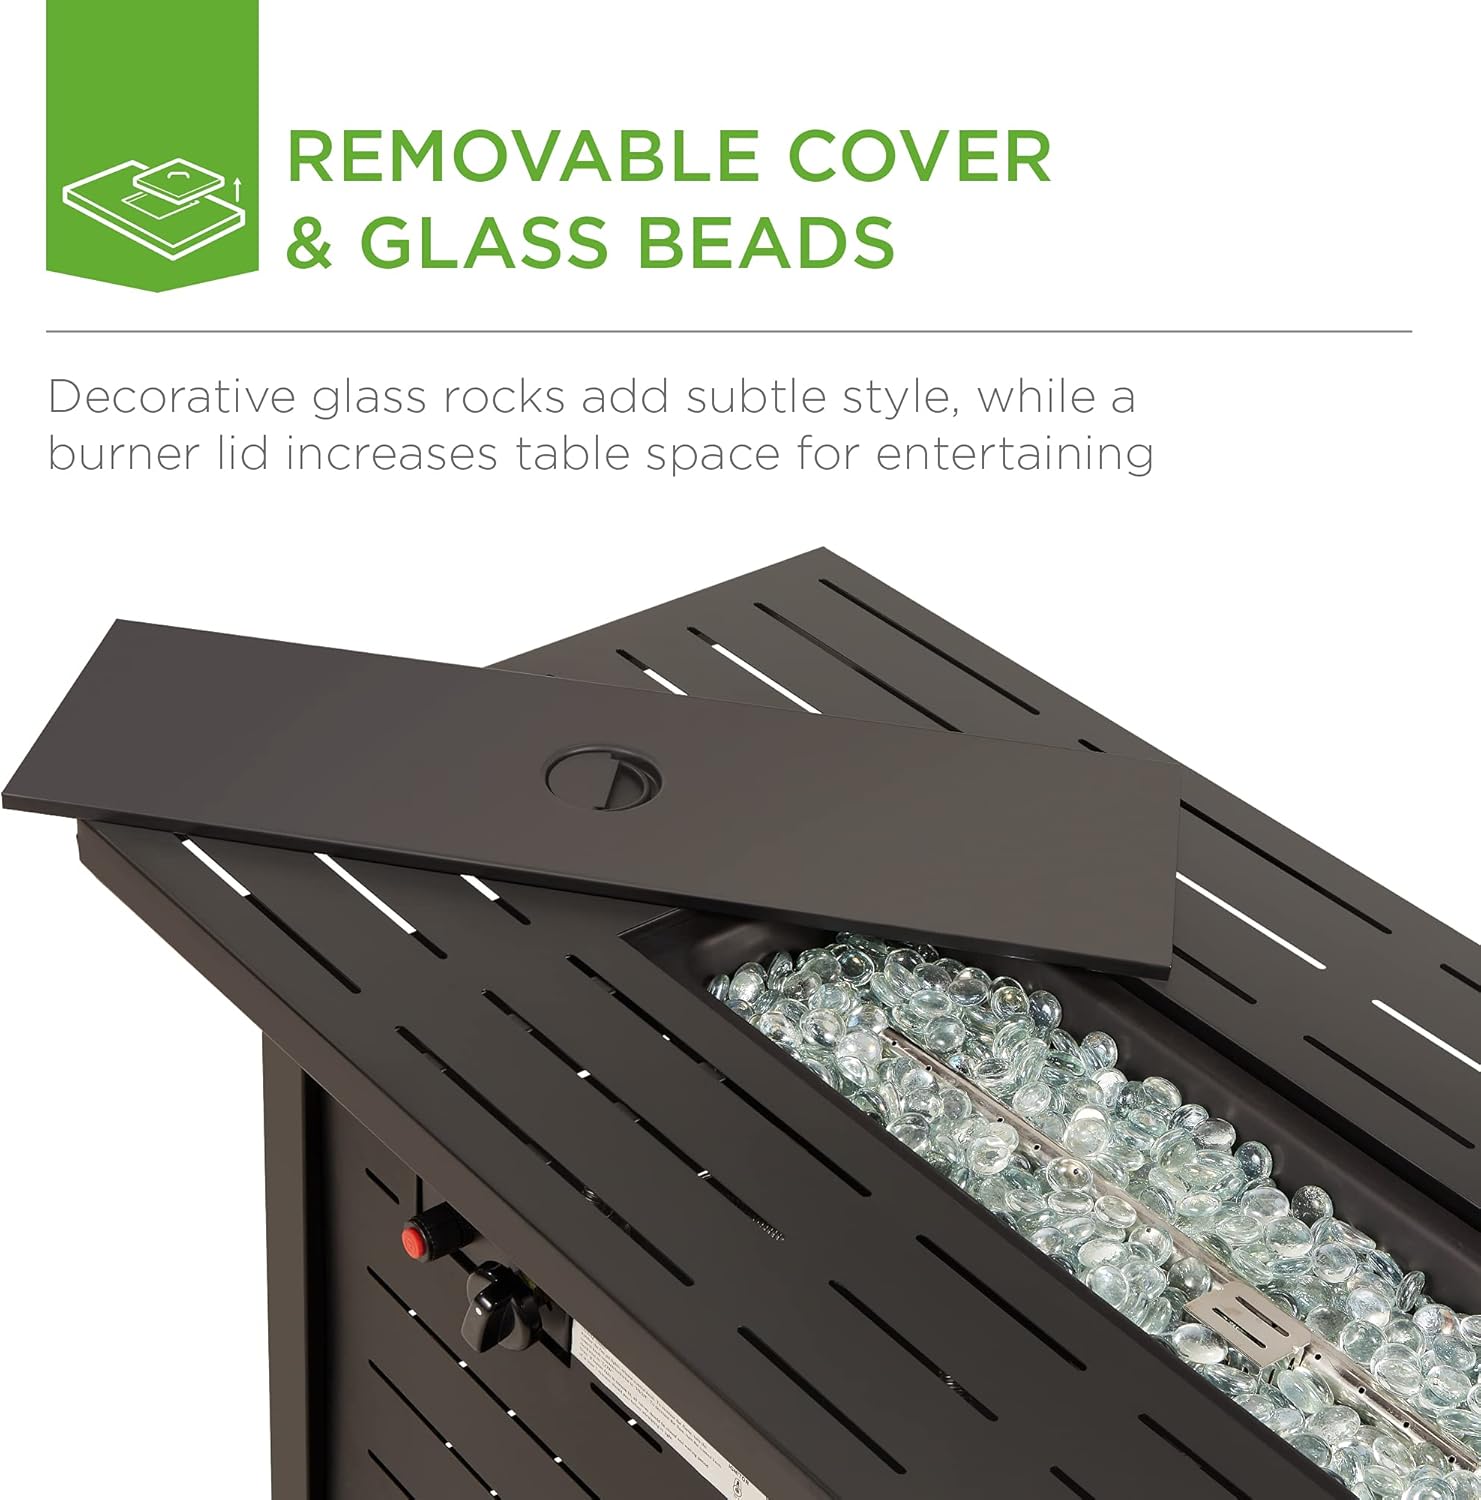
Image: Propane tank being placed into the hideaway storage compartment.
- Place Glass Beads: Distribute the provided glass beads evenly over the burner area. Ensure the ignition pin and burner holes are not completely covered.
- Leak Test: Before first use and after any tank change, perform a leak test. Apply a soapy water solution to all gas connections. If bubbles appear, there is a leak. Tighten connections or replace parts as necessary. Do not operate if a leak is present.
4. Operating Instructions
Follow these steps to safely operate your fire pit table.
- Prepare for Ignition:
- Ensure the burner lid is removed.
- Open the valve on the propane tank slowly.
- Ensure the control knob on the fire pit is in the "OFF" position.
- Ignite the Fire Pit:
- Push and hold the control knob in, then turn it counter-clockwise to the "LOW" position.
- While holding the knob in, press the igniter button repeatedly until the burner ignites. You should hear a clicking sound.
- Once ignited, continue to hold the control knob in for 10-15 seconds to allow the thermocouple to heat up and maintain the flame.
- If the burner does not light within 15 seconds, turn the control knob to "OFF", wait 5 minutes for gas to dissipate, and repeat the ignition process.

Image: Control panel for ignition and flame adjustment.
- Adjust Flame: Once the burner is lit, release the control knob. You can then rotate the knob to adjust the flame height from "LOW" to "HIGH" as desired.
- Turn Off the Fire Pit:
- Turn the control knob clockwise to the "OFF" position.
- Close the valve on the propane tank completely.
- Allow the unit to cool down completely before replacing the burner lid or applying the protective cover.
5. Maintenance
Regular maintenance ensures the longevity and safe operation of your fire pit table.
- Cleaning:
- Ensure the fire pit is completely cool and the propane tank is disconnected before cleaning.
- Wipe exterior surfaces with a soft cloth and mild soap solution. Do not use abrasive cleaners.
- The glass beads can be rinsed with water and allowed to dry completely before being placed back in the burner.
- Protective Cover: Use the provided weather-resistant nylon cover when the fire pit table is not in use to protect it from dust, debris, and weather conditions.

Image: Fire pit table protected by its weather-resistant cover.
- Storage: If storing the fire pit table for extended periods, ensure it is clean and dry. Disconnect the propane tank and store it separately in a well-ventilated outdoor area.
6. Troubleshooting
If you encounter issues with your fire pit table, refer to the common problems and solutions below.
| Problem | Possible Cause | Solution |
|---|---|---|
| Burner does not light | Propane tank valve closed Low propane level Igniter not sparking Gas flow blocked | Open propane tank valve fully Replace or refill propane tank Check igniter electrode and wire connection Ensure glass beads are not blocking burner holes |
| Low flame or inconsistent flame | Low propane level Partially closed propane tank valve Gas hose kinked Orifice partially blocked | Replace or refill propane tank Open propane tank valve fully Straighten gas hose Clean orifice (consult a qualified technician if unsure) |
| Flame goes out after ignition | Thermocouple not heating sufficiently Windy conditions | Hold control knob for 10-15 seconds after ignition Use in a less windy location or consider a wind guard |
If problems persist after attempting these solutions, please contact customer support.
7. Specifications
- Overall Dimensions: 42"(L) x 20"(W) x 25"(H)
- Heat Output: 50,000 BTUs
- Material: Aluminum (Frame), Steel (Panels)
- Fuel Type: Liquefied Petroleum Gas (Propane)
- Item Weight: 55 Pounds
- Shape: Rectangular
- Color: Dark Brown
- UPC: 842957126415

Image: Product dimensions diagram.
8. Warranty and Support
For warranty information or technical support, please refer to the documentation included with your product or contact Best Choice Products customer service directly. Keep your purchase receipt and model number handy for faster service.
Contact Information: Please visit the Best Choice Products official website or refer to your product packaging for the most current customer support contact details.