1. Introduction
This manual provides detailed instructions for the safe and efficient use of your Brother Innov-ís Pacesetter PS500 Computerized Sewing Machine. Designed for a wide range of sewing projects, this machine offers advanced features and a user-friendly interface.
The Brother Innov-ís Pacesetter PS500 is equipped with 100 built-in sewing stitches, including letter and number stitches, an extra-long work area, a clear backlit LCD display, electronic speed control, an advanced needle threader, and a built-in thread cutter. It also comes with a Brother 5 Sewing Foot Embellishment Pack and a 'Ready, Set, Sew' video guide.

Figure 1.1: Brother Innov-ís Pacesetter PS500 Computerized Sewing Machine.
2. Setup
2.1 Unpacking and Placement
Carefully remove the sewing machine from its packaging. Place the machine on a stable, flat surface with adequate lighting. Ensure there is enough space around the machine for comfortable operation and fabric handling.
2.2 Power Connection
Connect the power cord to the machine and then to a suitable electrical outlet. Ensure the machine's power switch is in the 'OFF' position before connecting to power.
2.3 Attaching the Extension Table / Accessory Box
The machine includes an accessory box that also functions as an extension table, providing an extra-long work area. To attach, align the pins on the accessory box with the corresponding holes on the machine and slide it into place. This provides an 8.3-inch work area from needle to arm, ideal for larger projects like quilts.

Figure 2.1: Brother Innov-ís Pacesetter PS500 with the accessory box attached, extending the work area.
2.4 Threading the Machine
Follow the numbered threading path indicated on the machine. The advanced built-in needle threader system simplifies threading the needle. Ensure the thread spool is correctly placed on the spool pin.

Figure 2.2: Correct placement of the thread spool on the spool pin.
2.5 Inserting the Bobbin
The machine features a convenient drop-in bobbin system. Open the bobbin cover, insert the bobbin, and follow the threading guide for the bobbin thread. Close the cover securely.
2.6 Attaching Presser Feet
Select the appropriate presser foot for your project. The machine includes a Brother 5 Sewing Foot Embellishment Pack (Stitch in the Ditch Foot, Roller Foot, Piping Foot, Edge Joining Foot, Gathering Foot) in addition to standard feet. To attach, raise the presser foot lever, align the foot with the holder, and lower the lever until it clicks into place.

Figure 2.3: Included presser feet and accessories for the Brother Innov-ís Pacesetter PS500.
For a visual guide on setup, including threading and changing needles, refer to the 'Ready, Set, Sew: A Quick Start Guide to Your Sewing Machine' video included with your bundle.
3. Operating Instructions
3.1 Power On/Off
Locate the power switch on the side of the machine. Flip the switch to 'ON' to power on the machine. Flip to 'OFF' when not in use.
3.2 LCD Display and Stitch Selection
The 2.4" x 1.3" clear backlit LCD display allows for fast navigation and stitch selection. Use the numeric keypad and navigation buttons to choose from 100 built-in stitches, including letter and number stitches. A flip-up stitch panel on the top of the machine provides a quick reference for all available stitches.

Figure 3.1: LCD display and control panel for stitch selection and settings.
Figure 3.2: Flip-up stitch panel for quick reference of all stitches.
3.3 Speed Control
Adjust the sewing speed using the electronic speed control slider. The machine can operate at up to 850 stitches per minute. Start with a slower speed for intricate work and increase as needed.

Figure 3.3: Speed control slider and function buttons.
3.4 Adjustable Presser Foot Pressure
The presser foot pressure can be adjusted to accommodate various fabric thicknesses, from bulky layers to sheer materials. Refer to the machine's specific settings for optimal pressure based on your fabric type.
3.5 Automatic Thread Cutter
Utilize the built-in thread cutter button to automatically cut both the upper and lower threads at the end of a seam, saving time and effort.
4. Maintenance
Regular maintenance ensures the longevity and optimal performance of your sewing machine.
4.1 Cleaning the Bobbin Area
Periodically remove the needle plate and bobbin case. Use the provided lint brush to remove any lint or dust accumulation from the bobbin area and feed dogs. This prevents thread jams and ensures smooth operation.
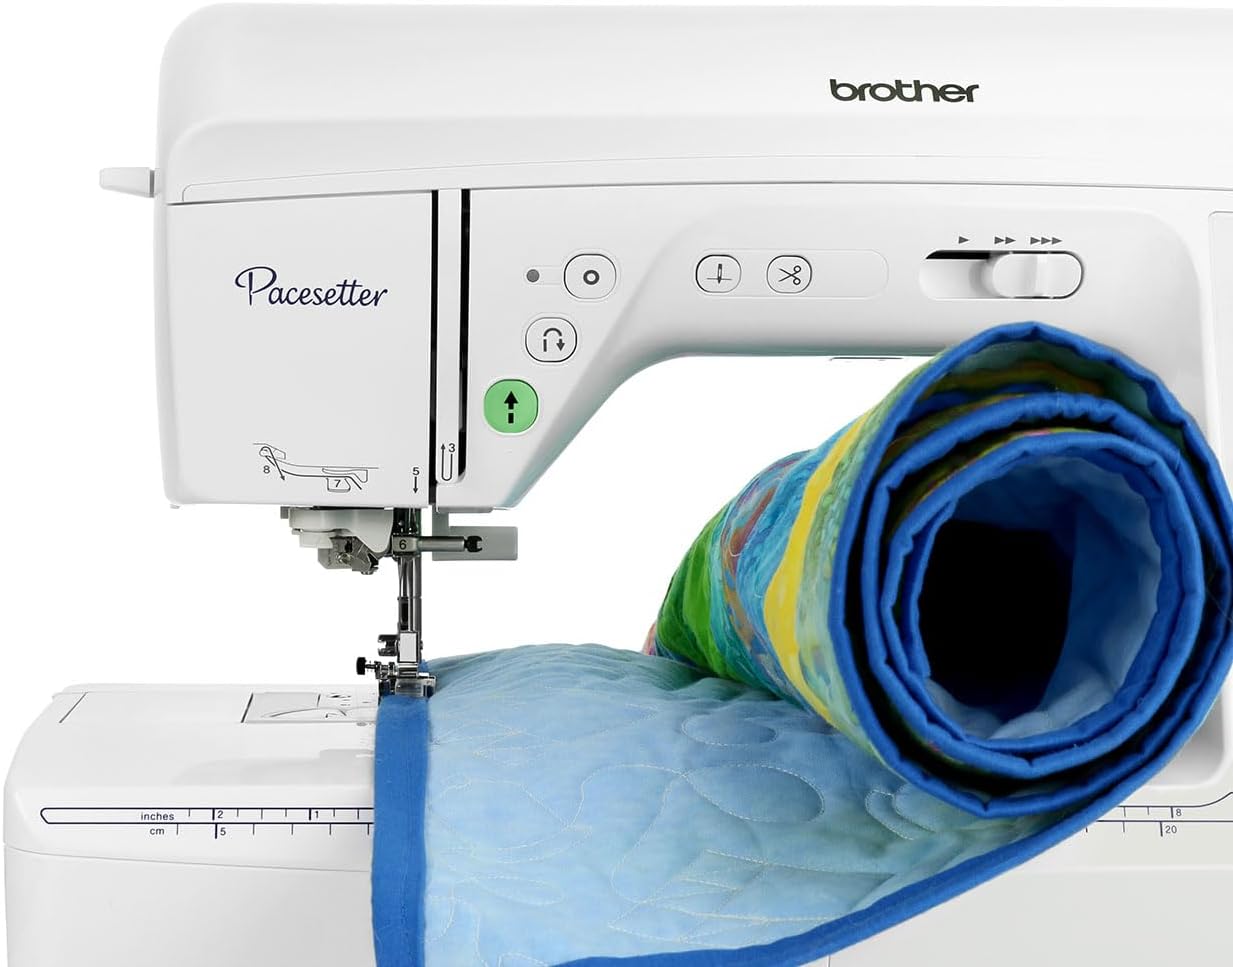
Figure 4.1: Needle plate and presser foot area, showing components for cleaning.
4.2 Needle Replacement
Replace the needle regularly, especially when working with new projects or if you notice skipped stitches or thread breakage. Always use the correct needle type and size for your fabric. Ensure the machine is turned off before changing the needle.
4.3 General Cleaning
Wipe down the exterior of the machine with a soft, dry cloth. Avoid using harsh chemicals or abrasive cleaners. Keep the machine covered when not in use to protect it from dust.
5. Troubleshooting
This section addresses common issues you might encounter. For more complex problems, consult the full operation manual or contact customer support.
5.1 Thread Breakage
- Check Threading: Ensure both upper and bobbin threads are correctly threaded according to the machine's guide.
- Needle Condition: Replace bent, dull, or incorrect size needles.
- Tension Settings: Adjust the upper thread tension. Refer to the operating instructions for recommended settings.
- Thread Quality: Use good quality thread suitable for your fabric.
5.2 Skipped Stitches
- Needle Type/Size: Ensure the needle is appropriate for the fabric and is inserted correctly.
- Needle Replacement: A dull or bent needle can cause skipped stitches. Replace it.
- Threading: Re-thread the machine completely, ensuring all guides are followed.
5.3 Fabric Not Feeding Properly
- Presser Foot Pressure: Adjust the presser foot pressure to match the fabric thickness.
- Feed Dogs: Ensure the feed dogs are not lowered (unless for free-motion sewing).
- Lint Buildup: Clean the feed dog area to remove any lint or debris.
6. Specifications
| Feature | Detail |
|---|---|
| Brand | Brother |
| Model Number | PS500 |
| Color | White |
| Material | Metal |
| Item Weight | 20.5 Pounds |
| Power Source | Corded Electric |
| Is Electric | Yes |
| UPC | 769498244364 |
| Manufacture Year | 2023 |
| Unit Count | 1.0 Count |
| Manufacturer | Brother Innov-ís |
7. Warranty & Support
7.1 Product Warranty
Your Brother Innov-ís Pacesetter PS500 Computerized Sewing Machine comes with a standard manufacturer's warranty. Please refer to the warranty card included in your product packaging for specific terms, conditions, and duration.
7.2 Optional Protection Plans
Additional protection plans are available for purchase to extend coverage beyond the standard warranty. These include 3-Year and 4-Year Protection Plans, as well as a Complete Protect monthly plan.
7.3 Customer Support
For further assistance, technical support, or to inquire about replacement parts, please visit the official Brother support website or contact their customer service department. Keep your model number (PS500) and serial number handy when contacting support.