1. Introduction
This manual provides essential information for the proper installation, operation, and maintenance of your INSTARTING DC5070 Alternator Generator Rectifier. Please read this manual thoroughly before attempting any installation or service to ensure safety and optimal performance of the component.
2. Product Overview
The INSTARTING DC5070 is a high-quality replacement rectifier designed for automotive alternators. It converts the alternating current (AC) produced by the alternator into direct current (DC) to power the vehicle's electrical systems and recharge the battery. This unit is manufactured with premium quality components, engineered to meet or exceed OEM specifications, and tested for reliability, durability, and performance.
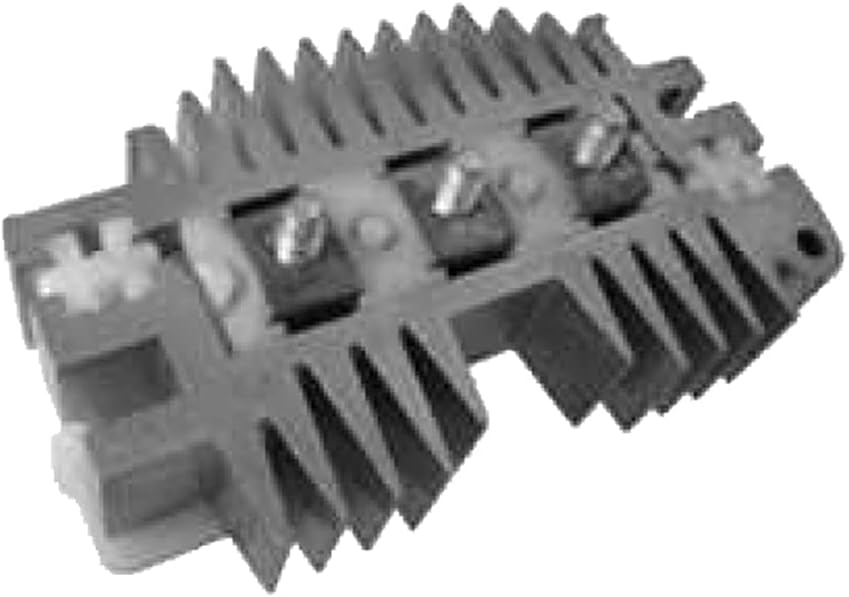
Image 2.1: Angled view of the INSTARTING DC5070 Alternator Rectifier, showing its heat sink fins and terminal connections.
Key features include:
- Diodes: 6-25 Ampere Button
- Manufactured with new premium quality components
- Engineered to meet or exceed OEM specifications
- All items tested for reliability, durability, and performance
3. Safety Information
Always prioritize safety when working with automotive electrical systems. Failure to follow these safety guidelines can result in serious injury or damage to the vehicle.
- Disconnect Battery: Before beginning any work, always disconnect the vehicle's negative battery terminal to prevent electrical shock or short circuits.
- Wear Protective Gear: Use appropriate personal protective equipment, including safety glasses and gloves.
- Consult Vehicle Manual: Refer to your vehicle's specific service manual for detailed instructions and torque specifications related to alternator removal and installation.
- Professional Installation Recommended: If you are not experienced with automotive electrical repairs, it is highly recommended to seek professional assistance for installation.
- Avoid Short Circuits: Ensure all connections are secure and insulated to prevent short circuits.
4. Setup and Installation
The rectifier is an internal component of the alternator. Its replacement typically requires the removal and disassembly of the alternator unit. The following steps are general guidelines; specific procedures may vary by vehicle model.
4.1. Tools and Materials
- Socket/Wrench Set
- Screwdrivers
- Multimeter (for testing)
- Dielectric Grease (optional, for connections)
4.2. Pre-Installation Checks
- Verify the new rectifier matches the old unit in terms of physical dimensions and electrical connections.
- Inspect the alternator's stator and rotor for any signs of damage or wear.
4.3. Installation Steps (General)
- Disconnect Battery: Disconnect the negative battery cable.
- Remove Alternator: Carefully remove the alternator from the vehicle according to your vehicle's service manual.
- Disassemble Alternator: Disassemble the alternator housing to access the rectifier. Note the position and orientation of all components.
- Remove Old Rectifier: Disconnect the wiring from the old rectifier and remove it.
- Install New Rectifier: Position the new INSTARTING DC5070 rectifier, ensuring proper alignment with mounting points and electrical connections. Secure it with the appropriate fasteners.

Image 4.1: Top view of the INSTARTING DC5070 Rectifier, highlighting the three main terminal connections.
- Connect Wiring: Reconnect all wiring to the new rectifier. Ensure connections are tight and free from corrosion.
- Reassemble Alternator: Reassemble the alternator housing, ensuring all components are correctly seated.
- Reinstall Alternator: Reinstall the alternator into the vehicle, ensuring all belts are properly tensioned and mounting bolts are torqued to specifications.
- Reconnect Battery: Reconnect the negative battery cable.
- Test System: Start the vehicle and check for proper charging system operation (e.g., battery voltage, absence of battery warning light).

Image 4.2: Bottom view of the INSTARTING DC5070 Rectifier, illustrating the heat sink fins designed for efficient heat dissipation.
5. Operating Instructions
The alternator rectifier operates automatically as part of the vehicle's charging system. Once correctly installed, it requires no manual intervention during operation.
Normal Operation: When the engine is running, the alternator generates AC power, which the rectifier converts to DC. This DC power is then used to supply the vehicle's electrical loads and recharge the battery. A properly functioning rectifier ensures a stable voltage output.
Signs of Proper Function:
- Battery warning light on the dashboard is off after starting the engine.
- Battery voltage remains stable (typically 13.5V to 14.5V) when the engine is running.
- All electrical accessories function correctly.
6. Maintenance
The INSTARTING DC5070 rectifier is a sealed component and does not require routine maintenance itself. However, regular inspection of the overall charging system is recommended.
- Inspect Wiring: Periodically check all wiring connections to the alternator and battery for corrosion, looseness, or damage. Clean terminals as necessary.
- Check Belt Tension: Ensure the alternator drive belt is properly tensioned and free from cracks or excessive wear.
- Battery Health: Maintain a healthy battery. A weak or failing battery can put undue stress on the charging system, including the rectifier.
7. Troubleshooting
If you experience issues with your vehicle's charging system after installing the rectifier, consider the following common problems and solutions:
- Battery Warning Light On:
- Check Connections: Ensure all electrical connections to the alternator and battery are secure and clean.
- Test Alternator Output: Use a multimeter to check the alternator's voltage output. If it's too low or too high, further diagnosis of the alternator components (including the rectifier) may be needed.
- Inspect Drive Belt: Verify the alternator belt is not slipping or broken.
- Battery Not Charging:
- This often indicates a fault in the alternator, which could include the rectifier, voltage regulator, or stator. Professional diagnosis is recommended.
- Overcharging (High Voltage):
- While less common for a rectifier, overcharging is typically a symptom of a faulty voltage regulator. However, a rectifier with a shorted diode could also contribute to issues.
If troubleshooting steps do not resolve the issue, it is advisable to consult a qualified automotive technician.
8. Specifications
| Feature | Specification |
|---|---|
| Brand | INSTARTING |
| Model | DC5070 |
| Item Weight | 1.76 pounds |
| Manufacturer Part Number | DC5070 |
| Diodes | 6-25 Ampere Button |
| OEM Part Numbers (Partial List) | 131875, 1975313, 1985313, D3913, D3919, RD14, RD14H, RD31, RD31H, AED070WA, JD5070, JD5072, JD5075, DR5070, REC118, ED5070A, 31104, 1100183, 1100184, 1100187, 1100223, 1100282, 1101037, 1101038, 1101039, 1101040, 1101041, 1101042, 1101044, 1101045, 1101066, 1101067, 1101071, 1101075, 1101078, 1101080, 1101081, 1101082, 1101084, 1101085, 1101086, 1101087, 1101088, 1101093, 1101094, 1101095, 1101097, 1101436, 1101437, 1101443, 1101448, 1101449, 1101700, 1101924, 1101925, 1105186, 1105196, 1105197, 1105198, 1105199, 1105200, 1105243, 1105249, 1105250, 1105331, 1105332, 1105333, 1105335, 1105339, 1105343, 1105346, 1105347, 1105415, 1105433, 1105512, 2541914, A13VI216, A13VI227, A13VI264 |

Image 8.1: A close-up view of an alternator rectifier, illustrating the internal diode arrangement responsible for AC to DC conversion.
9. Warranty Information
For specific warranty details regarding your INSTARTING DC5070 Alternator Generator Rectifier, please refer to the product listing on the retailer's website or contact the seller directly. Warranty terms typically cover manufacturing defects for a specified period from the date of purchase.
10. Support
If you require further assistance, have questions about installation, or need to report an issue, please contact the seller through the platform where the product was purchased. You may also visit the INSTARTING Store on Amazon for additional product information.