
Introduction
Thank you for choosing the BLACK+DECKER Pelicano Handheld Vacuum Cleaner. This manual provides essential information for the safe and efficient operation, maintenance, and care of your new appliance. Please read it thoroughly before first use and keep it for future reference.
The Pelicano handheld vacuum is designed for quick and convenient cleaning tasks. It features a 12V power supply, a 1.5Ah Lithium battery, an extendable nozzle, and comes with a base charger and various accessories to enhance its versatility.
Important Safety Instructions
Always observe basic safety precautions when using electrical appliances to reduce the risk of fire, electric shock, and personal injury. Read all instructions before using this appliance.
- Do not use the appliance to pick up liquids, hot ashes, lit cigarette butts, sharp objects, or any toxic, flammable, or other hazardous materials.
- Keep hair, loose clothing, fingers, and all parts of the body away from openings and moving parts.
- Use only the charger supplied by the manufacturer to recharge. Use of any other charger may result in electric shock, fire, or damage to the appliance.
- Do not operate the appliance with a damaged cord or plug. If the appliance is not working as it should, has been dropped, damaged, left outdoors, or dropped into water, return it to a service center.
- This appliance is intended for indoor, dry use only.
- Do not allow children to operate the appliance. Close supervision is necessary when any appliance is used by or near children.
Package Contents
Verify that all items are present in your package:
- 1 x BLACK+DECKER Pelicano Handheld Vacuum Cleaner
- 1 x Charging Station
- 1 x Crevice Nozzle
- 1 x Furniture Brush
- 1 x Washable Filter and Pre-filter

Image: The charging base, flat crevice tool, washable filter, and brush accessory are shown.
Product Overview
Familiarize yourself with the components of your Pelicano handheld vacuum cleaner:

Image: The main unit of the BLACK+DECKER Pelicano handheld vacuum cleaner, showing its sleek design and dust container.

Image: A diagram highlighting the compact design, charging base, and integrated retractable nozzle of the vacuum.
- Power Switch: Located on the handle for turning the unit on and off.
- Dust Container: Transparent container to collect debris.
- Retractable Nozzle: Integrated nozzle that extends for wider reach and retracts for compact storage.
- Charging Port: Connects to the charging base.
- Charging Base: Docking station for charging and storage.
Setup
1. Charging the Battery
Before first use, fully charge the vacuum cleaner for approximately 4 hours. The unit comes with a Lithium-Ion battery that provides consistent power.
- Place the charging base on a flat, stable surface near a power outlet.
- Connect the charger adapter to the charging base and plug it into a wall outlet.
- Place the handheld vacuum onto the charging base. Ensure it is seated correctly. An indicator light on the vacuum will illuminate to show it is charging.
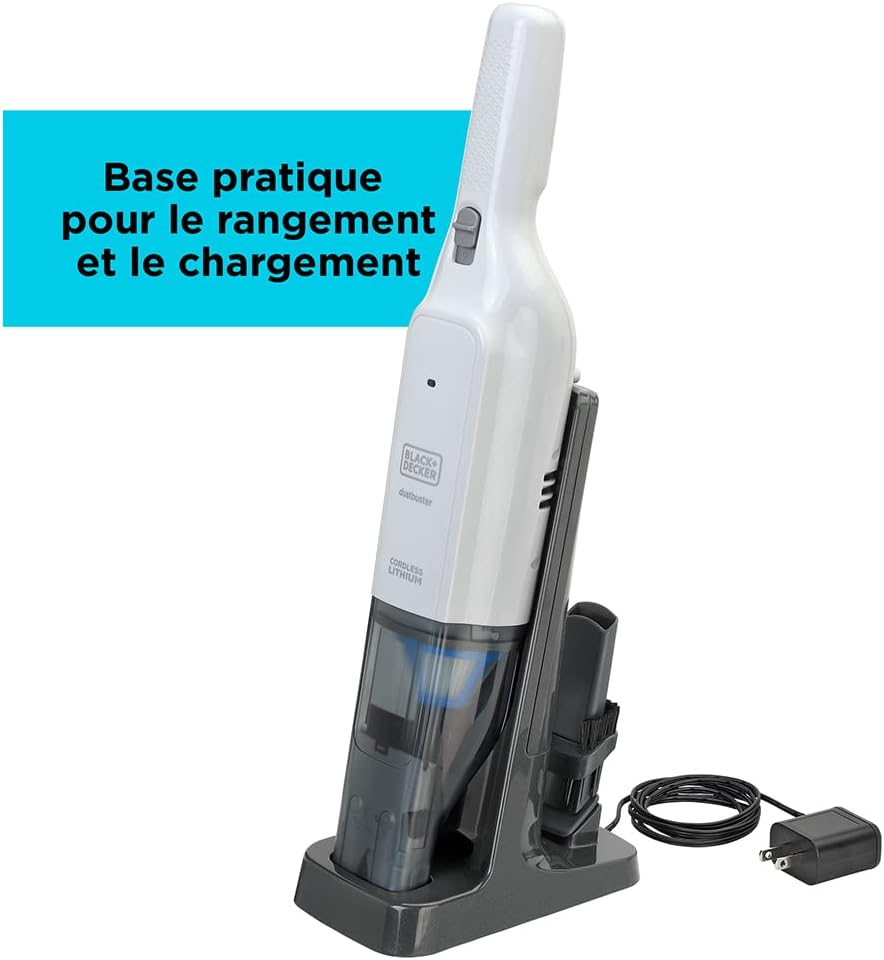
Image: The handheld vacuum is shown docked on its charging base, ready for charging.

Image: The vacuum is shown charging on its base on a kitchen counter, demonstrating its compact footprint.
2. Attaching Accessories
The crevice nozzle and furniture brush can be attached to the vacuum's main nozzle for specialized cleaning tasks.
- To attach, simply slide the desired accessory onto the end of the vacuum's nozzle until it fits securely.
- To remove, pull the accessory straight off.
Operating Instructions
1. Powering On/Off
To turn the vacuum cleaner on, slide the power switch forward. To turn it off, slide the switch backward.
2. Using the Retractable Nozzle
The integrated nozzle can be extended for wider coverage or to reach into tight spaces.
- To extend the nozzle, gently pull the front section forward until it locks into place.
- To retract, press the release button (if present) or push the nozzle back until it clicks into its compact position.

Image: A hand demonstrates the initial action of extending the vacuum's integrated nozzle.

Image: The nozzle is fully extended, showing its readiness for use.

Image: A hand demonstrates the action of retracting the vacuum's nozzle for compact storage.
3. General Cleaning
Hold the vacuum cleaner by the handle and direct the nozzle towards the area to be cleaned. For optimal performance, ensure the dust container is not full and the filter is clean.
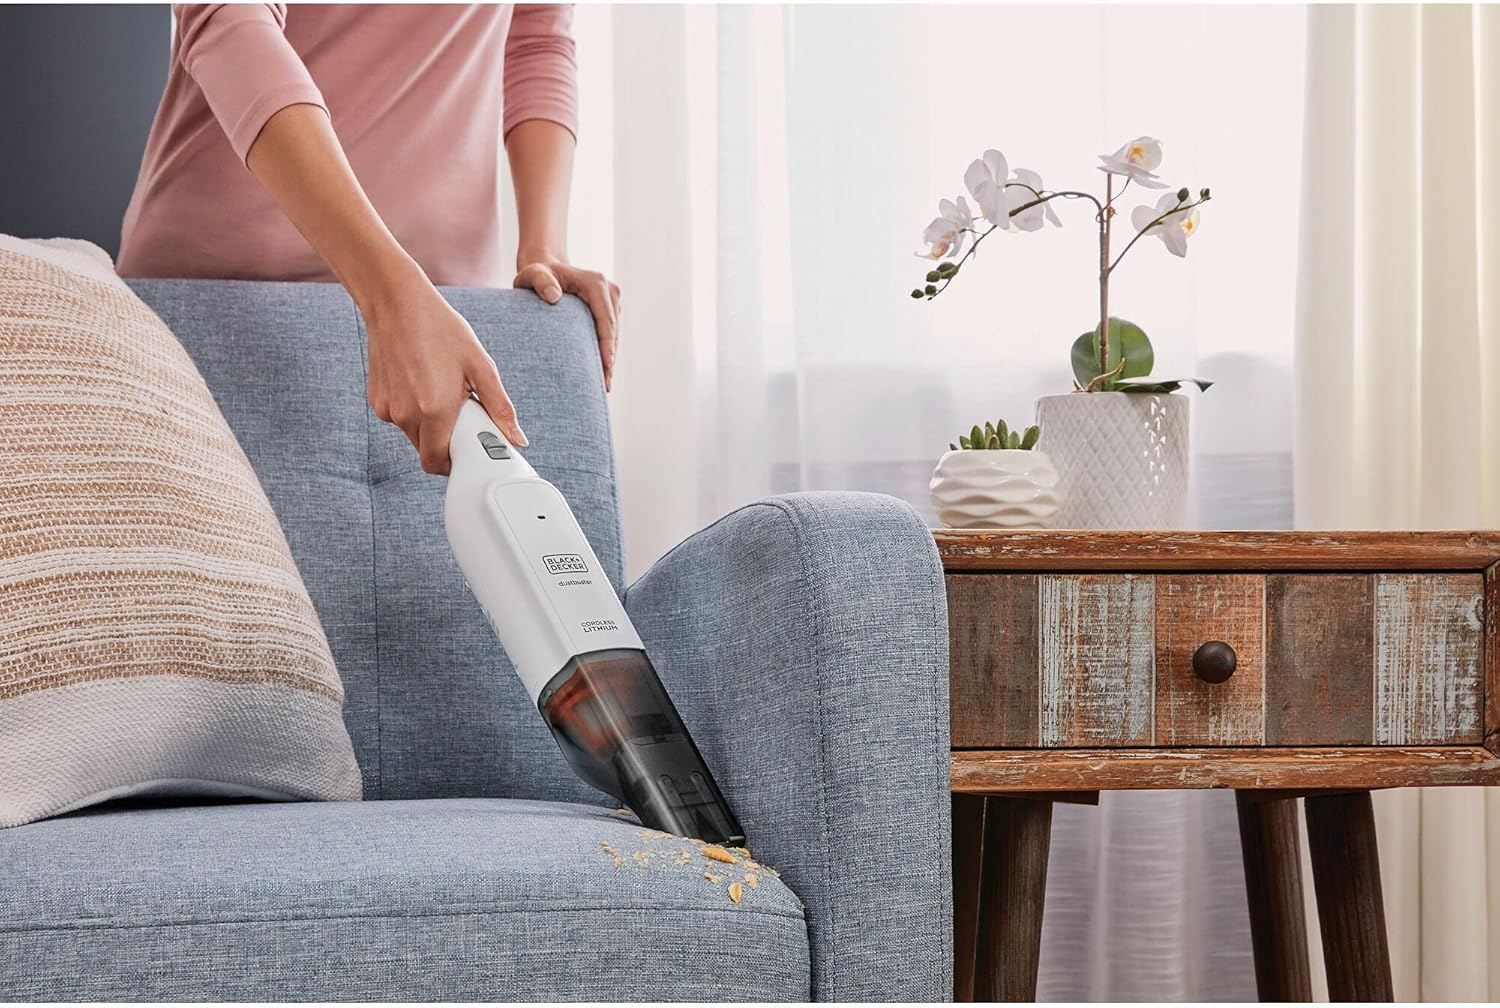
Image: The handheld vacuum is used to clean crumbs from a sofa, demonstrating its utility for upholstery.

Image: The vacuum is shown cleaning debris from a laptop keyboard, highlighting its precision for small areas.

Image: The vacuum is effectively cleaning up spilled small candies from a tiled floor, showcasing its suction power.
Maintenance
Regular maintenance ensures optimal performance and extends the life of your vacuum cleaner.
1. Emptying the Dust Container
Empty the dust container regularly, especially when the debris reaches the 'MAX' fill line. The transparent design allows you to monitor the fill level easily.
- Ensure the vacuum is turned off.
- Press the dust container release button (if applicable) or twist the dust container counter-clockwise to detach it from the main unit.
- Hold the dust container over a waste bin and empty its contents.
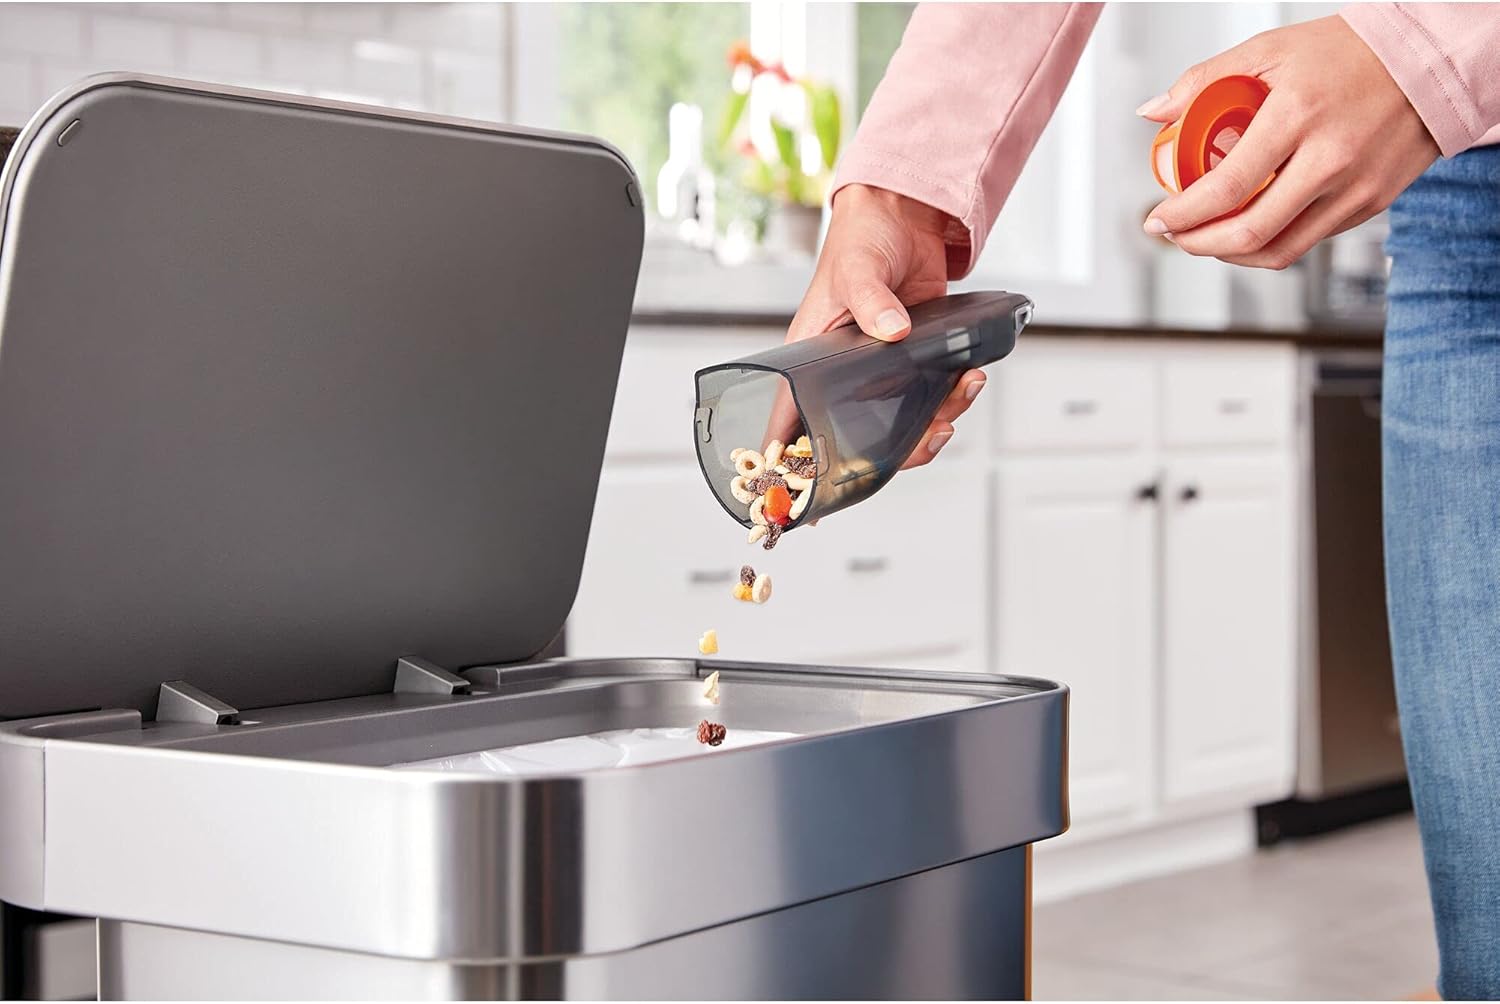
Image: A hand is shown detaching and emptying the dust container into a trash bin.

Image: The vacuum is held with a visible amount of debris in its transparent dust container, indicating it's time to empty.
2. Cleaning the Filter
The filter should be cleaned regularly to maintain suction power. It is washable for convenience.
- After emptying the dust container, remove the filter assembly.
- Tap the filter gently over a waste bin to remove loose dust.
- For a more thorough cleaning, rinse the filter under running water. Ensure it is completely dry before reassembling. Do not use hot water or detergents.
- Reinsert the dry filter into the dust container and reattach the container to the vacuum unit.

Image: A hand is shown rinsing the vacuum's filter under a faucet, demonstrating the washable feature.
3. General Cleaning of the Unit
Wipe the exterior of the vacuum cleaner with a damp cloth. Do not use abrasive cleaners or immerse the unit in water.
Troubleshooting
If you encounter issues with your vacuum cleaner, refer to the following table for common problems and solutions.
| Problem | Possible Cause | Solution |
|---|---|---|
| Vacuum does not turn on. | Battery is discharged. | Charge the battery for 4 hours. |
| Reduced suction power. | Dust container is full. | Empty the dust container. |
| Reduced suction power. | Filter is clogged. | Clean or replace the filter. |
| Reduced suction power. | Nozzle or hose is blocked. | Remove any obstructions from the nozzle or hose. |
| Battery not charging. | Charger not properly connected. | Ensure the charger is securely plugged into the wall outlet and the charging base. Ensure the vacuum is correctly seated on the base. |
Specifications
| Feature | Specification |
|---|---|
| Brand | BLACK+DECKER |
| Model Name | Pelicano (HLVC315B11-QW) |
| Power Supply | 12V |
| Battery Type | 1.5Ah Lithium-Ion |
| Dust Container Capacity | 0.2 Liters |
| Wattage | 18 watts |
| Charging Time | 4 Hours |
| Battery Life (Runtime) | Up to 11 minutes |
| Noise Level | 40 Decibels |
| Product Dimensions (L x W x H) | 11.02" x 5.91" x 18.11" |
| Item Weight | 1.54 pounds |
| Special Feature | Bagless |
| Filter Type | Cloth |
| Cordless | Yes |
| Form Factor | Handheld |
| Recommended Uses | Carpets, furniture, upholstery |
| Connectivity Technology | Bluetooth |

Image: A technical document showing the repairability index calculation for the BLACK+DECKER Pelicano vacuum cleaner (HLVC315B11).
Warranty and Support
BLACK+DECKER products are manufactured to high-quality standards and are guaranteed against manufacturing defects. For specific warranty terms and conditions, please refer to the warranty card included with your product or visit the official BLACK+DECKER website.
For technical assistance, spare parts, or repair services, please contact BLACK+DECKER customer support through their official channels. Keep your proof of purchase and model number (HLVC315B11-QW) handy when contacting support.
You can find more information and support on the BLACK+DECKER Store on Amazon.