Introduction
This instruction manual provides essential information for the safe and effective use of your Delmitan 3.7V Black USB Charger Adapter Cable. This charger is specifically designed for 3.7V batteries used in Sky Viper drones and other compatible remote-controlled aircraft. Please read this manual thoroughly before first use and retain it for future reference.
Setup
Follow these steps to prepare your USB charger for use:
- Identify Components: Ensure you have the Delmitan 3.7V USB charger cable and the 3.7V battery from your Sky Viper drone or compatible RC device.
- Power Source: Connect the USB-A end of the charger cable to a compatible USB power source. This can be a computer's USB port, a USB wall adapter (5V output recommended), or a portable power bank. Ensure the power source provides stable 5V DC output.
- Battery Connection: Locate the charging port on your drone's 3.7V battery. Carefully align the connector on the charger cable with the battery's port and push it in firmly until it clicks into place. Do not force the connection.

Image 1: The Delmitan 3.7V USB Charger Adapter Cable. The blue USB-A end connects to a power source, and the black two-pin connector attaches to the drone battery.
Operating Instructions
Once connected, the charging process is straightforward:
- Charging Indicator: The charger typically features an LED indicator. When the battery is charging, the LED will illuminate (e.g., red). Once the battery is fully charged, the LED may change color (e.g., turn green) or turn off, depending on the specific charger model. Refer to your drone's battery manual for specific charging times and LED behavior if available.
- Charging Time: Charging times vary depending on the battery capacity and the output of your USB power source. Avoid overcharging by disconnecting the battery once the charging indicator signals completion.
- Disconnection: Once charging is complete, carefully disconnect the charger cable from the battery by pulling on the connector housing, not the wires. Then, disconnect the USB-A end from the power source.
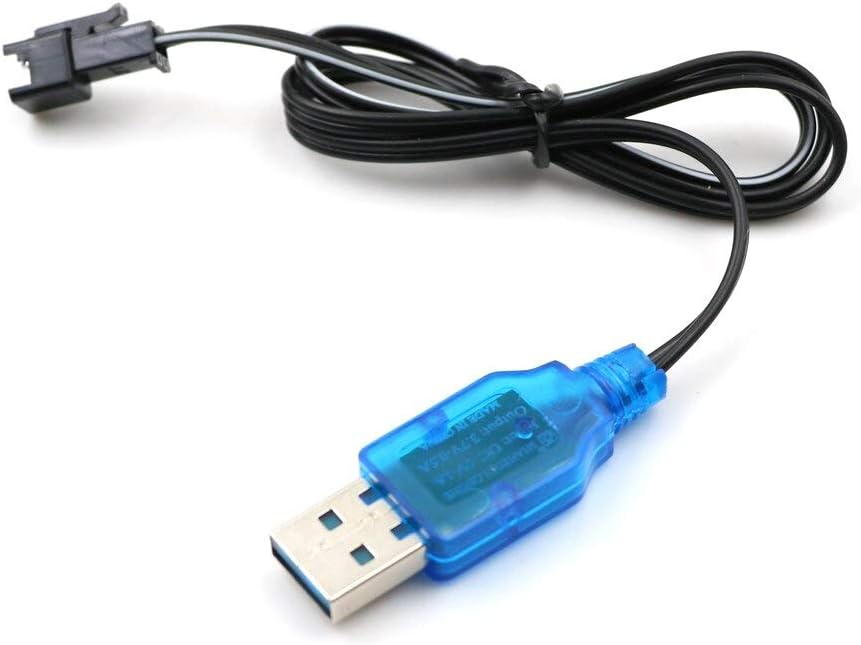
Image 2: Detailed view of the charger cable, highlighting the USB-A connector and the battery plug. The blue housing of the USB-A connector may contain an LED indicator.
Maintenance
Proper care will extend the life of your charger cable:
- Storage: Store the charger cable in a cool, dry place away from direct sunlight and extreme temperatures.
- Cleaning: If necessary, gently wipe the cable and connectors with a dry, soft cloth. Do not use liquid cleaners or solvents.
- Inspection: Periodically inspect the cable for any signs of damage, such as frayed wires, bent pins, or cracked insulation. Discontinue use if any damage is observed.
- Handling: Always pull on the connector housing when disconnecting, not the cable itself, to prevent damage to the wires and connections.
Troubleshooting
If you encounter issues with your charger, refer to the following common problems and solutions:
| Problem | Possible Cause | Solution |
|---|---|---|
| Battery not charging / No LED indicator |
|
|
| Slow charging |
|
|
| Charger or battery gets hot during charging |
|
|
Specifications
Key technical details for the Delmitan 3.7V USB Charger Adapter Cable:
- Model Number: TM2-Del-AL237-RC3-7
- Input: USB-A (5V DC)
- Output: 3.7V DC
- Connector Type: USB-A Male to 2-pin Battery Connector
- Cable Type: USB
- Color: Black cable with Blue USB housing
- Material: Other (as per manufacturer)
- Compatible Devices: Sky Viper Drones and other 3.7V RC aircraft batteries
- Manufacturer: Delmitan
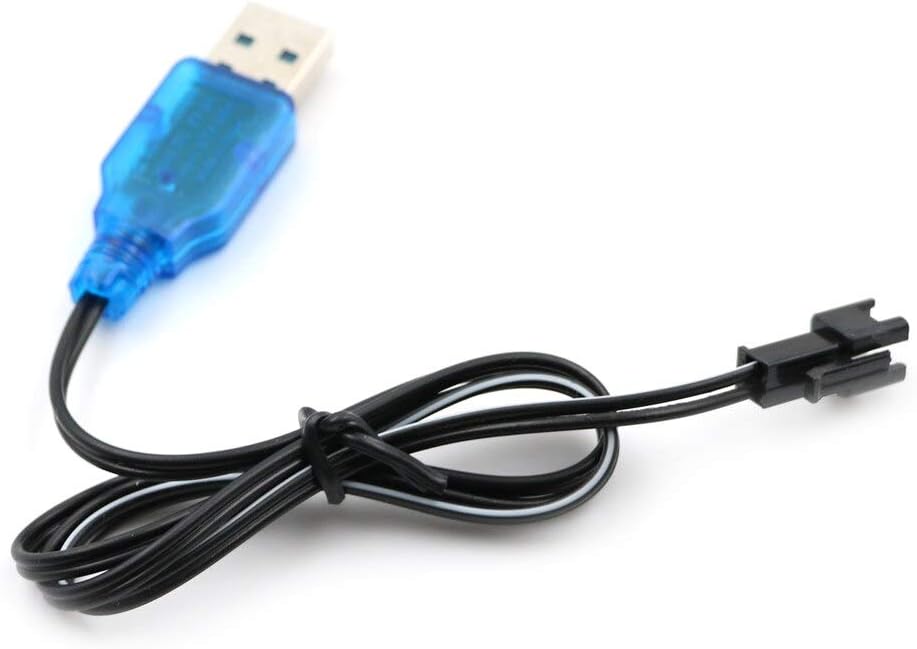
Image 3: The Delmitan USB charger cable laid out, showing its overall length and the distinct USB-A and battery connectors.
Warranty and Support
For warranty information or technical support regarding your Delmitan 3.7V USB Charger Adapter Cable, please contact the manufacturer, Delmitan, directly through their official channels or the retailer from whom the product was purchased. Please retain your proof of purchase for warranty claims.


