
1. Introduction
Thank you for choosing the DENEST Automatic Pasta Maker. This electric machine is designed to simplify the process of making fresh, homemade pasta and noodles. With its user-friendly operation and multiple molds, you can enjoy a variety of pasta styles with minimal effort. Please read this manual thoroughly before first use to ensure safe and optimal performance.
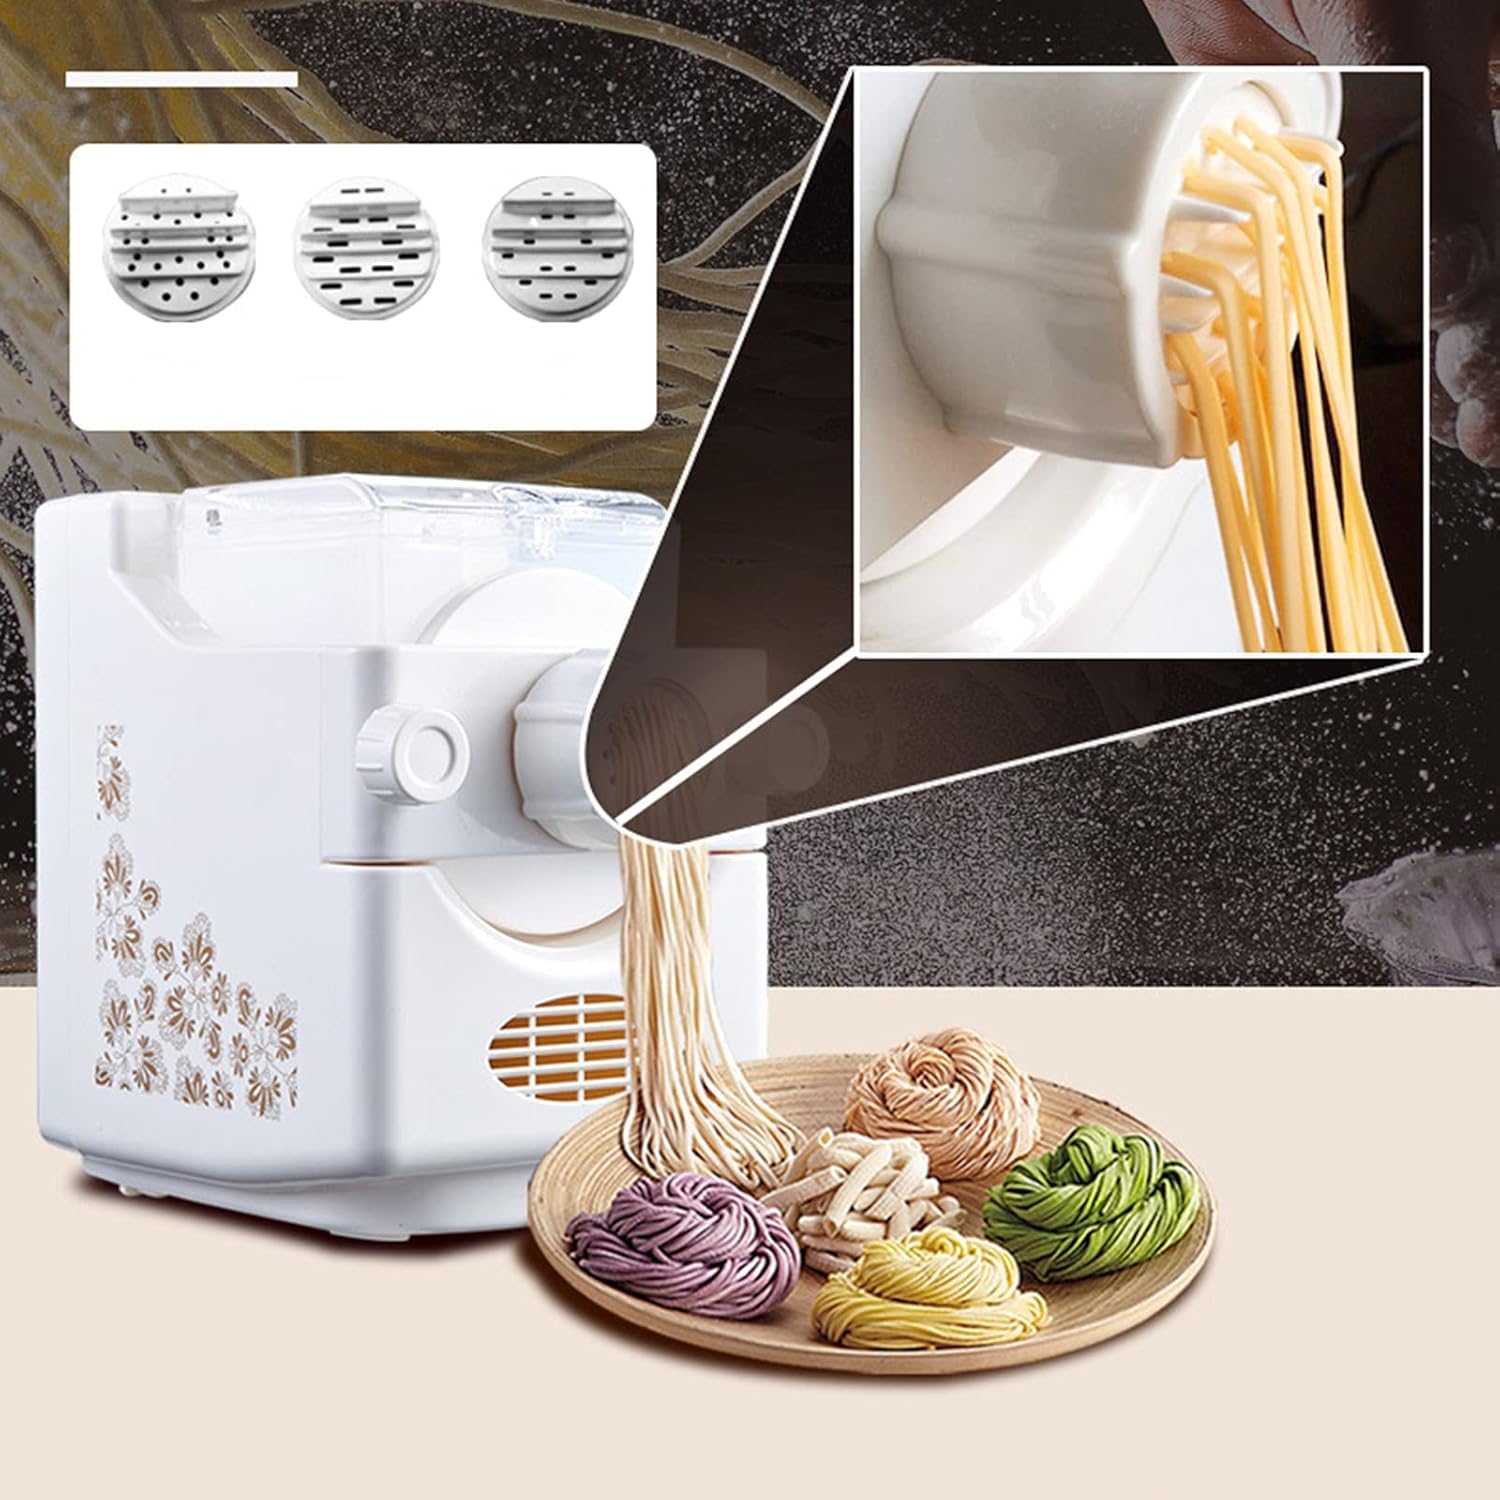
Figure 1: DENEST Automatic Pasta Maker with various pasta types.
2. Safety Instructions
- Always ensure the machine is unplugged before assembly, disassembly, or cleaning.
- Do not immerse the main unit in water or any other liquid.
- Keep hands and utensils away from moving parts during operation to prevent injury.
- Ensure the lid is properly closed and locked before operating the machine. The safety lock prevents operation if the lid is not secured.
- This appliance is for household use only. Do not use outdoors or for commercial purposes.
- Keep out of reach of children.
- Do not operate the machine if the power cord or plug is damaged. Contact customer support for assistance.
- Use only food-grade ingredients.
3. Product Overview
The DENEST Automatic Pasta Maker features a robust design with food-grade materials and an efficient cooling system for extended durability. It comes with 9 different molds to create a variety of pasta shapes.
Components
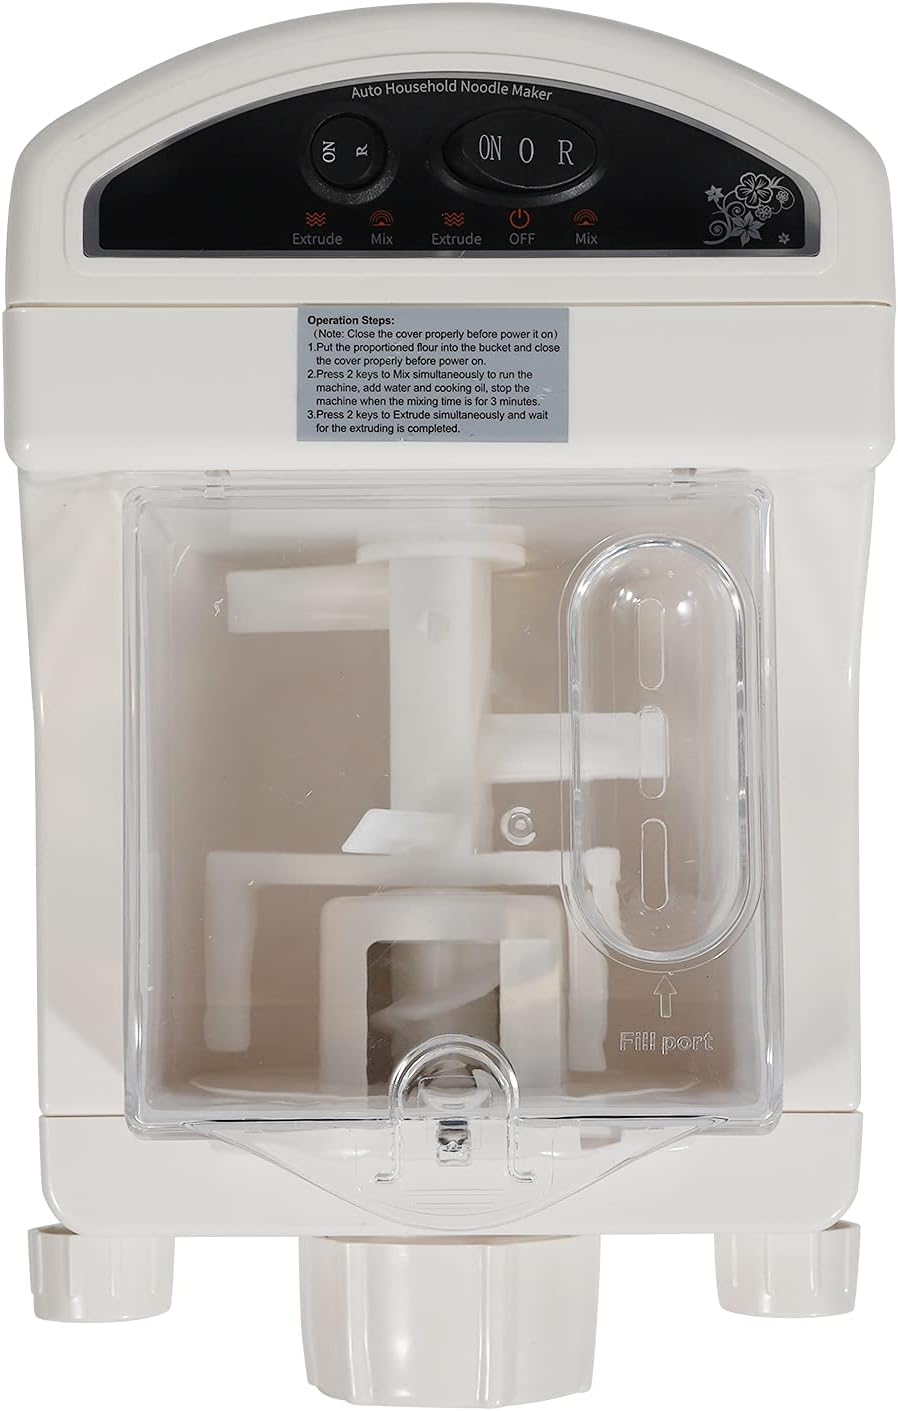
Figure 2: Main components of the pasta maker.
- Host Unit: The main body containing the motor and control panel.
- Fabric Bucket: The mixing chamber where ingredients are combined.
- Transparent Lid: Covers the mixing chamber, with a safety lock.
- Face Molds (9 types): Interchangeable discs for different pasta shapes.
- Noodle Stick & Stir Stick: Internal components for mixing and extruding dough.
- Nuts (Big & Small): Secure the face molds and other components.
- Fixed Baffle: Helps guide the dough.
Noodle Molds
The machine includes 9 different molds to create various pasta and noodle styles, such as spaghetti, tagliatelle, macaroni, and more.
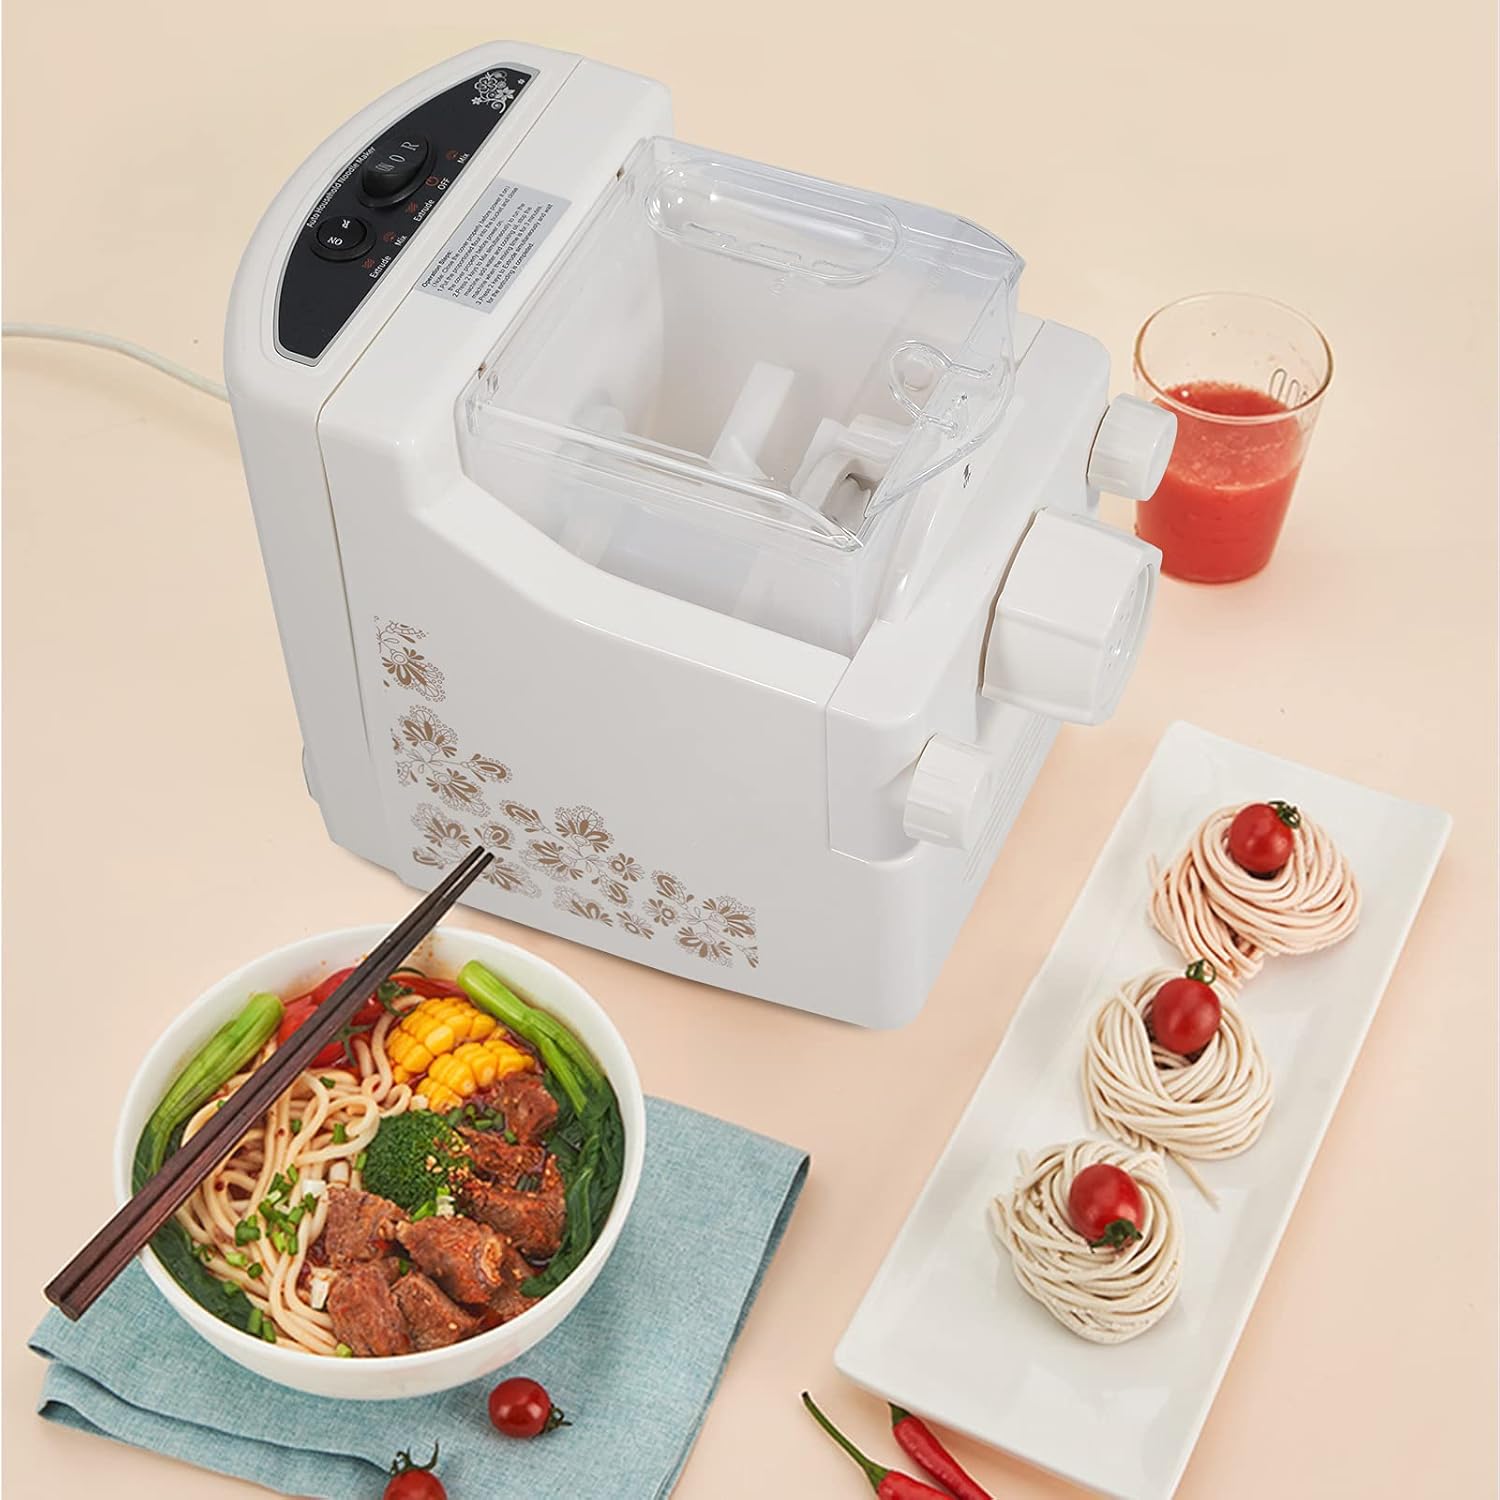
Figure 3: Variety of noodle molds and their corresponding pasta shapes.
4. Setup and Assembly
Before first use, ensure all components are clean. Follow these steps to assemble your pasta maker:
- Place the main unit on a stable, flat surface.
- Insert the stir and noodle stick into the mixing chamber.
- Attach the fixed baffle.
- Select your desired face mold and attach it to the front of the machine, securing it with the big nut.
- Place the transparent lid over the mixing chamber and ensure it clicks into place, activating the safety lock.
Video 1: Demonstrates the assembly and disassembly process of the pasta maker.
5. Operating Instructions
Making fresh pasta is a simple three-step process:
- Add Flour: Pour the desired amount of flour into the mixing chamber. For optimal results, use 250g of flour.
- Mix Dough: Close the transparent lid securely. Press the "ON" button and then the "Mix" button. Slowly add 95ml of water (or a mixture of water and vegetable juice for colored pasta) through the designated opening in the lid while the machine is mixing. Mix for approximately 3 minutes until a crumbly dough forms.
- Extrude Pasta: Once the dough is mixed, press the "Extrude" button. The machine will begin to extrude fresh pasta through the selected mold. Use a knife or spatula to cut the pasta to your desired length as it emerges.

Figure 4: Visual guide for adding ingredients and operating the machine.
Tip: For best results, ensure the dough is crumbly, not sticky or too dry. Adjust water quantity slightly if needed based on flour type and humidity.
6. Cleaning and Maintenance
Regular cleaning ensures the longevity and hygiene of your pasta maker. All detachable parts are dishwasher safe for convenience.
- Disassembly: Unplug the machine. Remove the transparent lid, then unscrew the nut and remove the face mold, fixed baffle, and the stir/noodle stick.
- Cleaning: Wash all detachable parts with warm, soapy water or place them in the dishwasher. Use a small brush to clean any dough residue from the molds and internal components. The main unit can be wiped clean with a damp cloth. Do not immerse the main unit in water.
- Drying: Ensure all parts are completely dry before reassembling or storing the machine.
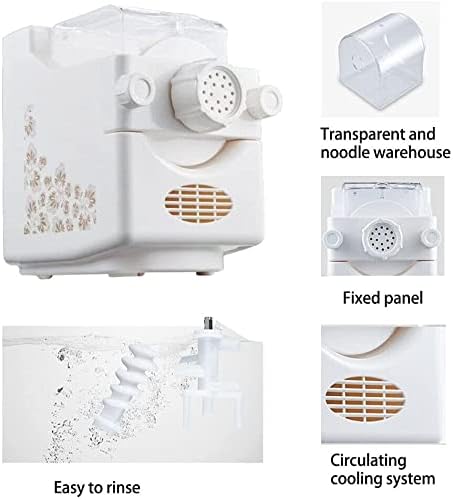
Figure 5: Easy to rinse internal components.
7. Troubleshooting
| Problem | Possible Cause | Solution |
|---|---|---|
| Machine does not start. | Power cord not plugged in; lid not properly closed; safety lock not engaged. | Ensure power cord is securely plugged in. Close the lid firmly until the safety lock engages. |
| Dough is too sticky or too dry. | Incorrect flour-to-water ratio. | Adjust water or flour slightly. Dough should be crumbly, not a solid ball. |
| Pasta does not extrude or extrudes slowly. | Dough too dry; mold blocked; machine overloaded. | Add a small amount of water to the dough. Clean the mold. Do not exceed maximum ingredient capacity. |
| Machine stops during operation. | Overheating protection activated; safety lock disengaged. | Unplug and let the machine cool down. Ensure the lid is securely closed. |
8. Specifications
| Feature | Detail |
|---|---|
| Brand | DENEST |
| Model Number | MTJ-168D (c140977d-7992-461d-af31-8a5fd4fd3409) |
| Color | White |
| Material | Acrylonitrile Butadiene Styrene Plastic (ABS Plastic) |
| Item Weight | 5 Kilograms |
| Product Dimensions (L x W x H) | 33L x 20.5W x 28.5H cm |
| Blade Material | ABS, Plastic |
| Included Components | Motor |
| Number of Settings | 9 (for different molds) |
| Operating Mode | Automatic |
| Electric | Yes |
| Dishwasher Safe | Yes (detachable parts) |
| UPC | 742484404454 |
| ASIN | B09BJ31K81 |

Figure 6: Product dimensions.
9. Warranty and Support
For warranty information or technical support, please refer to the product packaging or contact DENEST customer service directly. Keep your purchase receipt for warranty claims.