1. Introduction
This manual provides detailed instructions for the installation, operation, maintenance, and troubleshooting of the AZ4U Dryer Heating Element and Thermostat Kit. This kit is designed as a direct replacement for various Samsung electric dryer models, aiming to restore efficient heating performance and resolve common drying issues. Please read this manual thoroughly before attempting any installation or repair.
2. Safety Information
WARNING: Risk of Electric Shock and Injury.
- Always disconnect power to the dryer by unplugging it or turning off the circuit breaker before beginning any repair or maintenance.
- Wear appropriate personal protective equipment, including gloves, to prevent injury.
- If you are unsure about any step, consult a qualified appliance technician.
- Ensure all connections are secure and properly insulated after installation.
- This kit is intended for electric dryers only. Do not use with gas dryers.
3. Package Contents
The AZ4U Dryer Heating Element and Thermostat Kit includes the following components:
- Dryer Heating Element (DC47-00019A replacement)
- High Limit Thermostat (L250-80F, replacement for 35001092, 503497, AP4201899, AP6008682, PS4205217)
- Thermal Fuse (replacement for DC96-00887C, 2074129, WP35001193, AP207819, AP5966894, PS11741829)
- Thermal Fuse (replacement for DC47-00016A, AP4201899, PS2038533, 35001087)
- Dryer Thermistor (replacement for DC96-00887C, 2074129, WP35001193, AP207819, AP5966894, PS11741829)
- Mounting brackets and necessary hardware

This image displays all components included in the AZ4U Dryer Heating Element and Thermostat Kit: the heating element, a high-limit thermostat, two thermal fuses, and a thermistor. These parts are designed to restore heating functionality to compatible Samsung electric dryers.
4. Compatibility
This AZ4U Heating Element and Thermostat Kit is compatible with a wide range of Samsung electric dryer models. Please verify your dryer's model number before installation. Compatible models include, but are not limited to:
- DVE50M7450W/A3
- DV393ETPAWR/A1
- DV42H5000EW/A3
- DV48H7400EW/A2
- DV363EWBEUF/A1
- DV42H5200EW/A3
- DV448AEW/XAA
- DV361EWBEWR/A3
- DV42H5200EF/A3
- DV419AEW/XAA
- DV40J3000EW/A2
- DV45H7000EW/A2
This kit replaces original part numbers DC47-00019A, DC47-00018A, DC96-00887A, DC47-00016A, and AP4201899.
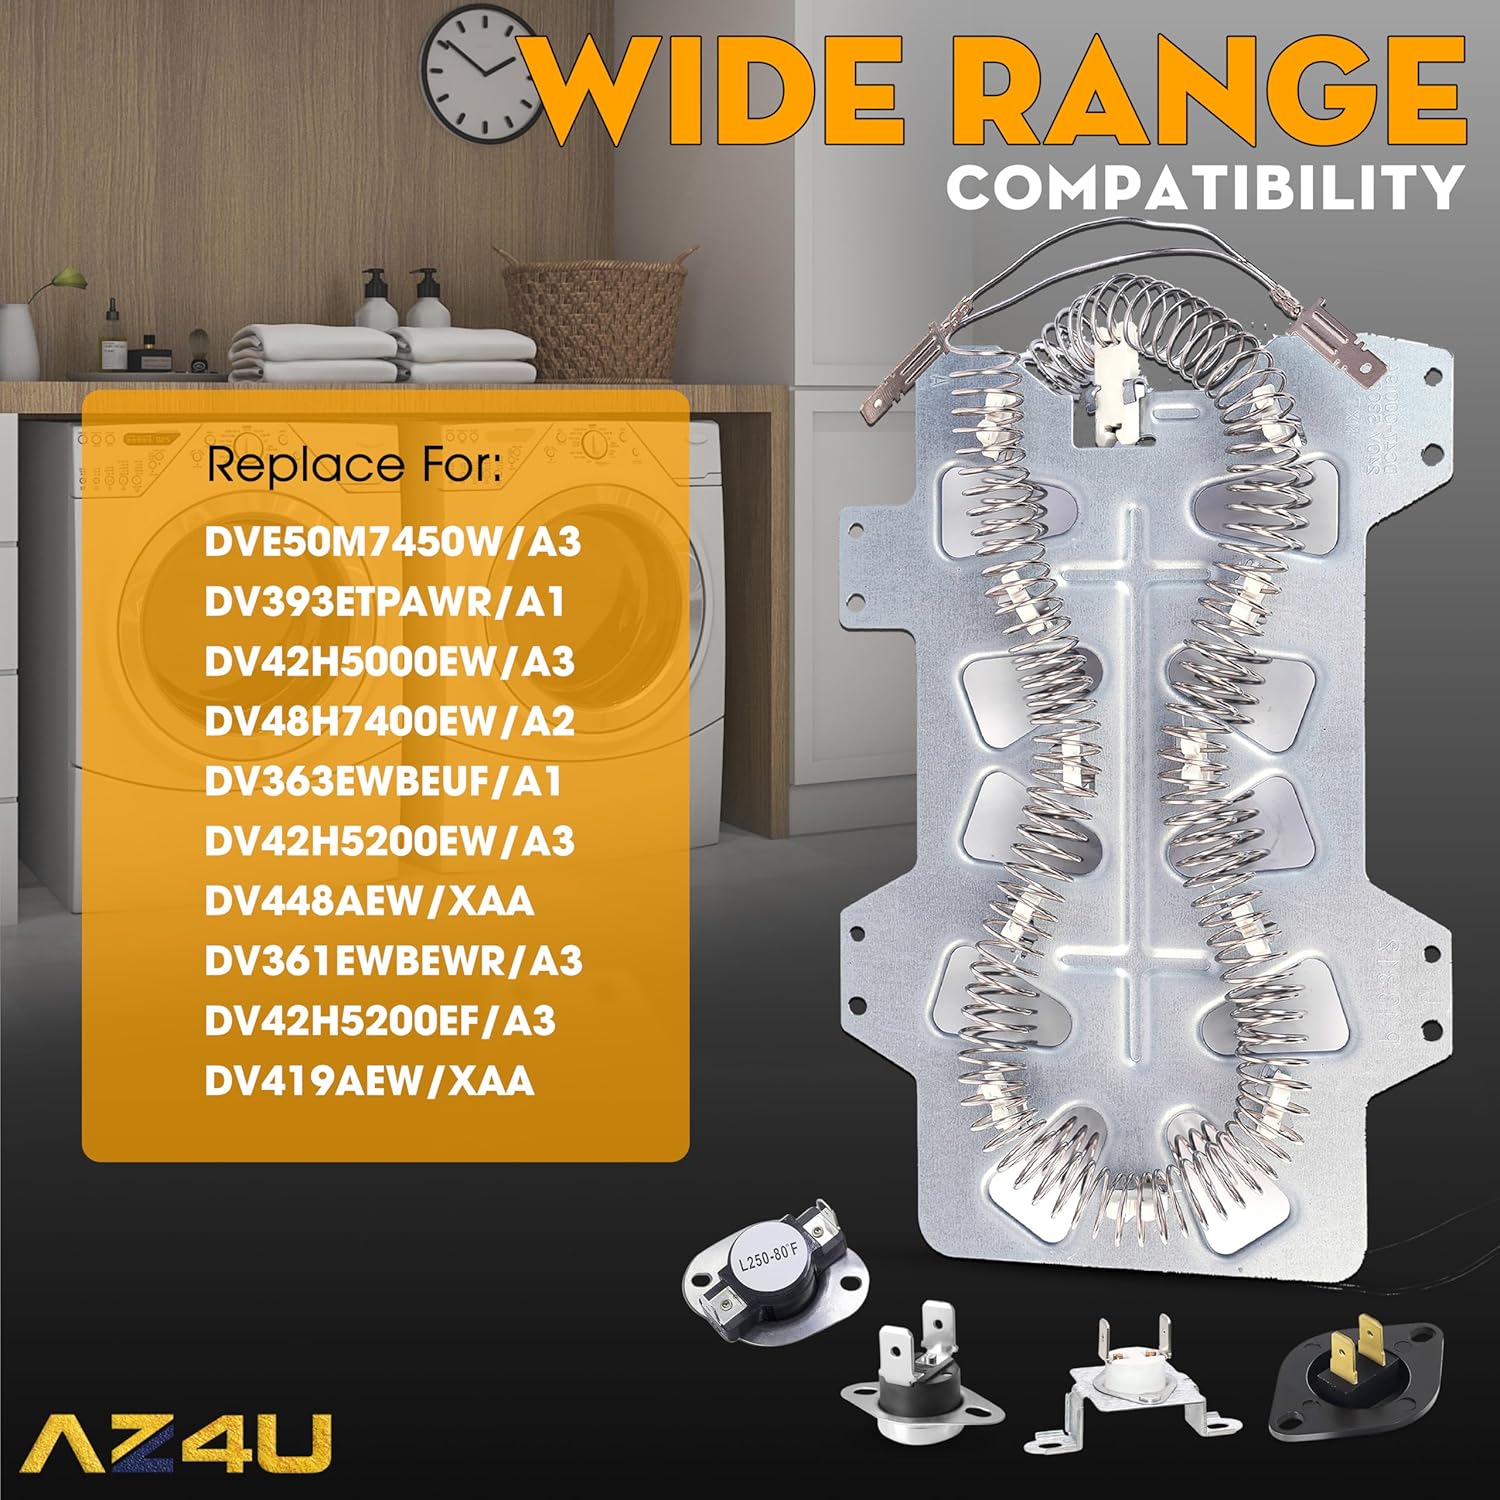
This image illustrates the heating element and lists several compatible Samsung dryer models, including DVE50M7450W/A3, DV393ETPAWR/A1, DV42H5000EW/A3, DV48H7400EW/A2, DV363EWBEUF/A1, DV42H5200EW/A3, DV448AEW/XAA, DV361EWBEWR/A3, DV42H5200EF/A3, and DV419AEW/XAA. This kit is designed for a wide range of Samsung electric dryers.
5. Installation Guide
The following steps outline the general procedure for replacing the heating element and associated components in a Samsung electric dryer. Specific dryer models may vary, so it is recommended to consult your dryer's service manual or an online video tutorial for your exact model.
Tools You May Need:
- Screwdrivers (Phillips and Flathead)
- Nut drivers or socket set
- Pliers
- Work gloves
Step-by-Step Procedure:
- Disconnect Power: Unplug the dryer from the electrical outlet or turn off the circuit breaker supplying power to the dryer. This is a critical safety step.
- Access the Rear Panel: Move the dryer away from the wall. Use a screwdriver or nut driver to remove the screws securing the rear access panel of the dryer. Carefully remove the panel and set it aside.
- Locate the Heating Element Assembly: The heating element assembly is typically located at the bottom rear of the dryer drum. It will be a metal housing containing the heating coils and often the thermostats and thermal fuses.
- Disconnect Wires: Take a photo of the existing wiring connections for reference. Carefully disconnect all electrical wires from the heating element, thermostats, and thermal fuses. Note their positions.
- Remove Old Components: Unscrew and remove the old heating element assembly, including the attached thermostats and thermal fuses. These are usually secured by a few screws.
- Install New Components: Install the new AZ4U heating element assembly into the dryer, securing it with the provided screws. Attach the new high limit thermostat, thermal fuses, and thermistor to their respective positions on the heating element housing or dryer chassis, ensuring they are properly seated.
- Reconnect Wiring: Refer to your photo and reconnect all electrical wires to the new components. Ensure all connections are tight and secure.
- Replace Rear Panel: Reinstall the rear access panel, securing it with all screws.
- Restore Power and Test: Plug the dryer back into the electrical outlet or turn on the circuit breaker. Run a short cycle with a damp towel to verify that the dryer is heating properly and functioning as expected.

A close-up view of the individual sensor components included in the kit: the High Limit Thermostat (L250-80F), two types of Thermal Fuses, and the Dryer Thermistor. Each component is shown with its function and corresponding replacement part numbers, such as 35001092, DC96-00887C, and AP4201899.
6. Operating Instructions
Once the AZ4U Dryer Heating Element and Thermostat Kit is correctly installed, your dryer should resume normal operation, providing consistent and efficient heat for drying clothes. No special operating procedures are required for the heating element itself; it functions automatically as part of the dryer's heating system.
Ensure your dryer's lint trap is clean before each load to maintain optimal airflow and prevent overheating. Refer to your dryer's original user manual for specific operating modes and settings.
7. Maintenance
Proper maintenance of your dryer helps extend the life of its components, including the heating element and thermostats.
- Clean Lint Trap: Clean the lint trap before every load to ensure proper airflow and prevent lint buildup, which can cause overheating.
- Inspect Venting System: Periodically inspect and clean the dryer's exhaust vent system (ductwork) to remove lint accumulation. Blocked vents can lead to longer drying times and premature failure of heating components.
- Check for Obstructions: Ensure there are no obstructions in the dryer's air intake or exhaust paths.
8. Troubleshooting
If your dryer is experiencing issues after installing the AZ4U kit, refer to the following common symptoms and potential solutions:
| Symptom | Possible Cause | Solution |
|---|---|---|
| Dryer Will Not Start | Blown thermal fuse, faulty door switch, power issue | Check power supply, ensure door is closed, inspect thermal fuses for continuity. |
| Timer Not Advancing | Heating element failure, faulty timer motor, restricted airflow | Verify heating element is functioning, clean lint trap and vent. |
| Dryer Shuts Off Too Soon | Overheating due to restricted airflow, faulty high-limit thermostat | Clean lint trap and vent thoroughly. Inspect high-limit thermostat. |
| Takes Too Long To Dry | Insufficient heat, restricted airflow, overloaded dryer | Ensure heating element is working, clean vent, do not overload dryer. |
| No Heat or Not Enough Heat | Failed heating element, blown thermal fuse, faulty thermostat/thermistor | Inspect all components in the kit for proper function and continuity. |

This image highlights common dryer malfunctions that the AZ4U Heating Element and Thermostat Kit is designed to address. Symptoms include the dryer not starting, the timer not advancing, premature shut-off, extended drying times, and a complete lack of heat or insufficient heat.
9. Specifications
- Brand: AZ4U
- Material: 95% Nickel-chromium (heating element)
- Voltage: 240 Volts
- Wattage: 5300 watts
- Color: Silver
- Item Weight: Approximately 14.9 ounces
- Package Dimensions: 10.87 x 7.13 x 3.03 inches
- UPC: 804859541390
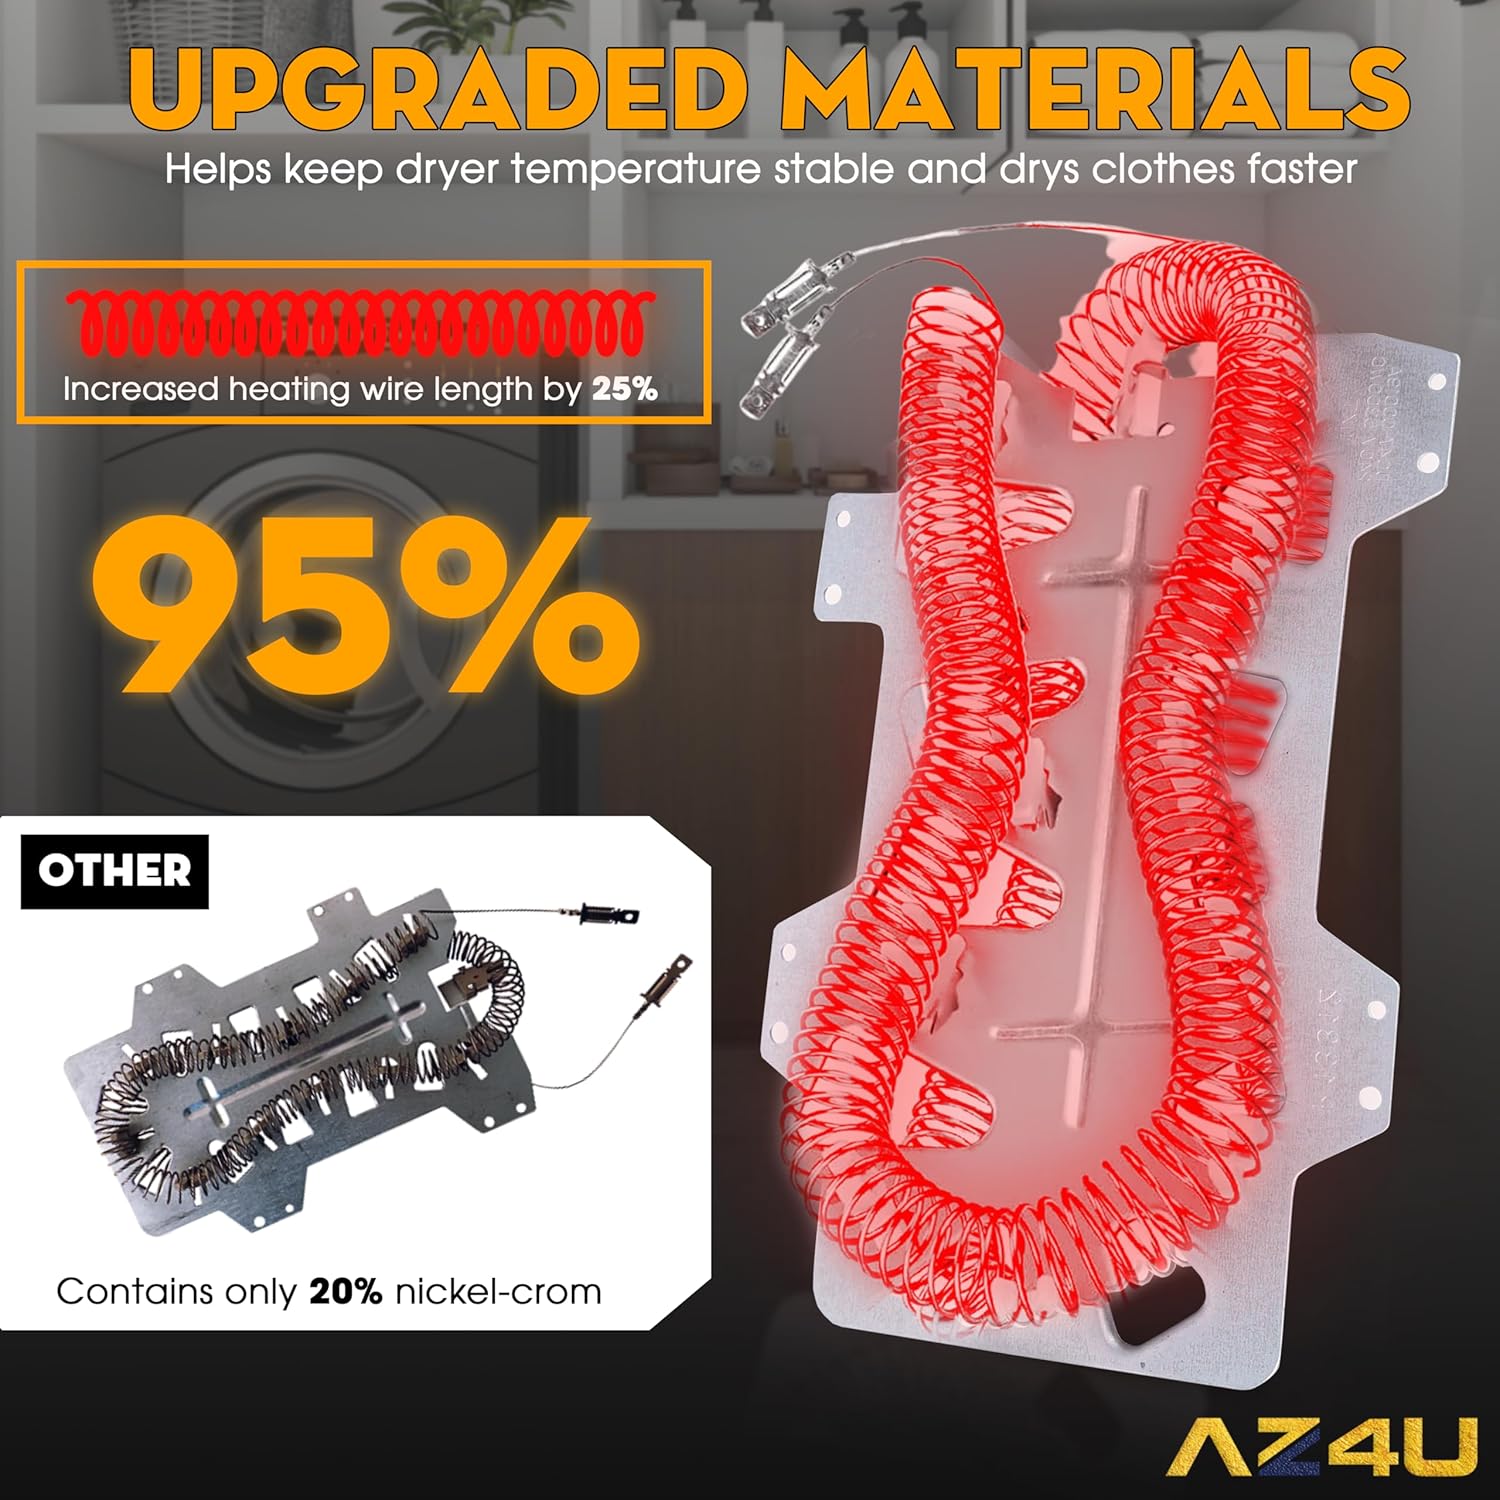
This image illustrates the material upgrade in the heating element, emphasizing the use of 95% nickel-chromium material for enhanced durability and heat resistance, compared to older versions that may contain only 20% nickel-chromium. The increased heating wire length by 25% is also noted for improved performance.
10. Warranty and Support
AZ4U is confident in the quality of its parts. This product comes with a 30-day money-back guarantee from the date of purchase. If you encounter any issues or have questions regarding compatibility or installation, please contact AZ4U customer support for assistance. We aim to resolve your problem within 24 hours.
For further support, please visit the AZ4U Store on Amazon.