
Introduction
Welcome to your Tiardey 10ft Tie Down Straps manual. These straps are designed for securely fastening various items such as surfboards, canoes, kayaks, and general cargo to roof racks or other transport systems. Please read these instructions carefully before use to ensure safe and effective operation.
Important Safety Guidelines
- Inspect straps before each use for wear, cuts, or damage. Do not use damaged straps.
- Ensure buckles are clean and free of debris for proper locking.
- Do not exceed the weight capacity of your roof rack or vehicle. Consult your vehicle and roof rack manuals for specific limits.
- Distribute weight evenly and secure items firmly to prevent shifting during transit.
- Periodically check strap tension during long journeys, especially after the first few miles.
- Avoid sharp edges that could cut or fray the straps. Use protective padding if necessary.
- Keep straps away from excessive heat, open flames, or corrosive chemicals.
Product Overview
Each set includes two 10-foot (approximately 300cm) black tie-down straps with adjustable buckle mechanisms, designed for durability and ease of use.

Image: A pair of black tie-down straps, each rolled into a coil, with the buckle and protective pad visible at the end.

Image: Two black tie-down straps, similar to the previous image, with an overlay indicating their dimensions as 300cm x 2.5cm.
Versatility
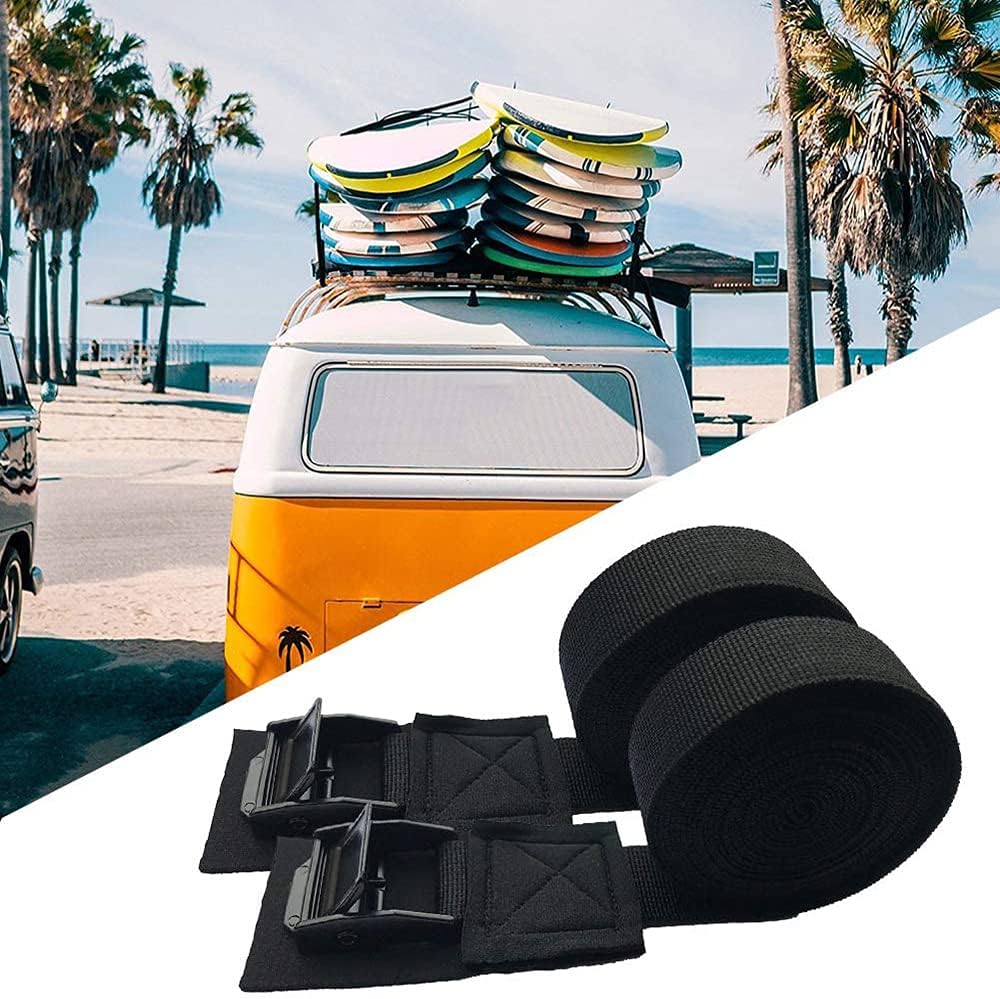
Image: A diagram illustrating the versatility of the tie-down straps for securing items such as surfboards, bicycles, general cargo, and luggage.
Setup and Installation
Preparing the Straps
Unroll each tie-down strap completely. Ensure the buckle mechanism is clean and operates smoothly before beginning installation.
Securing Items to a Roof Rack
- Position the item (e.g., surfboard, kayak, cargo box) centrally and securely on your vehicle's roof rack. Ensure it is balanced.
- Drape one strap over the item, ensuring the buckle is positioned on one side of the vehicle, accessible for tightening.
- Feed the free end of the strap under the roof rack bar on the opposite side of the buckle.
- Bring the free end back over the item and feed it through the buckle mechanism.
- Pull the strap tight to remove all slack. Ensure the item is snug against the roof rack and does not move.
- Repeat the process with the second strap, positioning it at the other end of the item for balanced and secure fastening.
- Double-check both straps for tightness and ensure the item does not shift or wobble. Tuck away any excess strap length to prevent flapping during travel.

Image: A yellow kayak securely fastened to a car's roof rack using black tie-down straps, demonstrating proper installation.
Operating the Buckle Mechanism
Tightening the Strap
To tighten the strap, feed the free end through the buckle. Pull the free end firmly until the desired tension is achieved. The buckle's internal teeth will automatically grip the strap, holding it securely in place. Ensure the strap is taut but not over-tightened to avoid damage to the item or strap.
Releasing the Strap
To release the strap, locate the thumb lever on the buckle. Press this lever down completely to disengage the internal teeth. While holding the lever, pull the strap back through the buckle to loosen it. Once loose, the strap can be easily removed.

Image: A close-up view of the black buckle mechanism on a tie-down strap, highlighting the lever used for release and adjustment.
Maintenance and Storage
Cleaning
Clean straps with mild soap and water. Rinse thoroughly to remove all soap residue and allow them to air dry completely before storage. Do not use harsh chemicals, bleach, or abrasive cleaners, as these can degrade the strap material.
Inspection
Regularly inspect straps for any signs of wear, fraying, cuts, tears, or damage to the webbing or buckles. Pay close attention to stitching. Replace straps immediately if any damage is found, as compromised straps can lead to load failure.
Storage
Store straps in a dry, cool place away from direct sunlight, UV exposure, and extreme temperatures. Rolling them neatly can prevent tangling and prolong their lifespan.
Troubleshooting
Strap Not Holding Tension
- Ensure the strap is correctly threaded through the buckle mechanism. Refer to the operating instructions.
- Check the buckle for any debris, dirt, or damage that might prevent the internal teeth from gripping the strap effectively. Clean if necessary.
- Verify that the strap material itself is not excessively worn, stretched, or frayed, which could reduce its ability to hold tension.
Difficulty Releasing Buckle
- Ensure the release lever is fully depressed. Sometimes, only a partial press will not disengage the teeth.
- Check for dirt, sand, or corrosion within the buckle mechanism that might impede its movement.
- If the strap is under extreme tension, try to reduce the load slightly or apply gentle pressure to the item before attempting to release the buckle.
Specifications
Product Details
- Length: 10 feet (approximately 300 cm)
- Width: 1 inch (approximately 2.5 cm)
- Color: Black
- Material: Durable polypropylene webbing with plastic buckle
- Item Weight: 6 ounces (per pair)
- Model Number: 1
- ASIN: B09B6Z8TZ3
Warranty and Support
For specific warranty details or customer support inquiries, please refer to the product packaging or contact Tiardey directly through their official customer service channels. Keep your purchase receipt for any warranty claims.