1. Introduction
Thank you for choosing the LIGHTFE MINI01 Keychain Flashlight. This compact and lightweight flashlight is designed for everyday carry, offering reliable illumination in various situations. This manual provides essential information for the safe and effective use of your device.
2. Safety Information
Warning:
- Keep the MINI01 keychain flashlight out of reach of children.
- This product contains small button cell batteries and spare batteries. Store them safely.
- Dispose of used batteries properly according to local regulations.
- Do not look directly into the light beam to avoid temporary vision impairment.
3. Package Contents
Verify that all items are present in your package:
- MINI01 Keychain Flashlight (Batteries Included) x 1
- LR41 Button Cell x 6 (spare)
- Spare O-rings x 2
- User Manual x 1
4. Product Specifications
| Feature | Description |
|---|---|
| Light Source | 3535 LED |
| LED Lifespan | 50,000 hours |
| Lens Type | Convex optical lens |
| Material | Aerospace aluminum alloy |
| Surface Treatment | Mili-spec III hard-anodized anti-abrasive coat |
| Waterproof Rating | IPX-6 |
| Impact Resistance | 1.5 meters |
| Dimensions (L x Dia.) | 25mm x 11.5mm (0.2"D x 0.2"W x 0.3"H) |
| Net Weight | 4.5 grams (0.159 ounces) |
| Power Source | 3 x LR41 button batteries |
| Brightness | 80 Lumens |
| Voltage | 3 Volts |
| Battery Composition | Alkaline |
The MINI01 is designed to be extremely compact and lightweight, making it an ideal tool for various lighting needs.
5. Setup: Battery Installation
The MINI01 flashlight comes with batteries pre-installed. If you need to replace them, follow these steps:
- Unscrew the head of the flashlight counter-clockwise to access the battery compartment.
- Remove the old LR41 button batteries.
- Insert three new LR41 button batteries with the positive (+) side facing towards the head of the flashlight. Ensure correct polarity.
- Screw the head back onto the flashlight clockwise until it is securely tightened.


6. Operating Instructions
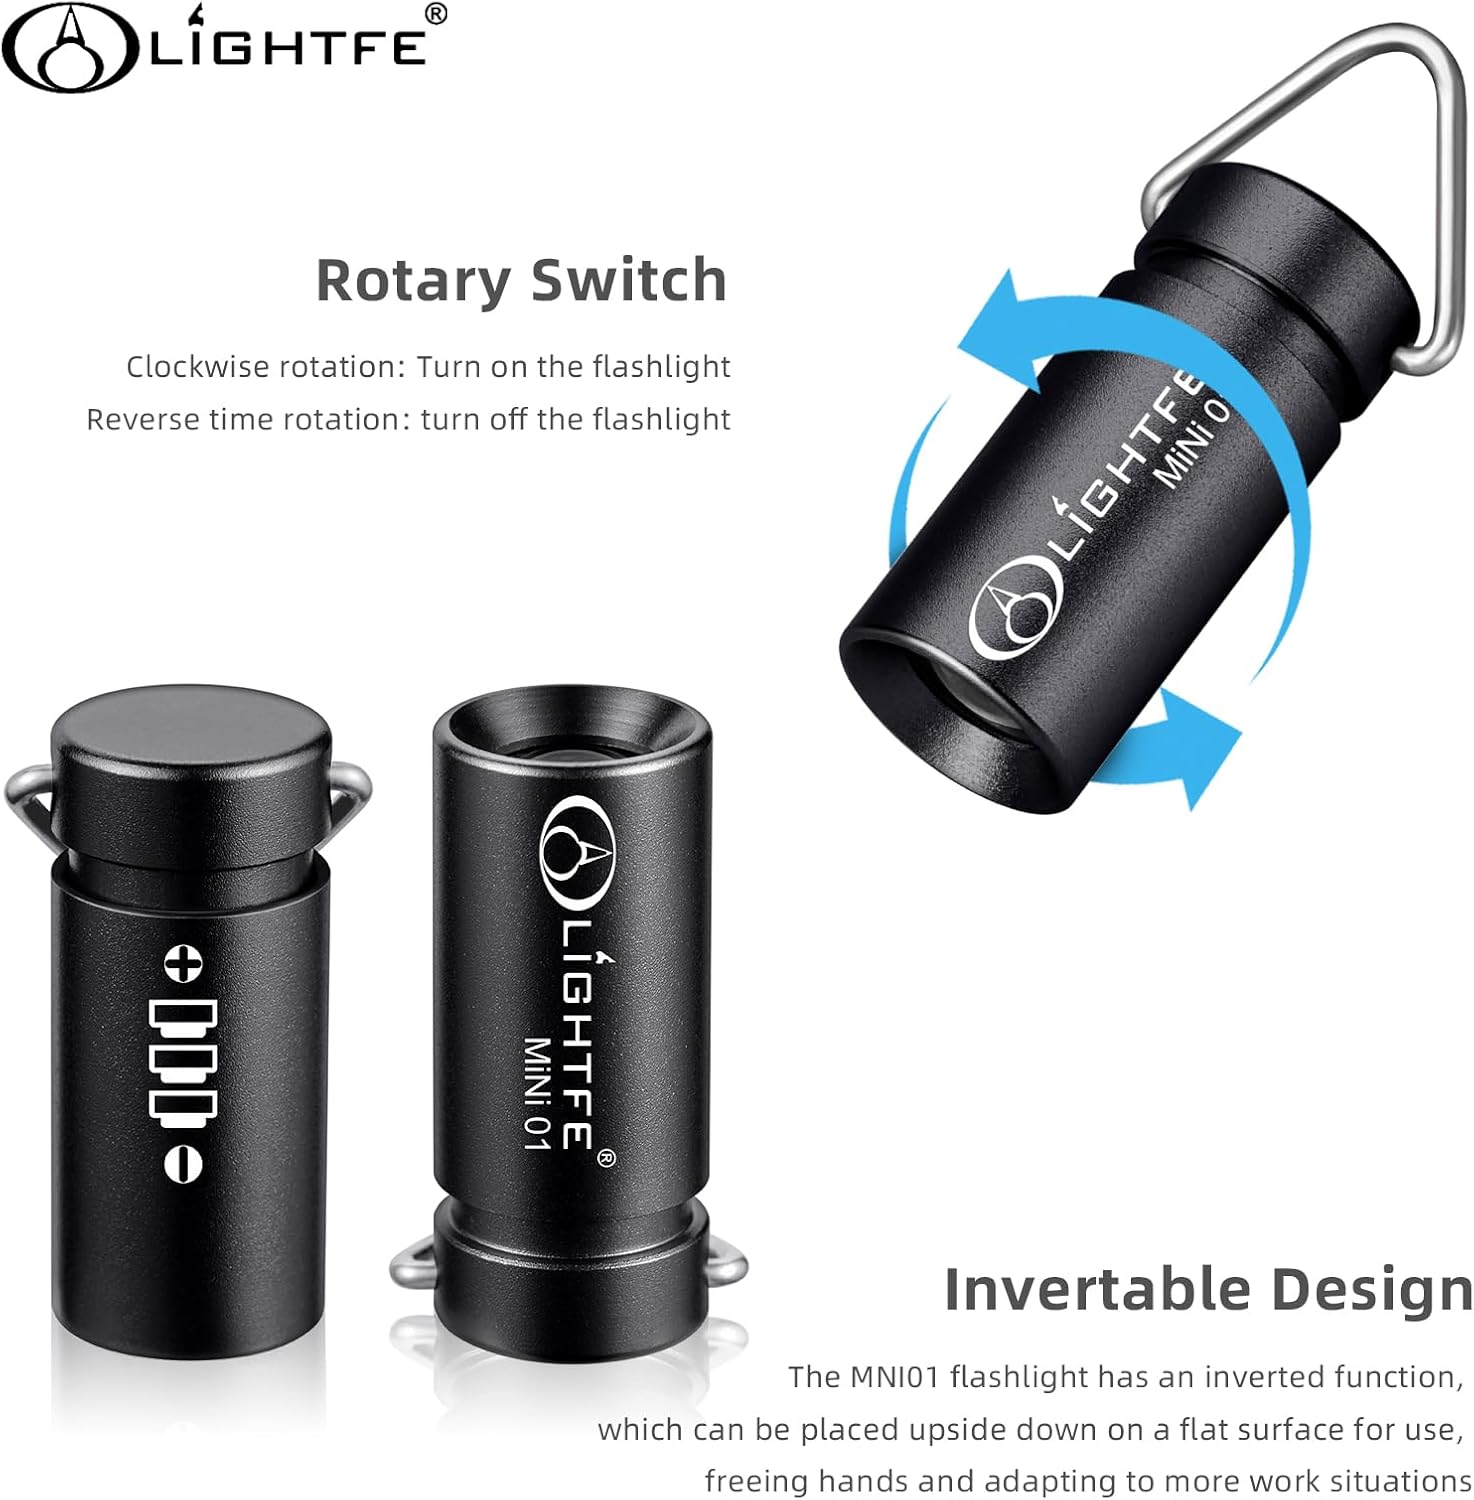
The LIGHTFE MINI01 features a simple rotary switch for operation.
- To Turn On: Rotate the head of the flashlight clockwise in the direction of the arrow until the light illuminates.
- To Turn Off: Rotate the head of the flashlight counter-clockwise in the opposite direction of the arrow until the light turns off.

7. Maintenance
- Cleaning: Wipe the flashlight with a soft, damp cloth. Do not use abrasive cleaners or solvents.
- O-rings: Periodically inspect the O-rings for wear and tear. Replace them with the provided spare O-rings if necessary to maintain the IPX-6 waterproof rating.
- Battery Storage: If the flashlight will not be used for an extended period, remove the batteries to prevent leakage.
- Lubrication: Apply a thin layer of silicone grease to the O-rings and threads occasionally to ensure smooth operation and water resistance.
8. Troubleshooting
| Problem | Possible Cause | Solution |
|---|---|---|
| Flashlight does not turn on | Dead batteries Incorrect battery installation Loose head/switch | Replace batteries Ensure correct battery polarity Tighten the flashlight head clockwise |
| Light is dim or flickers | Low battery power Poor contact between components | Replace batteries Clean battery contacts and threads Ensure head is fully tightened |
| Water ingress | Damaged or improperly seated O-rings Head not fully tightened | Inspect and replace O-rings if damaged Ensure head is fully tightened |
9. Warranty and Support
LIGHTFE products are manufactured with high-quality materials and undergo strict quality control. For specific warranty details, please refer to the warranty card included with your purchase or contact LIGHTFE customer support.
If you encounter any issues not covered in this manual or require further assistance, please contact LIGHTFE customer service through the retailer where you purchased the product or visit the official LIGHTFE website for support information.