Betopper LS10
BETOPPER LS10 Moving Head Stage Light Instruction Manual
Model: LS10
Brand: Betopper
1. Important Safety Information
Please read this manual carefully before operating the device. Keep this manual for future reference. Failure to follow these instructions may result in damage to the product, property, or personal injury.
- This product is for indoor use only.
- Ensure the power supply voltage matches the device's requirements.
- Always disconnect from power before cleaning or servicing.
- Do not operate the device if the power cord is damaged.
- Avoid direct eye exposure to the light source.
- Ensure proper ventilation to prevent overheating.
- Installation should be performed by qualified personnel.
2. Product Overview
The BETOPPER LS10 is a compact moving head stage light designed for various events. It features 8 distinct GOBO patterns and 8 vibrant colors, offering dynamic lighting effects. The unit supports multiple control modes including DMX512, sound activation, automatic programs, and master-slave synchronization.
Key Features:
- 8 Colors + 8 GOBOs with half-color and color rotation effects.
- 15° beam angle for broad coverage.
- Multiple operating modes: Automatic, Sound Activated, DMX512 (9/11 channels), Master-Slave, Strobe.
- Adjustable speed and brightness.
- Lightweight and portable design with included mounting bracket.
Package Contents:
- 2 x BETOPPER LS10 Moving Head Stage Lights
- 2 x Power Cables
- 2 x Mounting Brackets with Screws
- 1 x User Manual
3. Setup and Installation
3.1 Unpacking
Carefully remove the lights from their packaging. Inspect each unit for any signs of damage during transit. Retain the packaging for future transport or storage.
3.2 Mounting
The LS10 can be placed on a flat surface or mounted to a truss or wall using the provided bracket and screws. Ensure the mounting surface or structure can safely support the weight of the fixture. Always use a safety cable when mounting overhead.
- Attach the mounting bracket to the light using the designated screw holes.
- Securely fasten the bracket to the desired truss or wall.
- Ensure the fixture is stable and cannot vibrate loose.

3.3 Connections
Connect the power cable to the "POWER IN" socket and then to a suitable power outlet. For DMX control, connect a DMX cable from your DMX controller to the "DMX IN" port. To daisy-chain multiple units, connect a DMX cable from the "DMX OUT" of the first unit to the "DMX IN" of the next.

4. Operating Instructions
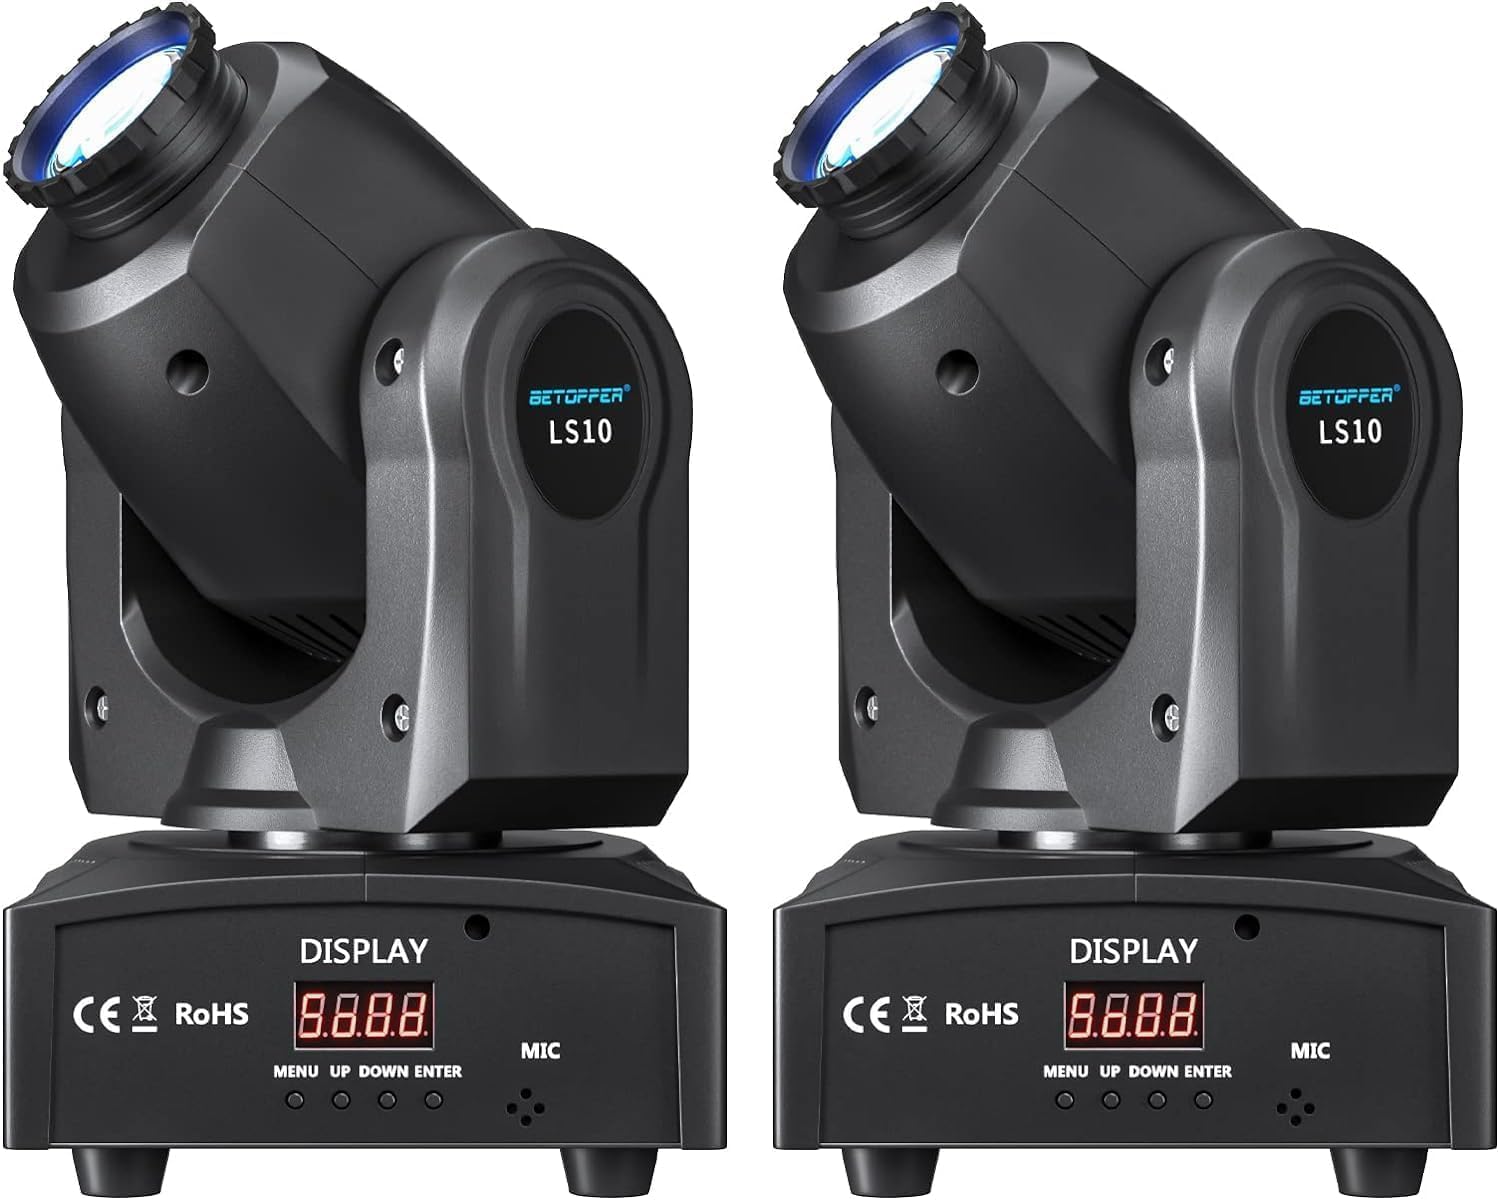
The LS10 features a digital display and four control buttons: MENU, UP, DOWN, and ENTER. These buttons allow navigation through the menu and selection of operating modes and settings.
4.1 Control Panel Overview
- MENU: Cycles through main menu options.
- UP: Increases values or moves up through menu options.
- DOWN: Decreases values or moves down through menu options.
- ENTER: Confirms selection or enters a sub-menu.
4.2 Operating Modes
Press the MENU button to access the main menu and use UP/DOWN to select a mode, then ENTER to confirm.
- DMX512 Mode:
This mode allows professional control via a DMX controller. The LS10 supports 9 or 11 DMX channels. Refer to the DMX channel chart (usually provided in a separate DMX manual or appendix) for specific functions of each channel. Set the DMX address using the control panel.
- Sound Activated Mode:
The light reacts to ambient sound via its built-in microphone. Patterns and colors change in sync with music or sound. Sensitivity can often be adjusted in the menu.
- Automatic Mode:
The light runs through pre-programmed sequences of colors, GOBOs, and movements without external input. Various auto programs may be available for selection.
- Master-Slave Mode:
Connect multiple LS10 units via DMX cables. Set one unit as "Master" and others as "Slave". The slave units will mirror the master's operation, creating synchronized effects. Ensure all units are set to the correct mode.
- Strobe Mode:
This mode produces rapid flashes of light. Strobe speed can typically be adjusted.

5. Maintenance
Regular maintenance ensures optimal performance and extends the lifespan of your BETOPPER LS10 light.
5.1 Cleaning
- Disconnect the device from power before cleaning.
- Use a soft, lint-free cloth to wipe the exterior.
- For lenses and optical components, use a specialized lens cleaning solution and cloth to avoid scratches.
- Periodically clean the cooling vents to prevent dust buildup, which can impede airflow and cause overheating.
5.2 Storage
When not in use, store the light in a dry, dust-free environment, preferably in its original packaging or a protective case.
6. Troubleshooting
If you encounter issues with your LS10 light, refer to the following common problems and solutions:
| Problem | Possible Cause | Solution |
|---|---|---|
| Light does not power on. | No power, faulty cable, or internal issue. | Check power connection and outlet. Test with a different power cable. If problem persists, contact support. |
| No DMX control. | Incorrect DMX address, faulty DMX cable, incorrect mode, or DMX controller issue. | Verify DMX address on the light matches controller. Ensure DMX cables are correctly connected and functional. Confirm light is in DMX mode. |
| Light is unresponsive in Sound Activated mode. | Low sound input, microphone obstruction, or incorrect mode. | Increase sound volume. Ensure microphone is not covered. Verify light is set to Sound Activated mode. |
| Movement or patterns are erratic. | Interference, loose connections, or internal fault. | Check all connections. Ensure no strong electromagnetic interference nearby. Power cycle the device. |
7. Specifications
| Feature | Detail |
|---|---|
| Model Number | LS10 |
| Light Source Type | LED |
| Wattage | 10 Watts |
| Brightness | Approximately 800 lumens |
| Voltage | 2.4E+2 Volts (AC) |
| Beam Angle | 15 Degrees |
| GOBOs | 8 Patterns |
| Colors | 8 Colors |
| DMX Channels | 9/11 Channels |
| Operating Modes | DMX512, Sound Activated, Automatic, Master-Slave, Strobe |
| Material | Acrylonitrile Butadiene Styrene (ABS) |
| Product Dimensions | 6"L x 5"W x 11"H |
| Item Weight | 7.72 Pounds (per unit) |
8. Warranty and Support
BETOPPER products are manufactured to high-quality standards. For warranty information or technical support, please refer to the contact details provided with your purchase or visit the official BETOPPER website. Keep your proof of purchase for warranty claims.
Ask a question about this manual
Ask about setup, troubleshooting, compatibility, parts, safety, or missing instructions. Manuals+ will review the question and use this page’s manual context to help answer it.