1. Introduction
Thank you for choosing the LUXELL 3590 LX Electric Oven. This manual provides essential information for the safe and efficient operation, installation, and maintenance of your new appliance. Please read these instructions carefully before using the oven and keep them for future reference.
2. Safety Instructions
- Always ensure the oven is placed on a stable, heat-resistant surface.
- Do not touch hot surfaces. Use oven mitts or gloves when handling hot items or parts.
- Keep children and pets away from the oven during operation.
- Do not immerse the appliance, cord, or plug in water or other liquids.
- Unplug the oven from the power outlet when not in use and before cleaning.
- Ensure adequate ventilation around the oven during use.
- Do not operate the oven with a damaged cord or plug, or if the appliance malfunctions or has been damaged in any way.
- Only use accessories recommended by the manufacturer.
3. Product Overview
3.1 Components
- Electric Oven Unit
- Two Large Trays
- Safety Grid / Grill Rack
- Rotisserie Skewers (7 pieces)
- Rotisserie Motor and Spit
3.2 Control Panel
The control panel features three main knobs for managing the oven's functions: a timer, a temperature thermostat, and a function selector.

Image: The oven's control panel showing the timer, temperature, and function selection knobs, along with an indicator light.
3.3 Oven Interior
The oven interior is designed for efficient cooking, featuring heating elements and adjustable rack positions.
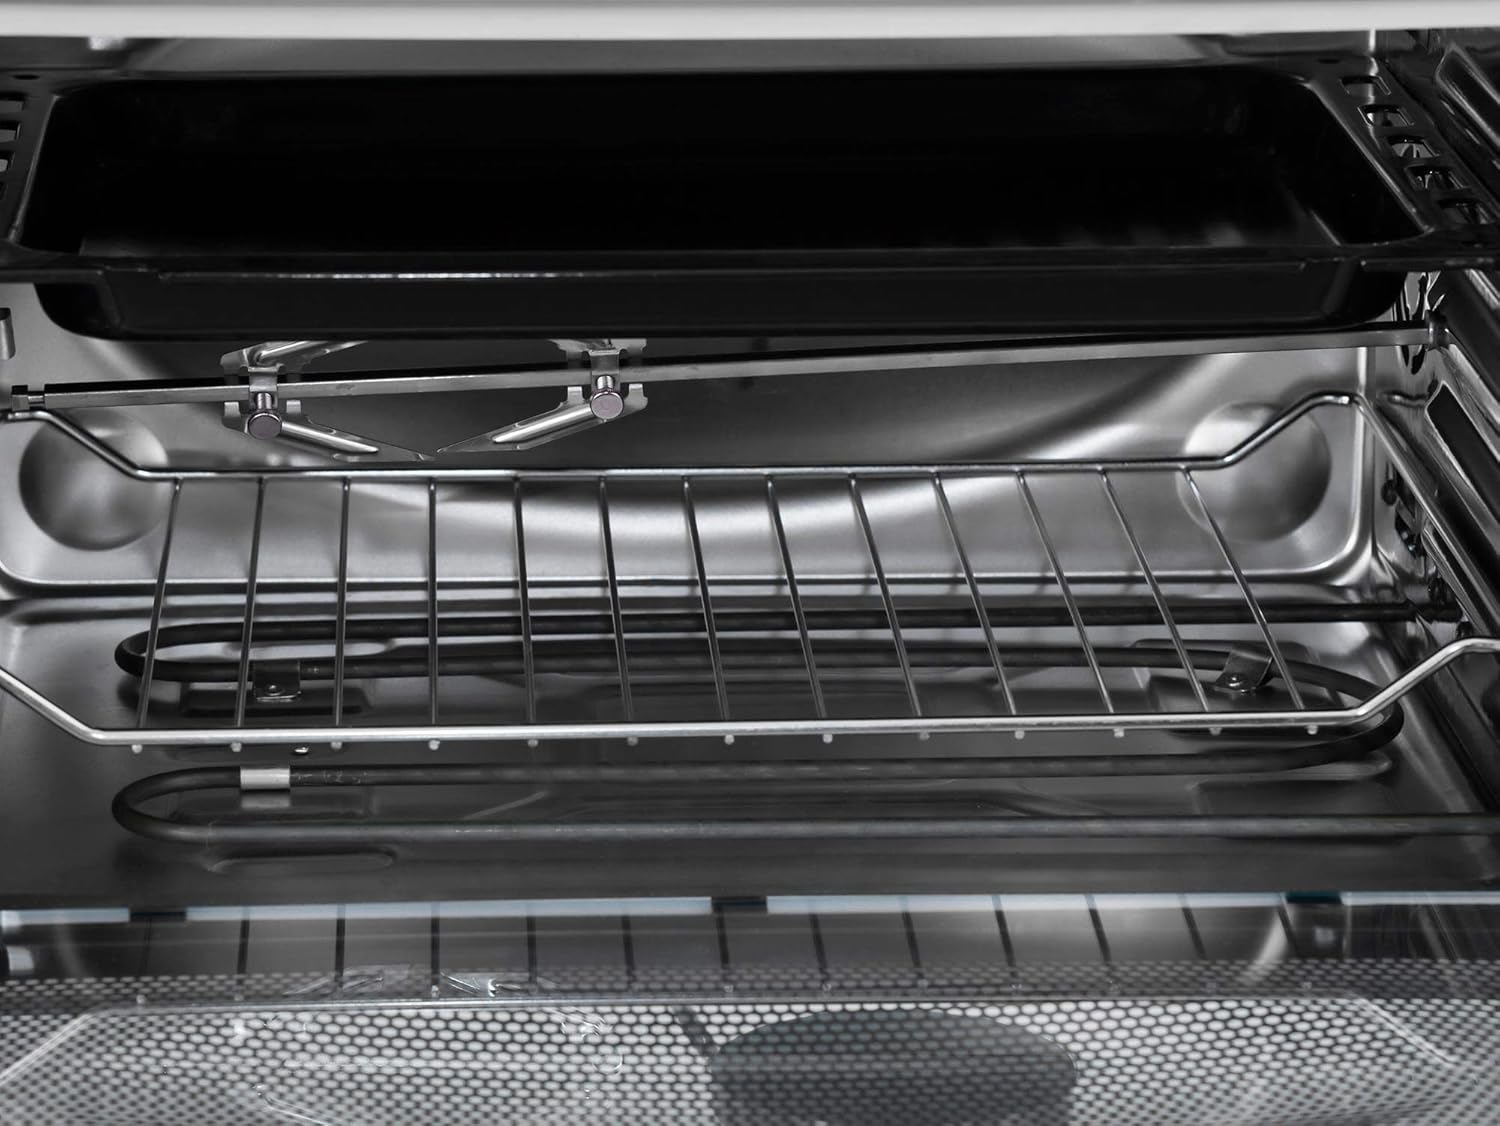
Image: Interior view of the electric oven, showing the heating elements at the top and bottom, and a removable grill rack.
4. Setup
4.1 Unpacking
Carefully remove the oven and all accessories from the packaging. Retain packaging materials for potential future transport or service.
4.2 Placement
Place the oven on a flat, stable, and heat-resistant surface. Ensure there is sufficient space (at least 10 cm) around the oven for proper ventilation. Do not place the oven near flammable materials or directly under a wall cabinet.
4.3 Initial Cleaning
Before first use, wipe the interior and exterior of the oven with a damp cloth. Wash all accessories (trays, racks, skewers) with warm, soapy water and dry thoroughly.
4.4 Power Connection
Ensure your electrical outlet matches the voltage requirements of the oven (220-240V, 50/60Hz). Plug the power cord into a grounded electrical outlet.
5. Operating Instructions
5.1 Using the Control Knobs
- Timer Knob: The top knob controls the cooking time, up to 90 minutes. Turn clockwise to set the desired cooking duration. The oven will automatically turn off when the timer reaches zero.
- Temperature Knob: The middle knob adjusts the oven temperature, from minimum to a maximum of 285°C. Turn to select the required temperature for your recipe.
- Function Selector Knob: The bottom knob selects the heating elements and special functions. Options typically include upper heating, lower heating, both upper and lower heating, and rotisserie function.
5.2 Rotisserie Function
The oven is equipped with a powerful motor for chicken and meat rotisserie, along with 7 skewers for various grilling needs. To use the rotisserie:
- Prepare your food (e.g., chicken, meat) and secure it onto the rotisserie spit.
- Insert the spit into the designated slots inside the oven.
- Select the rotisserie function using the function selector knob.
- Set the desired temperature and cooking time.

Image: A set of seven metal skewers used for rotisserie grilling inside the oven.

Image: A metal grill rack with wavy edges, designed to hold food or skewers during cooking.
5.3 Cooking Guide
Refer to the icons on the oven's exterior for suggested cooking times and temperatures for common food items. These are general guidelines and may need adjustment based on food quantity and personal preference.

Image: Close-up of the oven's side panel showing cooking guide icons for various foods with recommended times and temperatures.
| Food Item | Time | Temperature |
|---|---|---|
| Lamb | 50 min | 240°C |
| Meat (Steak) | 60 min | 250°C |
| Chicken | 45 min | 240°C |
| Fish | 45 min | 220°C |
| Pizza/Bread | 30 min | 200°C |
6. Maintenance and Cleaning
Regular cleaning ensures the longevity and optimal performance of your oven.
- Always unplug the oven and allow it to cool completely before cleaning.
- Wipe the exterior with a soft, damp cloth. Do not use abrasive cleaners or scouring pads.
- For the interior, remove any food debris. Wipe with a damp cloth and mild detergent. For stubborn stains, a non-abrasive oven cleaner suitable for electric ovens can be used, following the product's instructions.
- Wash trays, racks, and skewers in warm, soapy water. Rinse and dry thoroughly.
- Do not use sharp objects to clean the heating elements.
7. Troubleshooting
If you encounter issues with your oven, refer to the following common problems and solutions:
| Problem | Possible Cause | Solution |
|---|---|---|
| Oven does not turn on | Not plugged in; Power outage; Faulty outlet | Check power cord connection; Verify power supply; Try a different outlet. |
| Food not cooking evenly | Incorrect temperature/time; Overcrowding; Uneven food placement | Adjust settings; Do not overcrowd oven; Ensure even food distribution. |
| Smoke or unusual odor during first use | Protective coating burning off | This is normal for initial use. Ensure good ventilation. Odor should dissipate. |
| Rotisserie not turning | Rotisserie not properly installed; Function not selected | Ensure spit is correctly seated; Select the rotisserie function. |
If the problem persists after attempting these solutions, please contact customer support.
8. Specifications
| Feature | Detail |
|---|---|
| Brand Name | LUXELL |
| Model | 3590 LX |
| Installation Type | Tabletop Oven (Freestanding) |
| Special Features | Timer, Rotisserie |
| Control Type | Knob |
| Door Style | Dropdown Door |
| Color | Silver |
| Fuel Type | Electric |
| Material Type | Stainless Steel |
| Included Components | Grill (Rotisserie), Trays |
| Item Weight | 7 Kilograms |
| Voltage | 220-240V |
| Frequency | 50/60Hz |
| Max Temperature | 285°C |
9. Warranty and Support
For warranty information and customer support, please refer to the warranty card included with your product or contact your local LUXELL service center. Keep your purchase receipt as proof of purchase.


