Introduction
This manual provides detailed instructions for the installation, operation, and maintenance of your Humpptom Ceiling Fan Remote Control Kit. This kit allows you to control your ceiling fan and light functions wirelessly, offering convenience and enhanced control. Please read this manual thoroughly before installation and use to ensure proper function and safety.

Image: Humpptom Ceiling Fan Remote Control Kit in use, showing a remote controlling a ceiling fan in a modern living room setting.
Safety Precautions
- WARNING: HIGH VOLTAGE! Disconnect power by removing fuse or switching off circuit breaker before installation or maintenance.
- Do not use with solid state fans.
- Electrical wiring must meet all local and national electrical code requirements.
- Improper installation can cause serious injury or death. If you are unsure about the installation process, consult a qualified electrician.
- Ensure the receiver unit has enough space in the fan canopy for proper installation.
Product Overview
The Humpptom Ceiling Fan Remote Control Kit includes a compact receiver unit and a wireless remote control. The receiver is designed to fit into most standard ceiling fan canopies, allowing for remote operation of fan speeds and lighting.

Image: Size comparison showing the compact design of the Humpptom receiver (L*W*H: 2.07 x 3.0 x 1.0 inches) next to a larger, standard fan lamp controller.
Components:
- Receiver Unit: Installs inside the fan canopy.
- Remote Control: Handheld unit for wireless operation.
- Mounting Bracket: For securing the remote control to a wall.
- Wire Nuts: For electrical connections.
Setup and Installation
1. Installing the Receiver in the Ceiling Fan
- Disconnect Power: Before starting, ensure power to the ceiling fan is completely disconnected at the circuit breaker.
- Access Wiring: Remove the ceiling fan canopy from its mounting bracket to expose the wiring.
- Disconnect Existing Wiring: Carefully disconnect any existing wiring between the ceiling fan and the supply in the electrical junction box.
- Connect Receiver: Make connections as follows, using the supplied wire nuts:
- Red or Black supply wire (AC Live Line) to Red receiver wire.
- White supply wire (AC Neutral Line) to White receiver wire.
- Black receiver wire (TO MOTOR L) to Black fan wire.
- Blue receiver wire (FOR LIGHT) to Blue light wire.
- Ensure the fan's light is set to the ON position and the fan speed is set to HIGH using any pull chains before installation.
- Position Antenna: Place the receiver's antenna outside the fan canopy for optimal signal reception.
- Secure Receiver: Carefully tuck the receiver into the fan canopy, ensuring it does not interfere with fan operation or wiring. Reattach the canopy to the mounting bracket.
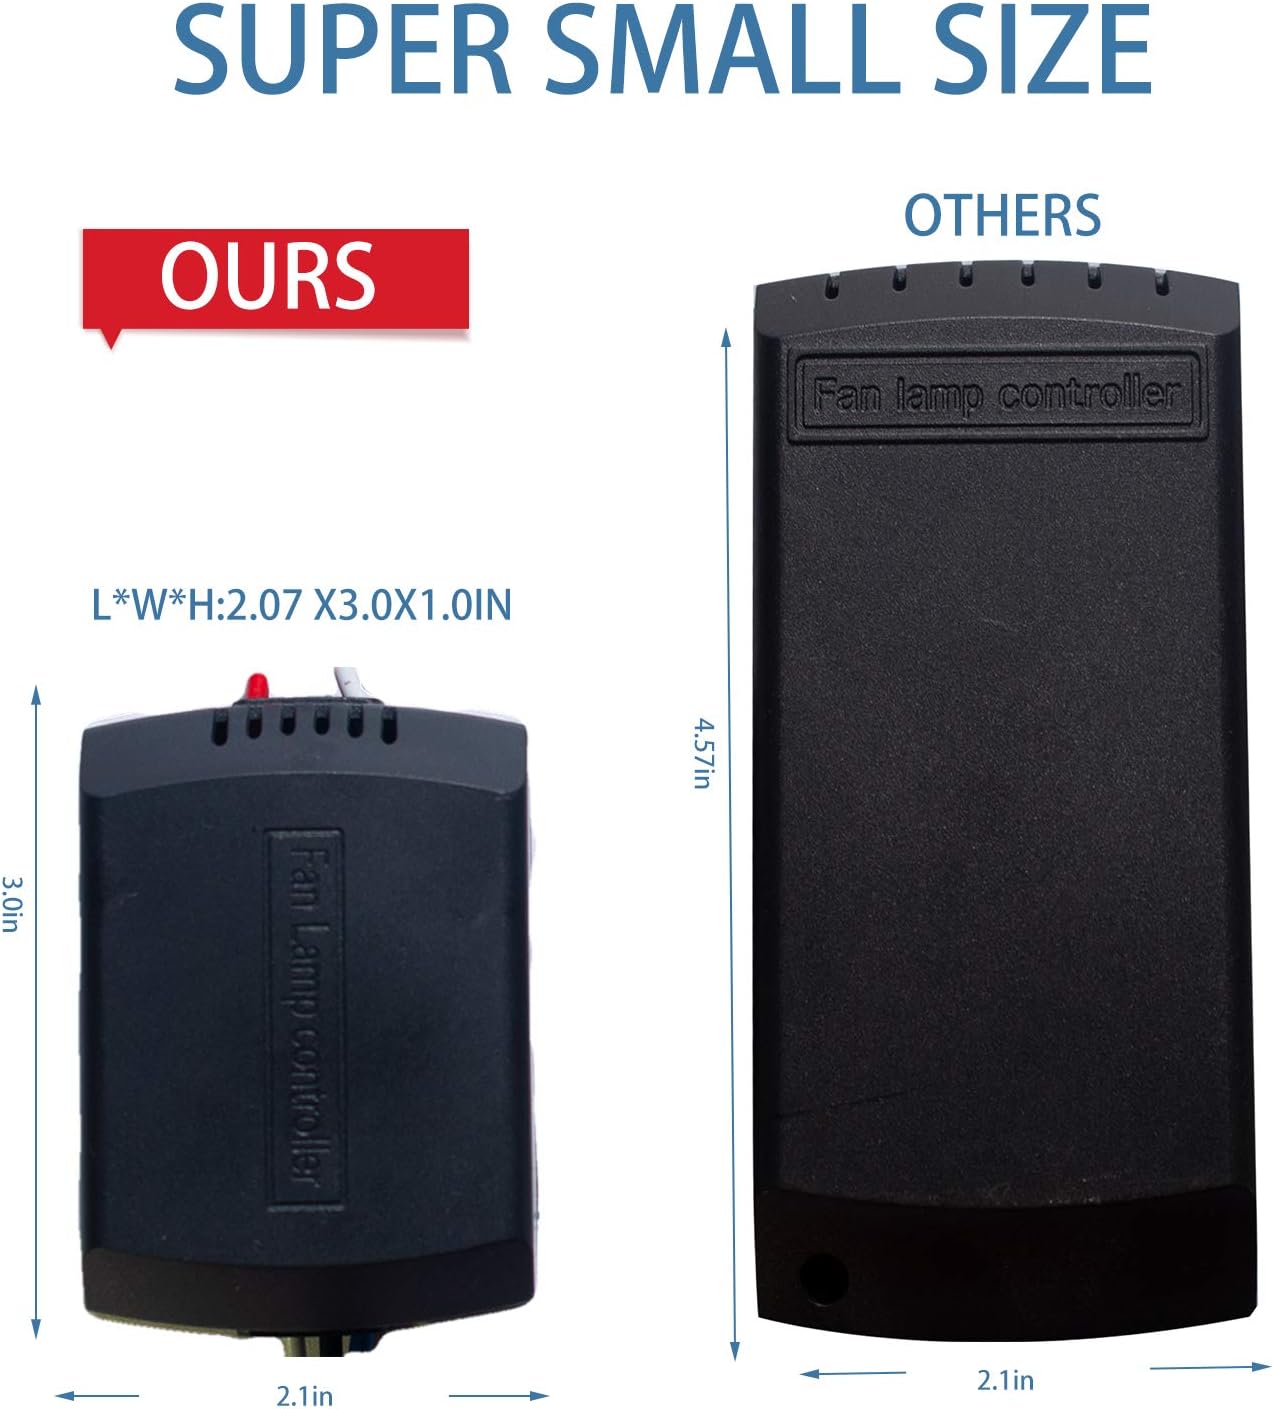
Image: Simplified wiring diagram showing connections from main power to the receiver, and from the receiver to the fan motor and light. Includes antenna placement.

Image: Detailed diagram illustrating the wiring connections for the receiver unit within the ceiling fan canopy, including input from power source and output to fan and light. Shows antenna placement and receiver positioning.
2. Remote Control Setup
- Install Batteries: Insert 2 AAA batteries (not included) into the remote control. To prevent damage, remove batteries if the remote will not be used for an extended period.
- Pairing the Remote:
- Power off the receiver for at least five minutes.
- Restore power to the fan.
- Immediately press and hold the "LIGHT ON/OFF" and "HI" buttons on the remote control simultaneously for five seconds.
- The fan light will flash twice, indicating successful pairing.
- Mounting the Remote: Use the provided wall bracket to mount the remote control in a convenient location.
Operating Instructions
Remote Control Functions:

Image: Layout of the remote control buttons, indicating functions for fan speed (HI, MED, LOW, STOP), light control (LIGHT ON/OFF), and timer settings (1H, 2H, 4H, 8H).
- HI: Sets fan to high speed.
- MED: Sets fan to medium speed.
- LOW: Sets fan to low speed.
- STOP: Turns the fan off.
- LIGHT ON/OFF: Toggles the fan light on or off. This model does not support dimming.
- Timer Buttons (1H, 2H, 4H, 8H): Sets the fan to turn off automatically after 1, 2, 4, or 8 hours, respectively.
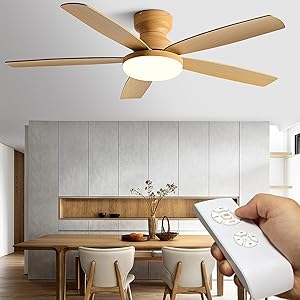
Image: The Humpptom remote control and its corresponding receiver unit, highlighting their compact design.
Compatibility
This universal remote control kit is designed for use with most conventional ceiling fans, including models from Hunter, Harbor Breeze, Westinghouse, and Honeywell. It is compatible with 1.5A ceiling fans and various bulb types for lighting.

Image: Chart detailing compatibility with 1.5A Ceiling Fans, Dimmable LED (150W Max), Halogen & Incandescent (400W Max), and Dimmable CFL (150W Max). Also notes incompatibility with exhaust-type fans and canopy modules.
Important Notes on Compatibility:
- This kit is not compatible with exhaust-type fans.
- This kit is not compatible with canopy modules.
- The remote control does not include a dimming function for lights. It only supports ON/OFF control.
- If your fan has pull chains, ensure the fan speed is set to maximum and the light is turned on via the pull chains before using the wireless remote control.
Maintenance
- Battery Replacement: Replace the 2 AAA batteries in the remote control when its performance degrades.
- Cleaning: Clean the remote control and receiver unit with a soft, dry cloth. Do not use liquid cleaners or sprays.
- Storage: Store the transmitter away from excessive heat or humidity.
Troubleshooting
| Problem | Possible Cause | Solution |
|---|---|---|
| Fan or Light does not respond to remote. |
|
|
| Multiple fans respond to a single remote. | Remotes are paired to multiple receivers. |
|
| No buzzer noise from receiver. | This model is designed without a buzzer. | This is normal operation. The unit is designed to be silent. |
| Light does not dim. | This model does not support dimming. | This remote control kit provides only ON/OFF functionality for the light. |
| Receiver does not fit in canopy. | Insufficient space in fan canopy. | Verify the dimensions of the receiver (2.07 x 3.0 x 1.0 inches) against the available space in your fan's canopy before purchase and installation. |
Specifications
- Model Number: JF018
- Electrical Rating: 110V-120V, 60Hz
- Max Motor Amps: 1.0A
- Max Light Watts: 180W
- Receiver Dimensions (L x W x H): Approximately 2.07 x 3.0 x 1.0 inches
- Item Weight: 13.4 ounces
- Batteries: 2 AAA batteries (for remote, not included)
- Max Number of Supported Devices: 2 (per kit, for pairing)
- Compatible Devices: Ceiling Fans
- Special Feature: Universal compatibility with many fan brands.
Warranty and Support
For warranty information or technical support, please refer to the product packaging or contact Humpptom customer service directly. Keep your purchase receipt for warranty claims.
Humpptom Group is dedicated to developing high-quality smart home products.