
1. Introduction
Thank you for choosing the Anbull 5.5lb Professional Single Wax Warmer. This electric wax heater pot is designed for efficient hair removal and paraffin hot facial skin spa treatments. With its large capacity and adjustable temperature control, it offers a versatile solution for both personal and professional use. Please read this manual thoroughly before operation to ensure safe and optimal performance.
2. Important Safety Information
Always follow basic safety precautions when using electrical appliances to reduce the risk of fire, electric shock, and personal injury. This product is designed for heating wax only. Misuse can lead to burns or other hazards.
- Avoid Burns: Always test the wax temperature on a small, inconspicuous area of skin before applying it to larger areas. Ensure the wax is not too hot to prevent skin burns.
- Do not immerse the unit in water or any other liquid.
- Keep out of reach of children.
- Do not operate if the power cord or plug is damaged.
- Unplug the appliance when not in use and before cleaning.
- Use only in a dry environment. Avoid placing near water sources.
- Ensure the unit is placed on a stable, heat-resistant surface.
3. Product Overview
The Anbull 5.5lb Professional Single Wax Warmer is engineered for efficiency and user convenience. Its robust design and intuitive controls make it suitable for various waxing needs.
Key Features:
- 5.5lb (2.5L) Large Capacity: Designed for full-body hair removal or extensive paraffin treatments, holding significantly more wax than standard warmers.
- Adjustable Temperature Control: Features a dial for precise temperature settings from 20-120℃ (68-248°F), accommodating various wax types including depilatory and paraffin waxes.
- Durable Construction: Made with a metal body and an aluminum inner pot for long-lasting performance and efficient heat distribution.
- User-Friendly Design: Includes an easy-to-use on/off switch, a red indicator light to show heating status, convenient handles for portability, and non-slip rubber feet for stability.
- Quiet Operation: Engineered with silent technology for a comfortable user experience.
Components:
- Wax Warmer Unit
- Removable Aluminum Pot
- Lid with Handle
- Power Cord
- Wooden Applicators (100 pieces)
- Depilatory Paper Strips (50 pieces)
- Spare Fuses (2 pieces)

Figure 3.1: The Anbull 5.5lb Professional Single Wax Warmer with its lid on.

Figure 3.2: The spacious 2.5L aluminum pot, designed for easy cleaning and large wax volumes.
4. Setup
Follow these steps to prepare your wax warmer for use:
- Unpack: Carefully remove all components from the packaging.
- Placement: Place the wax warmer on a stable, flat, and heat-resistant surface. Ensure it is away from water and flammable materials.
- Insert Pot: Place the removable aluminum pot into the warmer unit.
- Load Wax: Pour your desired wax beads (hard wax, soft wax, paraffin wax, etc.) into the aluminum pot. Do not overfill.
- Connect Power: Plug the power cord into the designated port on the warmer and then into a suitable electrical outlet.
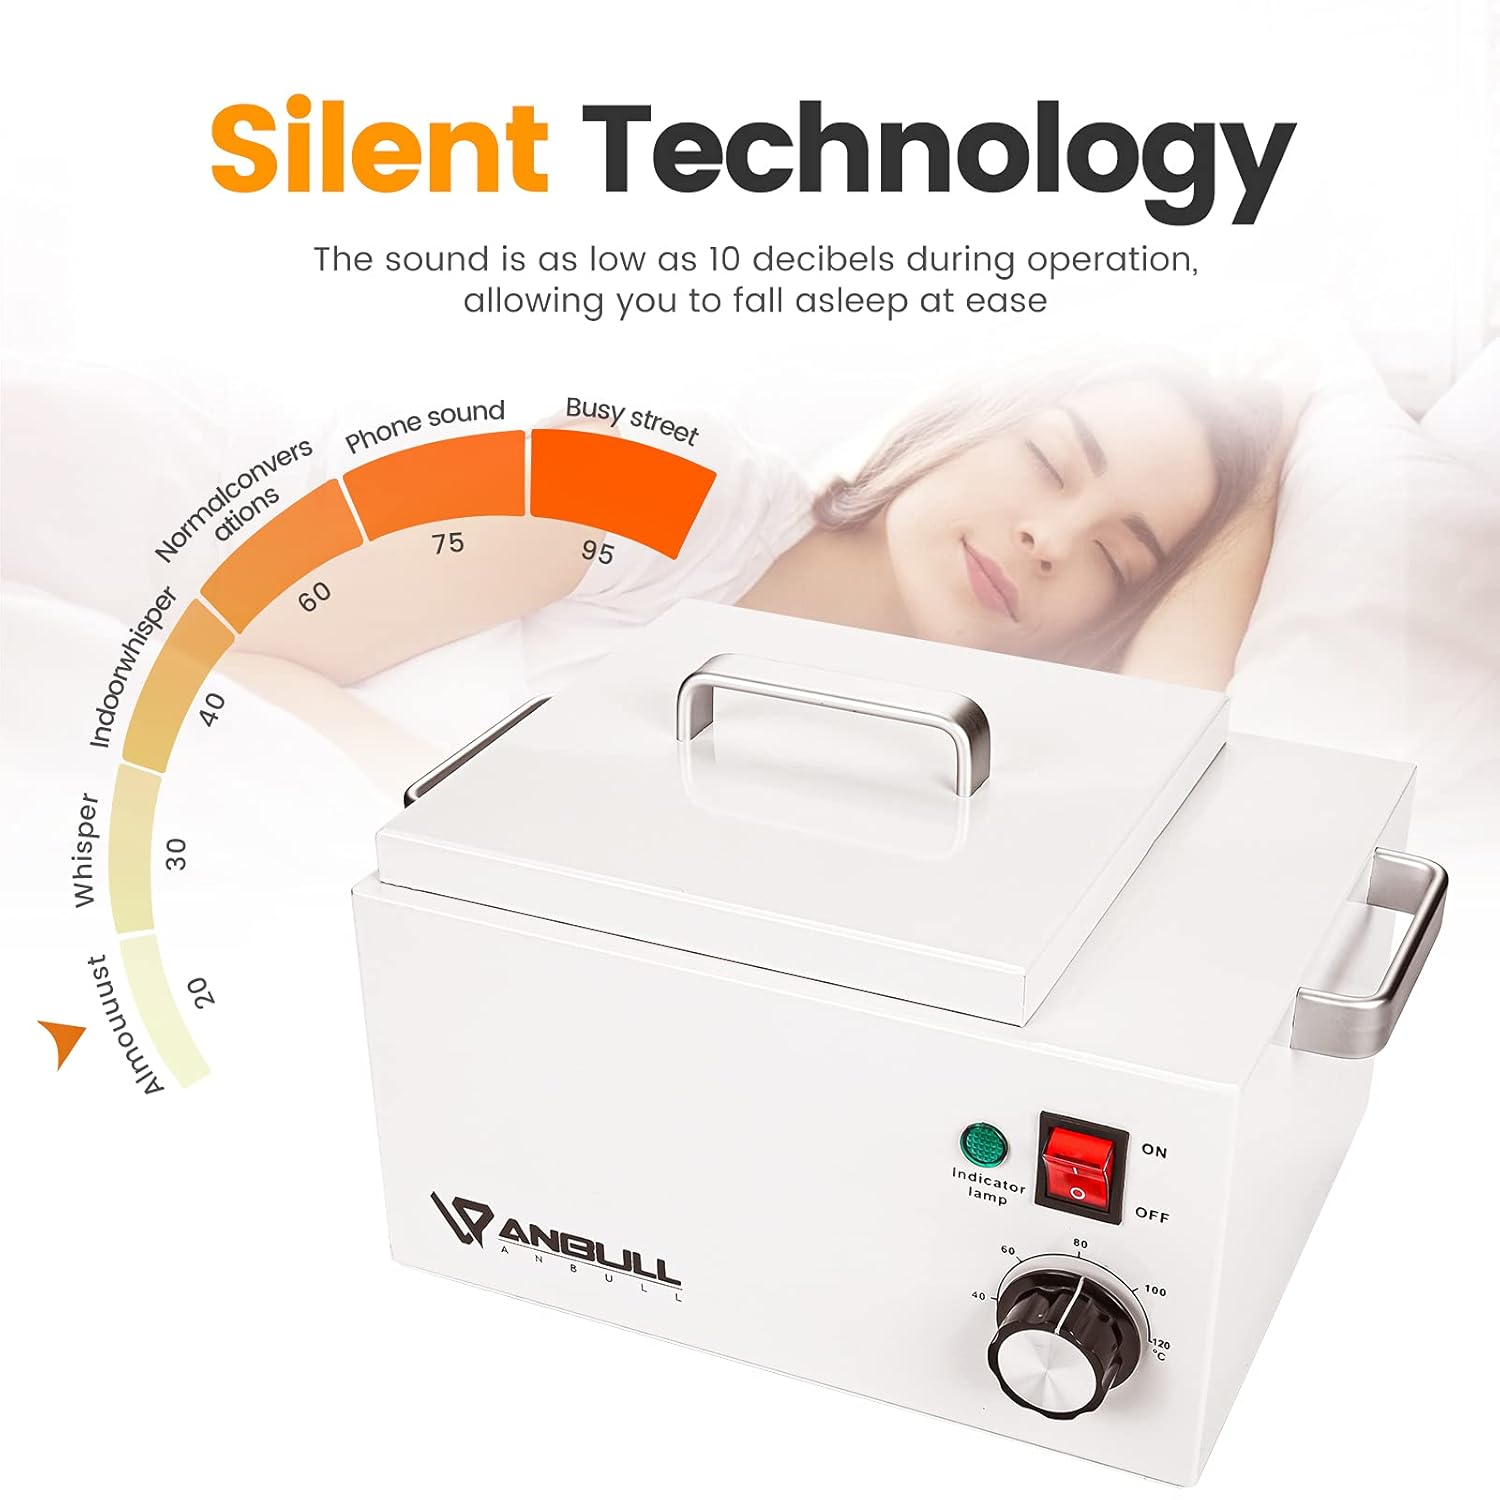
Figure 4.1: Detailed view of the wax warmer's power input, indicator lamp, and temperature control dial.
Video 4.1: Anbull 5.5lb Wax Warmer - This video demonstrates the unboxing and initial setup of the wax warmer, including placing wax beads into the pot.
5. Operating Instructions
Once the unit is set up, follow these steps to heat the wax and perform your desired treatment:
- Turn On: Flip the ON/OFF switch to the 'ON' position. The red indicator light will illuminate, signaling that the unit is heating.
- Set Temperature: Rotate the temperature control dial to your desired setting. Refer to your wax product's instructions for recommended melting temperatures. The dial displays temperatures in Celsius (20-120℃).
- Melt Wax: Place the lid on the warmer to help the wax melt faster. The indicator light will cycle on and off as the unit maintains the set temperature.
- Test Temperature: Once the wax is fully melted and has a honey-like consistency, use a wooden applicator to test a small amount on your inner wrist to ensure it is a comfortable and safe temperature before application.
- Apply Wax: Using a clean wooden applicator, apply a thin, even layer of wax in the direction of hair growth to the desired area (e.g., face, armpit, leg, beard).
- Remove Wax: For hard wax, allow it to cool and harden slightly, then quickly pull it off against the direction of hair growth. For soft wax, apply a depilatory paper strip over the wax, press firmly, and then quickly pull it off against the direction of hair growth.
- Turn Off: After use, turn the ON/OFF switch to 'OFF' and unplug the unit from the power outlet.

Figure 5.1: The temperature control dial allows for precise adjustment between 20-120℃, suitable for various wax types.

Figure 5.2: The warmer is compatible with depilatory wax beans, canned wax, paraffin wax, and wax blocks.

Figure 5.3: The wax warmer can be used for hair removal on various body parts including the face, armpits, legs, and for beard shaping.
Video 5.1: Wax Warmer in Use - This video demonstrates the melting process of wax and its application for hair removal.
6. Maintenance
Proper maintenance ensures the longevity and hygiene of your wax warmer.
Cleaning the Pot:
- Always ensure the unit is unplugged and completely cooled before cleaning.
- The aluminum pot is designed for easy cleaning. Once the wax has hardened, it can often be peeled out. Any remaining residue can be wiped with a wax cleaner or a small amount of oil on a soft cloth.
- Do not use abrasive cleaners or harsh chemicals that could damage the pot's surface.
Replacing the Fuse:
The unit comes with spare fuses. If the warmer fails to power on, the fuse may need replacement.
- Unplug the power cord from the wall outlet and the unit.
- Locate the small compartment near the power input. Use a tool (e.g., a small flathead screwdriver) to gently pull out the compartment.
- Remove the old fuse and replace it with a new one from the provided spares.
- Push the compartment back into place until it clicks securely.

Figure 6.1: Step-by-step guide on how to replace the fuse in your Anbull wax warmer.
7. Troubleshooting
If you encounter issues with your Anbull wax warmer, try these solutions:
- Unit Not Turning On:
- Ensure the power cord is securely plugged into both the unit and a working electrical outlet.
- Check the ON/OFF switch is in the 'ON' position.
- Verify the fuse is intact and replace if blown (refer to Maintenance section).
- Wax Not Melting or Heating Slowly:
- Confirm the temperature dial is set to an appropriate temperature for your wax type.
- Ensure the lid is properly placed on the warmer during the melting process.
- Allow sufficient time for the wax to melt, especially for larger quantities.
8. Specifications
| Model Number: | AUS-808-6AB |
| Brand: | Anbull |
| Capacity: | 2.5 Liters (5.5 lbs) |
| Power: | 300W |
| Temperature Control: | 20-120℃ (68-248°F) |
| Material: | Metal construction body, Aluminum inner pot |
| Product Dimensions: | 13.58 x 10.24 x 8.27 inches |
| Item Weight: | 8.35 Pounds |

Figure 8.1: Detailed dimensions and specifications of the Anbull 5.5lb Professional Single Wax Warmer.
9. Warranty & Support
Anbull is committed to providing high-quality products and excellent customer service.
12-Month Warranty:
This Anbull wax warmer comes with a 12-month worry-free warranty from the date of purchase. This warranty covers manufacturing defects and ensures reliable quality.
Customer Support:
If you have any questions, concerns, or require assistance with your product, please contact Anbull customer support. Refer to your purchase documentation or the Anbull brand store on Amazon for specific contact details.

Figure 9.1: Anbull's commitment to reliable quality and 12-month warranty information.