1. Product Overview
The Pico-UPS-B is a dedicated Uninterruptible Power Supply (UPS) module designed for the Raspberry Pi Pico. It integrates a Li-po battery switching charger with power path management and a voltage/current monitoring chip. This design allows for continuous operation of your Raspberry Pi Pico while recharging the connected Li-po battery and enables monitoring of the battery's operational status via the I2C bus. Its stackable design, featuring a male pin header, facilitates the integration of additional modules on top.

Figure 1: Top view of the Pico-UPS-B module.
2. Package Contents
Verify that all items listed below are present in your package:
- Pico-UPS-B Module x1
3. Features
- Dedicated UPS module for Raspberry Pi Pico.
- Incorporates Li-po battery switching charger with dynamic power path management for stable power supply.
- I2C bus communication for monitoring battery voltage, current, power, and remaining capacity in real-time.
- Multi-battery protection circuits: over-charge/discharge protection, over-current protection, short circuit protection, and reverse protection.
- Onboard recharging indicator and power indicator for easy battery status checks.
- Standard Raspberry Pi Pico header, supporting Raspberry Pi Pico series boards.
- Stackable design with male pin header for attaching other modules.
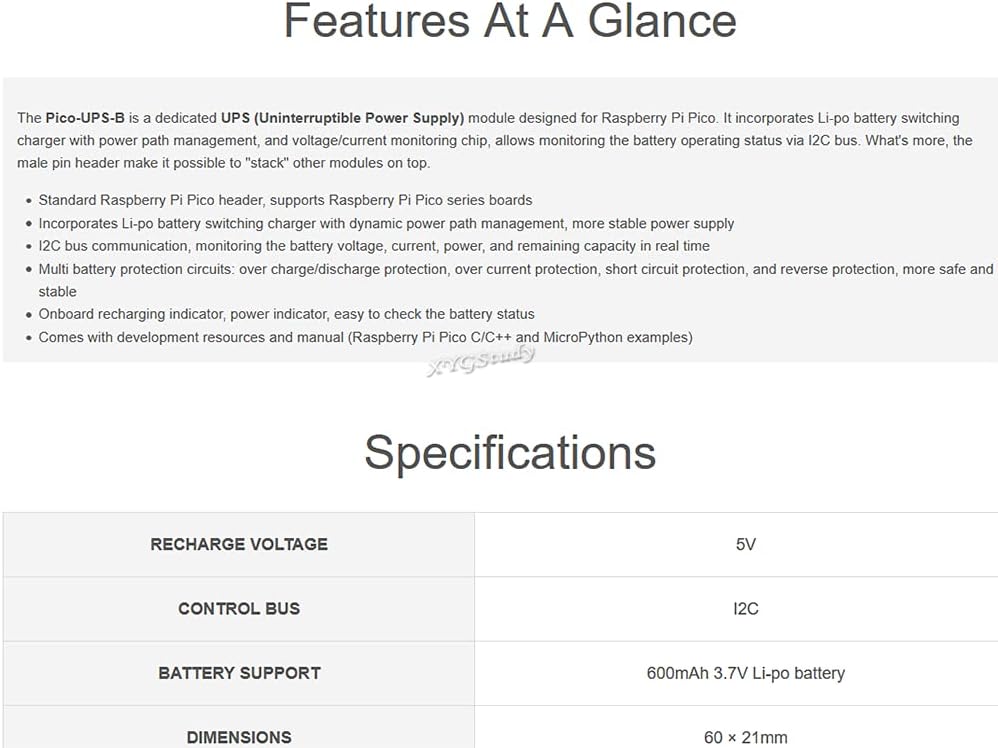
Figure 2: Key features of the Pico-UPS-B module.
4. Setup
Follow these steps to set up your Pico-UPS-B module with a Raspberry Pi Pico:
- Attach Raspberry Pi Pico: Align the female header of the Pico-UPS-B module with the male header of your Raspberry Pi Pico. Gently press them together until securely connected. Ensure all pins are correctly aligned to prevent damage.
- Connect Li-po Battery: Connect a compatible 3.7V Li-po battery to the battery header (JST connector) on the Pico-UPS-B module. Observe polarity.
- Power On: Locate the power switch on the module and slide it to the 'ON' position.
- Activate Protection Circuit (if needed): If replacing the battery or after initial setup, press the small 'Activate' button to ensure the protection circuit is active and the module is ready for operation.

Figure 3: Raspberry Pi Pico header compatibility and stacking example.

Figure 4: Pico-UPS-B module with connected Li-po battery.
5. Operating Instructions
The Pico-UPS-B module provides uninterruptible power to your Raspberry Pi Pico. When external 5V power is supplied via the USB port, the module will power the Pico and simultaneously charge the connected Li-po battery. If the external power is disconnected, the module seamlessly switches to battery power, ensuring continuous operation of your Pico.
- Charging: Connect a 5V power source to the USB port on the Pico-UPS-B. The onboard recharging indicator will show the charging status.
- Battery Monitoring: Utilize the I2C interface (GP6/SDA, GP7/SCL) on the Raspberry Pi Pico to read real-time battery data, including voltage, current, power, and remaining capacity. Refer to the pinout definition for I2C pin locations.
- Stacking: The male pin header allows for additional Raspberry Pi Pico compatible modules to be stacked on top of the Pico-UPS-B, expanding functionality.
6. On-Board Components
The following diagram identifies key components on the Pico-UPS-B module:

Figure 5: On-Board Components of Pico-UPS-B.
- ETA6003: Recharger chip.
- INA219: Voltage/current monitoring chip.
- S8261: Li-po battery protection chip.
- FS8205: Li-po battery protection MOS.
- AQ3400: Reverse-proof MOS.
- SI2305: Counter current preventing MOS.
- Raspberry Pi Pico Header: For direct attachment to Raspberry Pi Pico.
- Power Switch: Controls the main power to the module.
- Activate Button: Activates the protection circuit after battery replacement.
- Battery Header: For connecting a 3.7V Li-po battery.
7. Pinout Definition
The following table and diagram detail the pin assignments for the Pico-UPS-B module:

Figure 6: Pico-UPS-B Pinout Definition.
| Pin | Function |
|---|---|
| VBUS | Charger power input (5V) |
| VSYS | Battery power output |
| 3V3(OUT) | 3.3V power output |
| GND | Ground |
| GP6 (SDA) | Voltage/Current monitor I2C SDA pin |
| GP7 (SCL) | Voltage/Current monitor I2C SCL pin |
8. Specifications
Technical specifications for the Pico-UPS-B module:

Figure 7: Outline Dimensions of Pico-UPS-B.
| Parameter | Value |
|---|---|
| Recharge Voltage | 5V |
| Control Bus | I2C |
| Battery Support | 600mAh 3.7V Li-po battery (not included) |
| Dimensions | 62.00 × 21.00 mm |
9. Maintenance
To ensure the longevity and proper functioning of your Pico-UPS-B module:
- Storage: Store the module in a dry, cool environment away from direct sunlight and extreme temperatures.
- Cleaning: Use a soft, dry cloth to clean the module. Avoid using liquids or solvents.
- Battery Care: If using a Li-po battery, follow the manufacturer's guidelines for charging, discharging, and storage to prevent damage and ensure safety. Do not overcharge or deep discharge the battery.
- Handling: Handle the module by its edges to avoid touching electronic components, which can be sensitive to static discharge.
10. Troubleshooting
If you encounter issues with your Pico-UPS-B module, consider the following:
- Module Not Powering On:
- Ensure the power switch is in the 'ON' position.
- Verify the Li-po battery is correctly connected and charged.
- Press the 'Activate' button after connecting the battery.
- Raspberry Pi Pico Not Receiving Power:
- Check that the Pico is securely seated on the Pico-UPS-B header.
- Confirm the Pico-UPS-B module itself is powered (either via USB or charged battery).
- Battery Not Charging:
- Ensure a 5V power source is connected to the USB port.
- Check the USB cable and power adapter for functionality.
- Verify the battery is properly connected to the battery header.
- I2C Communication Issues:
- Confirm correct wiring of SDA and SCL pins to the Raspberry Pi Pico.
- Check your software code for correct I2C address and communication protocol.
11. Warranty and Support
Specific warranty information and detailed support contacts are not provided within this manual. For warranty claims, technical assistance, or further inquiries, please refer to the product packaging or contact the manufacturer, XYGStudy, directly through their official support channels or the platform where the product was purchased.