
Introduction
Thank you for choosing the Dixie EMS Aneroid Sphygmomanometer. This manual blood pressure monitor is designed for accurate and reliable blood pressure measurements. This guide provides essential information for proper setup, operation, maintenance, and troubleshooting to ensure optimal performance and longevity of your device.

Image: The complete Dixie EMS Aneroid Sphygmomanometer kit, including the gauge, inflation bulb, cuff, carrying case, and calibration key.
Setup
Before first use, ensure all components are present and in good condition. Your kit includes the aneroid sphygmomanometer (gauge and inflation bulb), a latex-free cuff, a PVC inflation bag, a zippered carrying case, and a calibration key.

Image: A visual representation of the kit's contents, including the aneroid sphygmomanometer, latex-free cuff, PVC inflation bag, zippered carrying case, and calibration key.
Initial Inspection
- Unpack all items from the carrying case.
- Inspect the cuff for any damage or wear.
- Ensure the inflation bulb and gauge are securely connected to the cuff's tubing.
Operating Instructions
The Dixie EMS Aneroid Sphygmomanometer allows for accurate blood pressure measurement using two primary methods: palpation and auscultation (using a stethoscope).
Video: An instructional video demonstrating how to use the Dixie EMS Blood Pressure Cuff for accurate readings.
General Steps for Measurement:
- Patient Positioning: Have the patient sit comfortably with their arm supported at heart level. Ensure they are relaxed and have not consumed caffeine or exercised recently.
- Cuff Placement: Place the cuff directly on the patient's bare upper arm, approximately 1 inch above the elbow crease. The artery marker on the cuff should align with the brachial artery. The large adult cuff fits arms 13.5" to 20" in circumference.
- Inflation: Close the air release valve on the inflation bulb. Rapidly squeeze the bulb to inflate the cuff until the gauge reads approximately 30 points above the patient's usual systolic pressure.
- Deflation: Slowly open the air release valve to deflate the cuff at a rate of 2-3 mmHg per second.
Method 1: Palpation (for Systolic Pressure)
- Locate the radial pulse on the patient's wrist.
- Inflate the cuff as described above.
- As you slowly deflate the cuff, note the reading on the gauge when you first feel the radial pulse return. This is the systolic pressure.
Method 2: Auscultation (for Systolic and Diastolic Pressure)
- Place the stethoscope's diaphragm face down on the inside of the patient's upper arm, over the brachial artery.
- Inflate the cuff as described above.
- Slowly deflate the cuff. The reading when you first hear the patient's heartbeat (Korotkoff sounds) is the systolic pressure.
- Continue deflating. The reading when you no longer hear the heartbeat is the diastolic pressure.
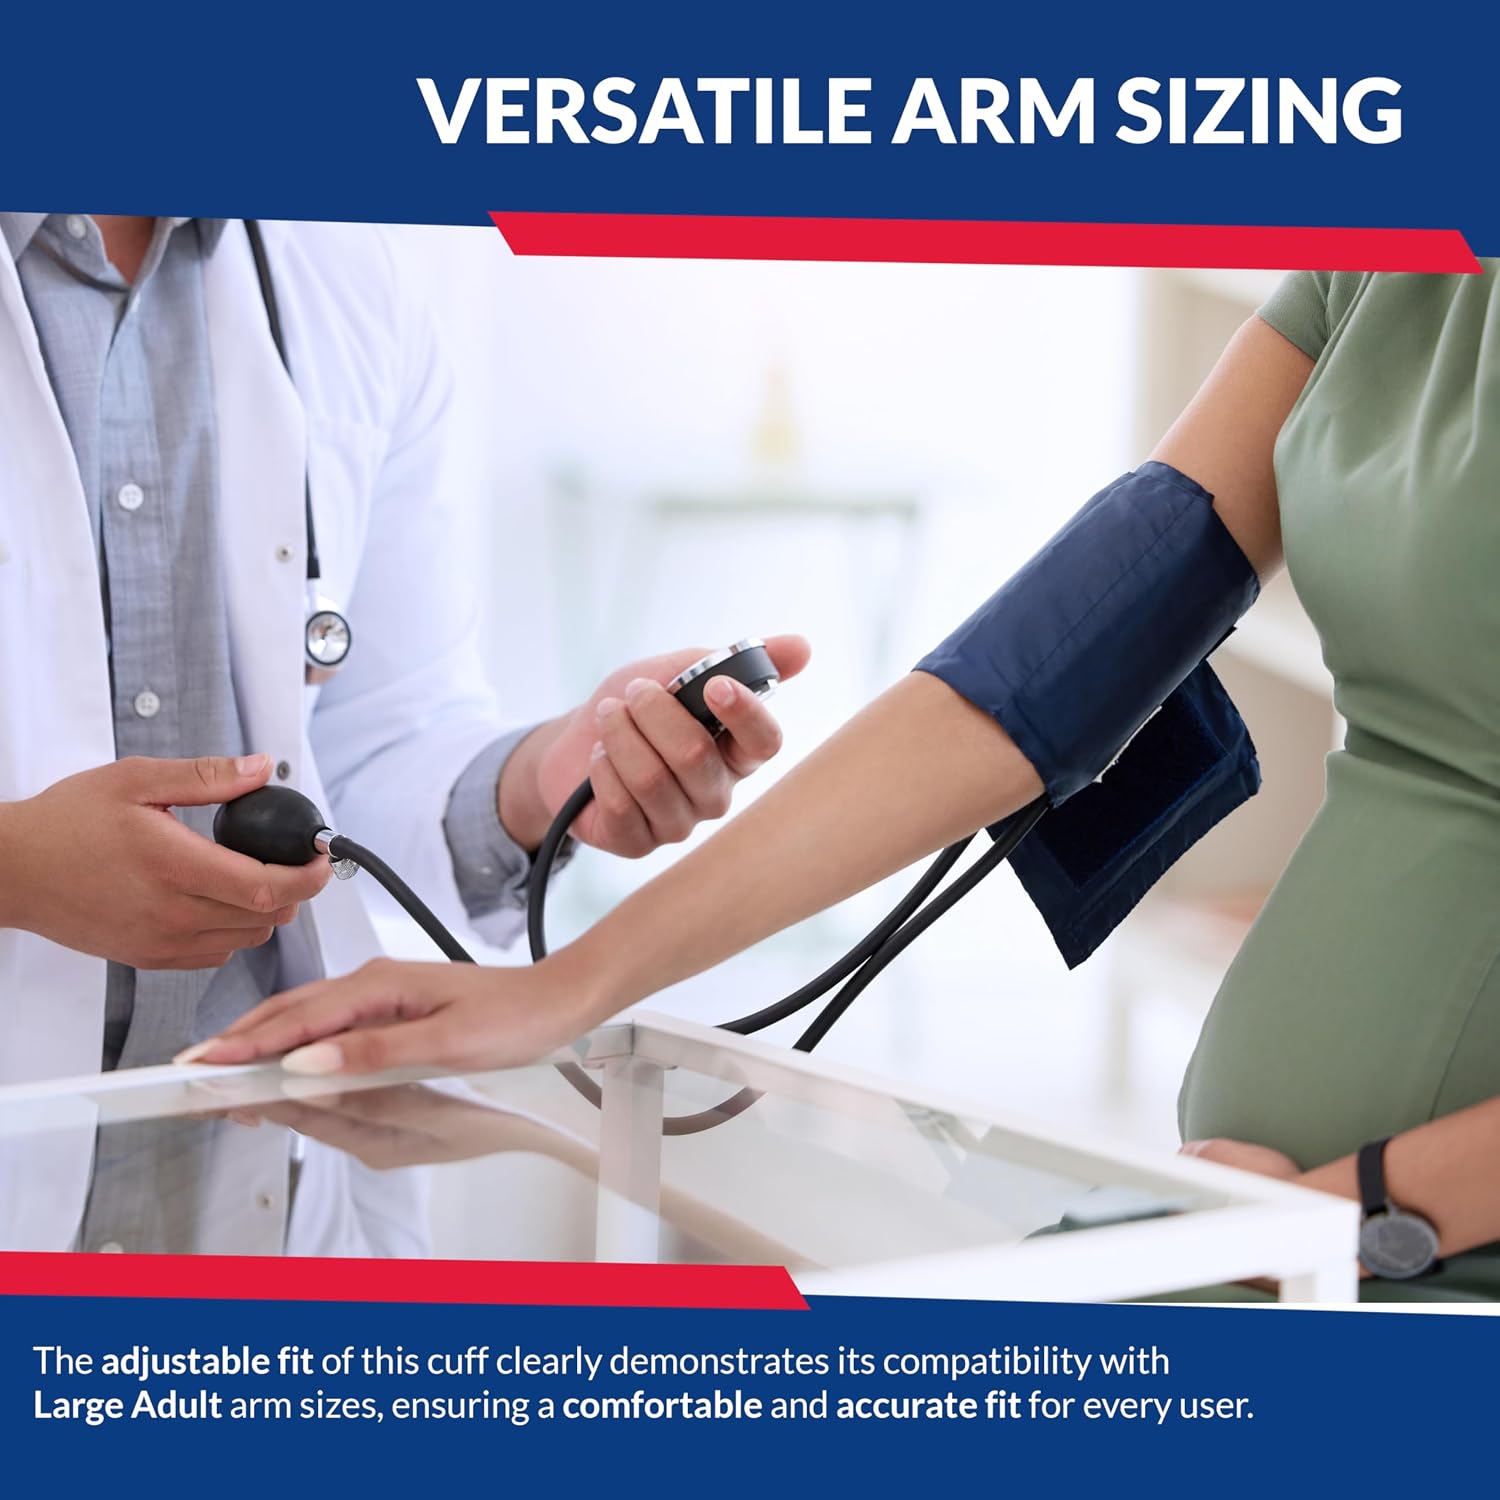
Image: A medical professional demonstrating the proper placement of the blood pressure cuff on a patient's arm, highlighting the versatile arm sizing.
Maintenance
Proper maintenance ensures the accuracy and longevity of your sphygmomanometer.
Cleaning
- After each use, wipe the cuff and gauge with a soft, damp cloth.
- Use a mild disinfectant if necessary, but avoid harsh chemicals or abrasive cleaners.
- Ensure the cuff is completely dry before storing.
Calibration
The device includes a calibration key for periodic accuracy checks. Regular calibration ensures your blood pressure monitor provides accurate and reliable readings over time.
- Insert the calibration key into the manometer's calibration port.
- Adjust the dial to the correct value (usually zero or a specified reference point).
- If the device consistently reads inaccurately or cannot be calibrated, professional servicing may be required.
Image: A detailed view of the aneroid gauge and the small calibration key, illustrating its function for maintaining accuracy.
Troubleshooting
Here are some common issues and their solutions:
Cuff's Sticky Part Comes Off Easily
If the hook-and-loop fastener on your blood pressure cuff is coming undone, it may be due to an improper fit or insufficient engagement. Make sure the cuff is snug but not too tight, and press the fastener down firmly across its entire surface.
Inaccurate Readings
- Ensure the cuff size is appropriate for the arm circumference (Large Adult: 13.5" – 20").
- Verify proper cuff placement and patient positioning.
- Check for air leaks in the tubing or inflation bulb.
- Perform a calibration check using the provided key.
- Avoid talking or moving during measurement.
Difficulty Inflating Cuff
- Ensure the air release valve is fully closed before inflating.
- Check for any kinks or blockages in the tubing.
- Inspect the inflation bulb for cracks or damage.
Specifications
| Feature | Detail |
|---|---|
| Brand | Dixie EMS |
| Model | B09973JNTS |
| Package Dimensions | 7.44 x 4.25 x 2.91 inches; 13.12 ounces |
| Included Components | Bag, Case, Cuff |
| Display Type | Analog |
| Size | Large Adult |
| Age Range (Description) | Adult |
| Band Size | 13.5 – 20 cm (5.3 – 7.9 inches) |
| Material Feature | Durable |
| UPC | 843484117358 |
Warranty and Support
For specific warranty information, please refer to the product packaging or contact Dixie EMS directly. Keep your purchase receipt as proof of purchase.
Customer Support
If you encounter any issues or have questions not covered in this manual, please contact Dixie EMS customer support. You can also visit the official Dixie EMS store on Amazon for more information and products: