1. Setup and Installation
This section guides you through the process of installing your GIGABYTE GeForce RTX 3070 Gaming OC 8G graphics card into your computer system.
1.1 Pre-Installation Checklist
- System Compatibility: Ensure your motherboard has an available PCI Express x16 slot.
- Power Supply: A power supply unit (PSU) with a minimum of 650W is recommended, featuring appropriate 8-pin and 6-pin PCIe power connectors.
- Case Clearance: Verify your computer case has sufficient space for the graphics card (Dimensions: 11.26 x 4.53 x 2.01 inches).
- Tools: You will need a Phillips head screwdriver.
- Safety: Always disconnect power from your computer before opening the case and handling internal components. Use anti-static precautions.
1.2 Physical Installation
- Prepare Your System:
Shut down your computer completely and disconnect the power cable from the wall outlet. Open your computer case.
- Locate PCIe Slot:
Identify an available PCI Express x16 slot on your motherboard. Remove any expansion slot covers from the back of your computer case that correspond to the chosen slot.

Image: Angled view of the GIGABYTE RTX 3070 graphics card, highlighting the PCIe connector for motherboard installation.
- Insert Graphics Card:
Carefully align the graphics card with the PCIe slot and press down firmly until it is securely seated. A click may be heard as the retention clip engages. Secure the card to the case with screws.
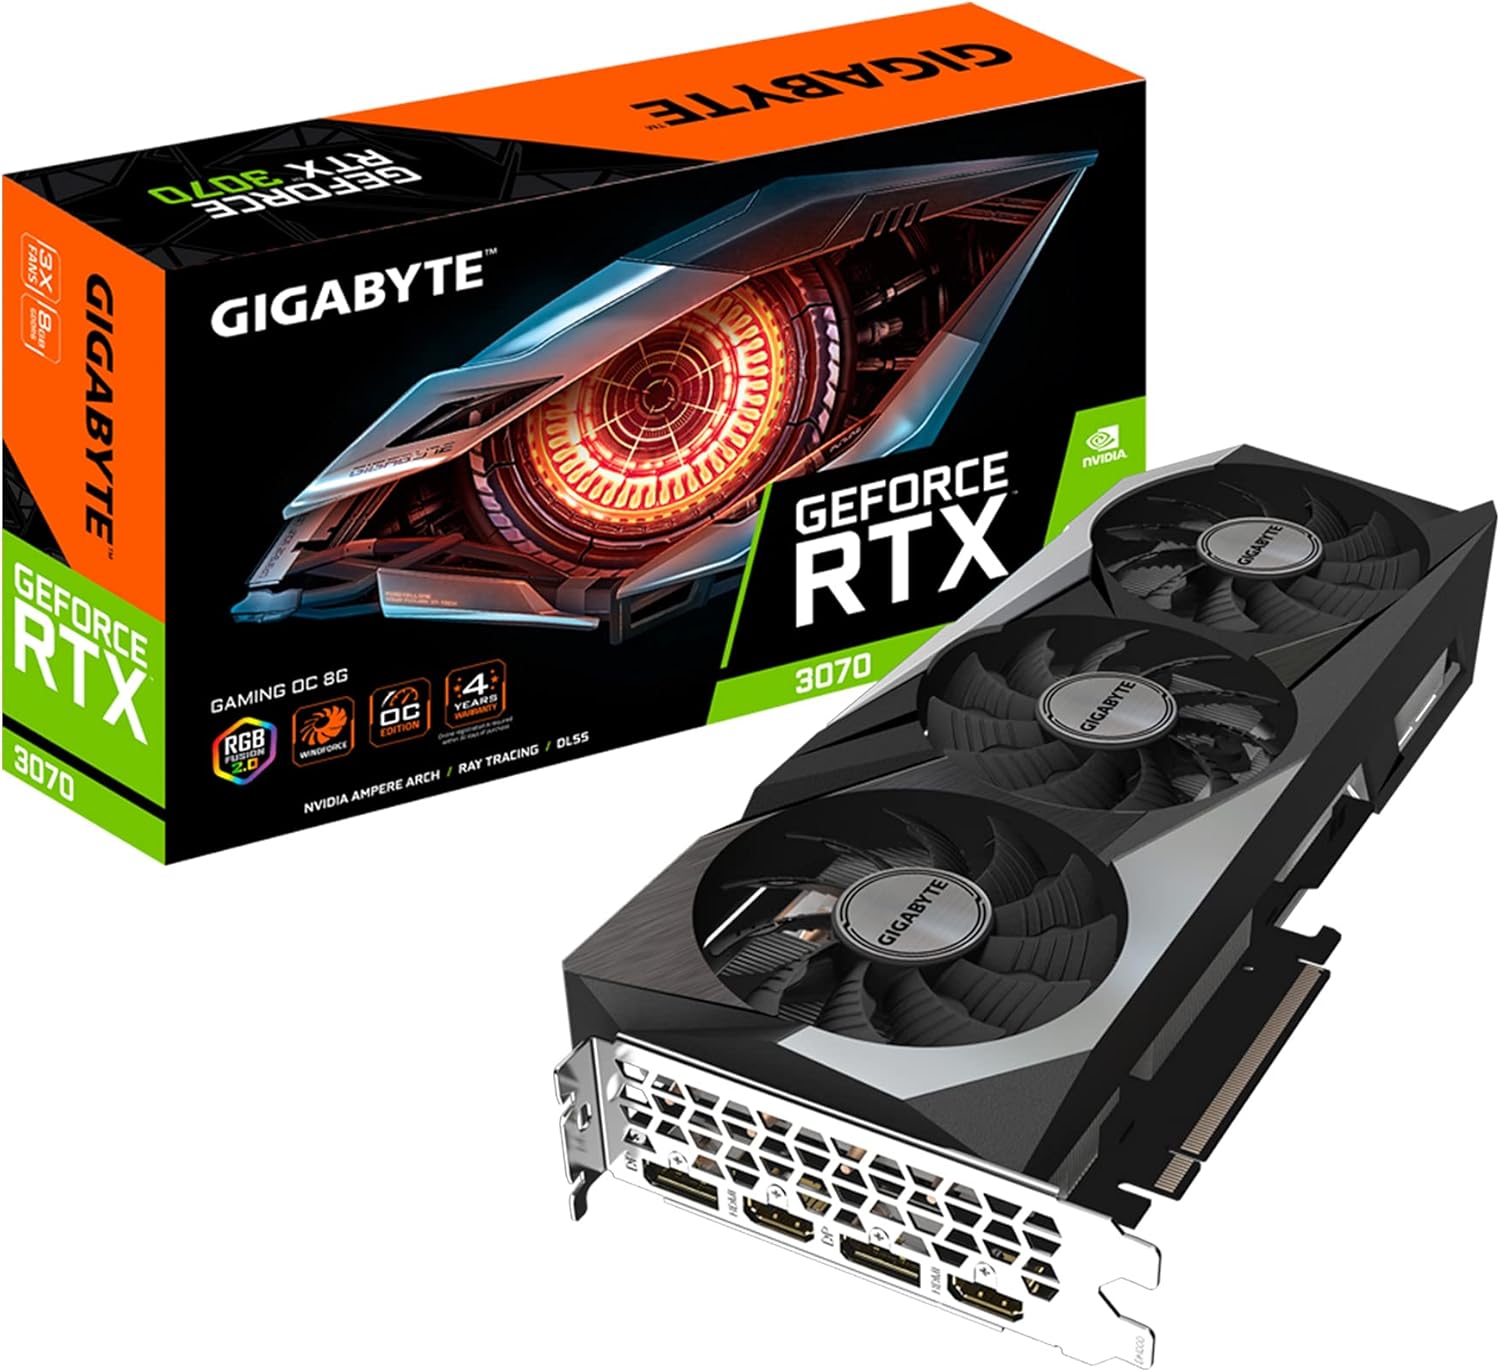
Image: The GIGABYTE GeForce RTX 3070 Gaming OC 8G graphics card, ready for installation.
- Connect Power Cables:
Connect the required 8-pin and 6-pin PCIe power cables from your power supply to the corresponding connectors on the graphics card. Ensure connections are firm.
- Close Case and Connect Peripherals:
Close your computer case, reconnect the power cable, and connect your display monitor to one of the graphics card's output ports (HDMI or DisplayPort).

Image: Rear view of the GIGABYTE RTX 3070 graphics card, displaying the two HDMI and two DisplayPort outputs.

Image: Close-up of the GIGABYTE RTX 3070's I/O bracket, clearly labeling the DisplayPort (DP) and HDMI connections.
1.3 Driver Installation
After physical installation, you must install the latest graphics drivers for optimal performance.
- Power On: Turn on your computer. Windows should detect new hardware and may install a basic display driver.
- Download Drivers: Visit the official GIGABYTE website (www.gigabyte.com) or NVIDIA's official website (www.nvidia.com/drivers) to download the latest drivers for the GeForce RTX 3070.
- Install Drivers: Run the downloaded driver installer and follow the on-screen instructions. A system restart may be required.
2. Operating Your Graphics Card
Once installed and drivers are updated, your GIGABYTE RTX 3070 is ready for use. This section covers basic operation and software features.
2.1 Connecting Displays
The graphics card supports multiple displays. You can connect up to four monitors using the available DisplayPort 1.4a and HDMI 2.1 ports. Refer to your monitor's manual for connection instructions.
- DisplayPort (DP): Supports resolutions up to 7680x4320 at 60Hz.
- HDMI: Supports resolutions up to 7680x4320 at 60Hz.
2.2 GIGABYTE Control Center / AORUS ENGINE
GIGABYTE provides software utilities to monitor and customize your graphics card. These applications allow you to:
- Monitor GPU temperature, clock speeds, and fan speeds.
- Adjust fan curves for optimal cooling and noise levels (WINDFORCE 3X Cooling System).
- Customize RGB lighting effects (RGB Fusion 2.0).
- Apply overclocking profiles (use with caution).
Download the latest version from the official GIGABYTE website.
3. Maintenance
Proper maintenance ensures the longevity and optimal performance of your graphics card.
3.1 Cleaning
- Frequency: Periodically inspect the fans and heatsink for dust accumulation, especially in dusty environments.
- Procedure:
- Power off your computer and disconnect the power cable.
- Open the computer case.
- Use compressed air to gently blow dust from the fan blades and heatsink fins. Hold the fan blades to prevent them from spinning rapidly during cleaning.
- Avoid touching the circuit board directly.
3.2 Driver Updates
Regularly check for and install the latest graphics drivers from NVIDIA or GIGABYTE. Driver updates often include performance improvements, bug fixes, and support for new games and applications.
4. Troubleshooting
This section addresses common issues you might encounter with your graphics card.
4.1 No Display Output
- Check Connections: Ensure the monitor cable is securely connected to both the graphics card and the monitor. Try a different cable or port.
- Power Cables: Verify that all PCIe power cables are correctly and firmly connected to the graphics card.
- Monitor Input: Confirm your monitor is set to the correct input source (HDMI, DisplayPort).
- Reseat Card: Power off, disconnect, and reseat the graphics card in its PCIe slot.
4.2 Driver Issues or Instability
- Clean Driver Installation: If experiencing crashes or performance issues, perform a clean installation of the graphics drivers. Use a tool like Display Driver Uninstaller (DDU) in Safe Mode to remove old drivers before installing new ones.
- Rollback Driver: If a new driver causes issues, try rolling back to a previous stable version.
4.3 Performance Problems
- Temperature Monitoring: Use GIGABYTE Control Center or similar software to monitor GPU temperatures. High temperatures can lead to thermal throttling and reduced performance. Ensure adequate case airflow.
- Power Supply: An insufficient or failing power supply can cause performance issues. Ensure your PSU meets the recommended wattage.
- Game Settings: Adjust in-game graphics settings to match your system's capabilities.
5. Specifications
| Feature | Detail |
|---|---|
| Graphics Processing Unit | NVIDIA GeForce RTX 3070 |
| Core Clock | 1815 MHz |
| Memory | 8GB GDDR6 |
| Memory Interface | 256-bit |
| Memory Speed | 14000 MHz |
| Output Ports | 2x DisplayPort 1.4a, 2x HDMI 2.1 |
| Max Digital Resolution | 7680x4320 @ 60Hz |
| Recommended PSU | 650W |
| Power Connectors | 1x 8-pin, 1x 6-pin |
| Dimensions (LxWxH) | 11.26 x 4.53 x 2.01 inches |
| Cooling System | WINDFORCE 3X with alternate spinning fans |
| Features | RGB Fusion 2.0, Protection metal back plate, 2nd Gen RT Cores, 3rd Gen Tensor Cores |
6. Warranty and Support
GIGABYTE stands behind its products with comprehensive warranty and support services.
6.1 Product Warranty
This GIGABYTE GeForce RTX 3070 Gaming OC 8G graphics card comes with a 4-year warranty. Online registration is required to activate and validate your warranty. Please visit the official GIGABYTE website for detailed warranty terms and conditions.
6.2 Technical Support
For technical assistance, driver downloads, or further inquiries, please visit the official GIGABYTE support page:
Before contacting support, please have your product model number (GV-N3070GAMING OC-8GD REV2.0) and serial number ready.