1. Introduction
This manual provides essential information for the safe and efficient installation, operation, and maintenance of your Extralink EX.14343 15U Wall-Mounted Rack. Please read this manual thoroughly before proceeding with any installation or use.
2. Safety Information
- Weight: The rack weighs 27 kilograms. Ensure adequate support and assistance when handling and mounting to prevent injury.
- Wall Mounting: This rack is designed for wall mounting. Ensure the wall structure can safely support the combined weight of the rack and all installed equipment. Consult a professional if unsure.
- Tools: Use appropriate tools for installation.
- Ventilation: Ensure proper airflow around the rack to prevent overheating of installed equipment.
- Electrical Safety: When installing electrical equipment, follow all local electrical codes and safety guidelines.
3. Package Contents
Verify that all components are present and undamaged upon receipt. The Extralink EX.14343 15U Wall-Mounted Rack is shipped pre-assembled.
- 1 x Extralink EX.14343 15U Wall-Mounted Rack (Black)
- Mounting hardware (may vary, check packaging)
- Keys for front door lock
4. Product Overview
The Extralink EX.14343 is a 15U wall-mounted rack designed to house network, server, and other IT equipment. It features a robust black finish and a lockable front door for security.

Figure 4.1: Front view of the Extralink EX.14343 15U Wall-Mounted Rack, closed. This image displays the overall black finish, the transparent front door with a lock, and ventilation grilles on the top and bottom.
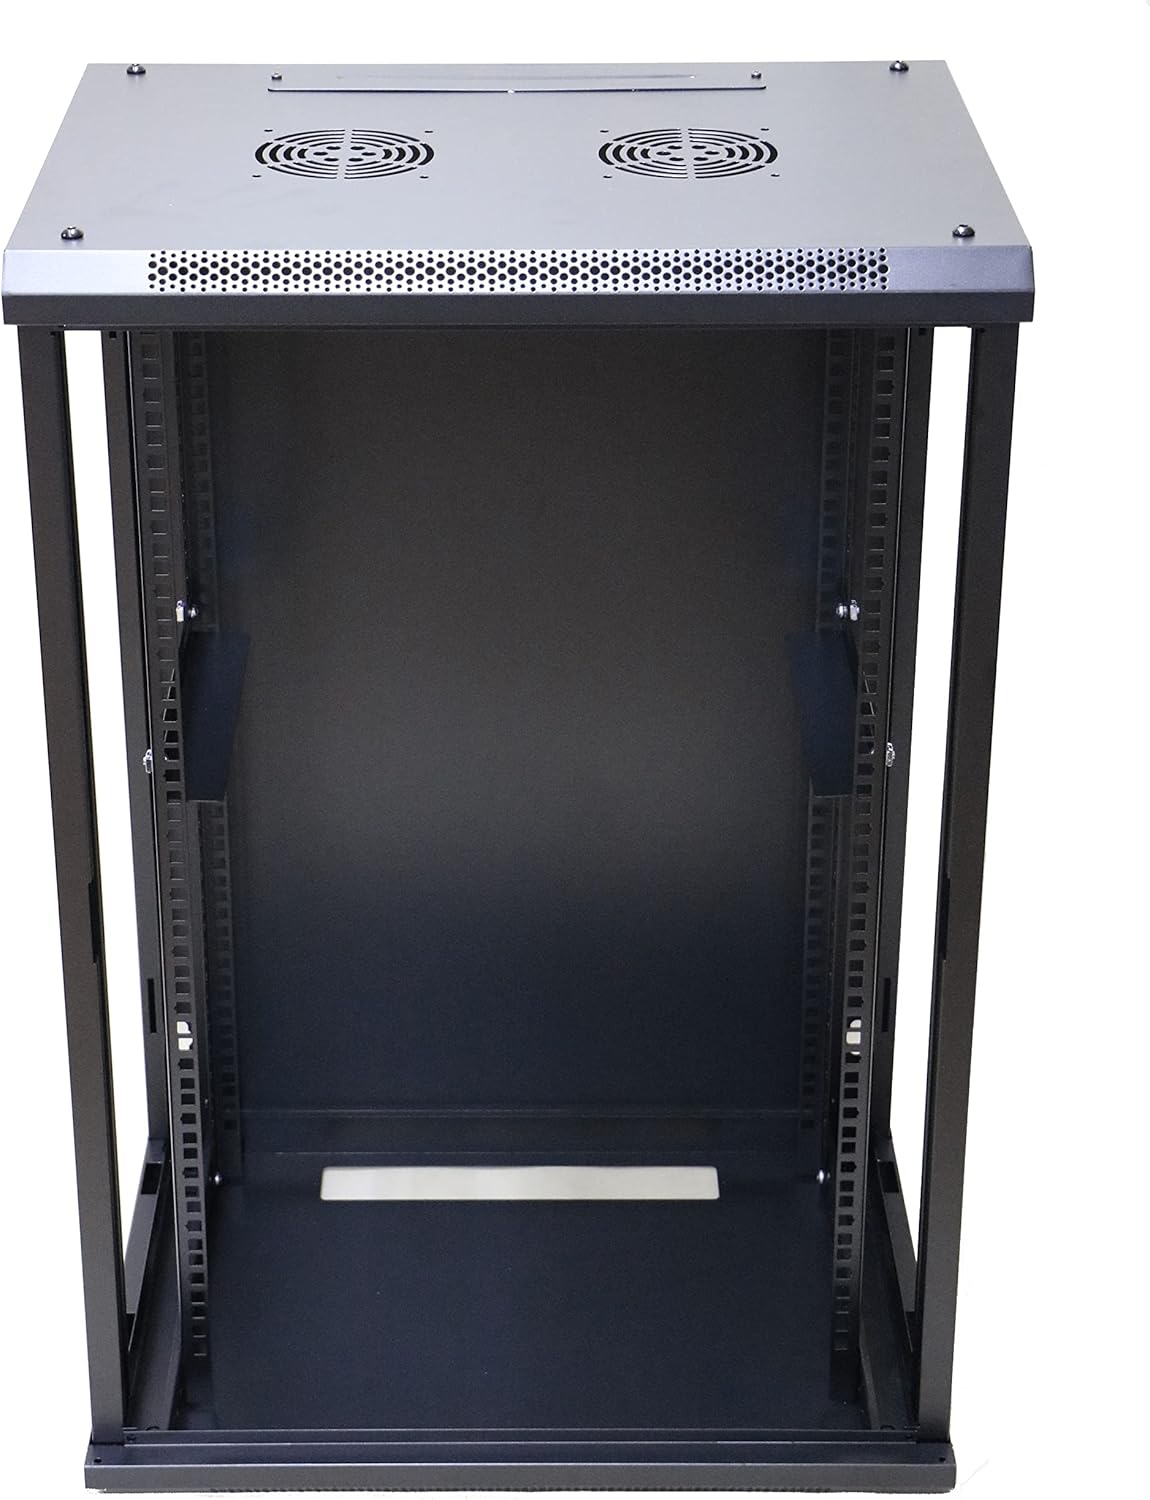
Figure 4.2: Interior view of the rack with the front door open. This image highlights the internal structure, including the adjustable 19-inch rack rails for mounting equipment, and the base of the rack.
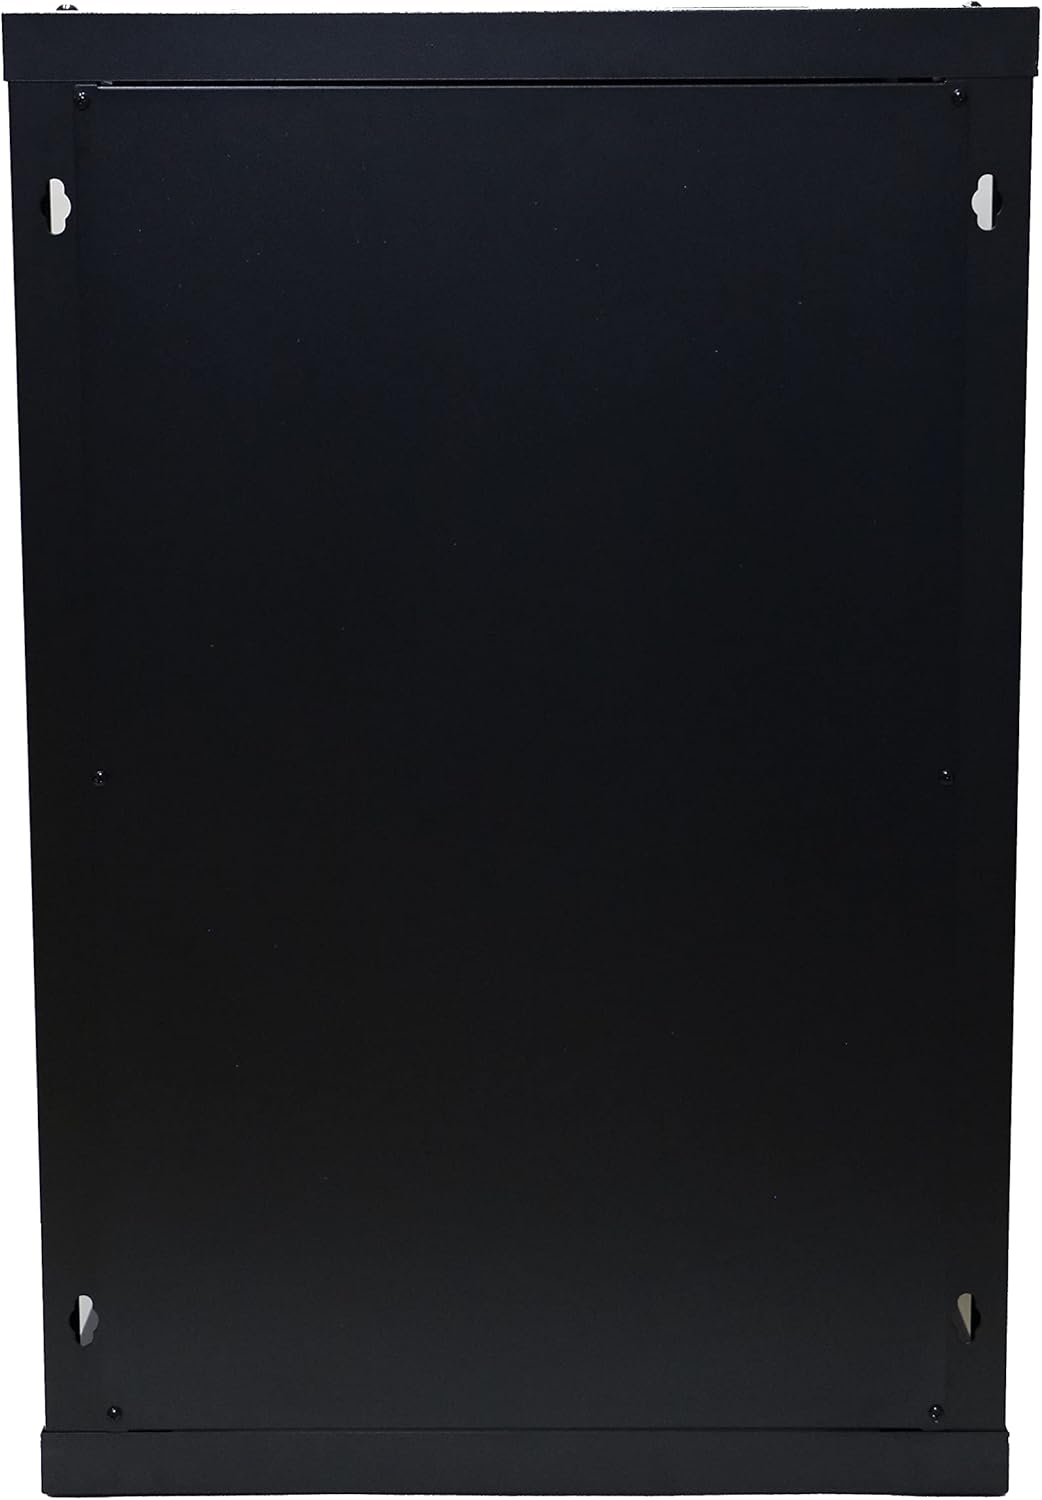
Figure 4.3: Rear view of the rack. This image shows the solid back panel and the pre-drilled holes for wall mounting, indicating the points where the rack should be securely fastened to a wall.

Figure 4.4: Side view of the rack with the side panel removed. This perspective illustrates the depth of the rack and the full length of the 19-inch mounting rails, which are adjustable to accommodate various equipment sizes.
5. Setup and Installation
The Extralink EX.14343 rack comes pre-assembled. Installation primarily involves securely mounting it to a suitable wall.
5.1. Site Selection
- Choose a location with adequate space for installation and future access to equipment.
- Ensure the wall material (e.g., concrete, brick, wood studs) can support the rack's weight (27 kg) plus the weight of all intended equipment.
- Consider proximity to power outlets and network cabling.
5.2. Mounting Procedure
- Measure and Mark: Carefully measure the desired mounting height and position on the wall. Use the rack's rear mounting holes as a template to mark drilling points.
- Drill Holes: Drill pilot holes at the marked locations using an appropriate drill bit for your wall type.
- Install Anchors (if necessary): If mounting into drywall or hollow walls, install suitable wall anchors. For wood studs or concrete, ensure screws are long enough to penetrate securely.
- Mount the Rack: With assistance, lift the rack and align its mounting holes with the drilled holes/anchors. Secure the rack to the wall using appropriate screws and washers. Ensure all fasteners are tightened securely.
- Verify Stability: Gently test the rack's stability to ensure it is firmly attached to the wall before installing any equipment.
6. Operating Instructions
Once the rack is securely mounted, you can begin installing your equipment.
6.1. Equipment Installation
- Access: Unlock and open the front door to access the interior. Side panels may also be removable for easier access during installation.
- Mounting Rails: The rack features standard 19-inch mounting rails. Install your rack-mountable equipment (e.g., servers, switches, patch panels) using appropriate rack screws and cage nuts.
- Weight Distribution: Distribute equipment weight evenly within the rack, starting from the bottom, to maintain stability.
- Cable Management: Utilize cable management accessories (not included) to organize power and data cables, ensuring proper airflow and preventing strain on connectors.
6.2. Ventilation
The rack includes ventilation grilles on the top and bottom. For optimal performance and longevity of your equipment, ensure these grilles are not obstructed. Consider installing additional fan units (not included) if your equipment generates significant heat.
7. Maintenance
Regular maintenance helps ensure the longevity and proper functioning of your rack and the equipment within it.
- Cleaning: Periodically clean the exterior and interior of the rack with a soft, damp cloth. Avoid abrasive cleaners.
- Inspection: Regularly inspect all mounting hardware for tightness. Check for any signs of wear or damage to the rack structure.
- Ventilation: Ensure ventilation grilles remain clear of dust and debris to maintain proper airflow.
- Door Lock: Lubricate the door lock mechanism periodically if it becomes stiff.
8. Troubleshooting
This section addresses common issues you might encounter.
- Rack feels unstable after mounting: Re-check all wall mounting fasteners. Ensure they are securely tightened and that the wall structure is adequate. If necessary, reinforce the mounting points or consult a professional.
- Equipment does not fit: Verify that your equipment is standard 19-inch rack-mountable. Check the depth of your equipment against the rack's internal depth. Adjust internal rack rails if possible.
- Overheating equipment: Ensure proper ventilation. Check that the rack's ventilation grilles are not blocked. Consider adding active cooling solutions (e.g., fan trays) if heat buildup persists.
- Door lock is stiff: Apply a small amount of graphite lubricant or a silicone-based spray to the lock mechanism.
9. Specifications
| Attribute | Value |
|---|---|
| Brand | EXTRALINK |
| Model Number | EX.14343 |
| Color | Black |
| Item Weight | 27 Kilograms |
| Mounting Type | Wall Mount |
| Assembly Required | No |
10. Warranty and Support
Information regarding warranty coverage and customer support for the Extralink EX.14343 15U Wall-Mounted Rack was not available in the provided product data. Please refer to the product packaging or the manufacturer's official website for the most current warranty terms and support contact information.