
1. Introduction
Thank you for choosing the JUTIFAN 20-inch Low Profile Ceiling Fan with Lights and Remote. This modern flush-mount ceiling fan is designed to provide both illumination and air circulation in various indoor spaces. Its enclosed design enhances safety, making it suitable for rooms with low ceilings and bunk beds. This manual provides essential information for the safe installation, operation, and maintenance of your new ceiling fan. Please read it thoroughly before installation and retain it for future reference.

Figure 1: JUTIFAN 20-inch Low Profile Ceiling Fan with Lights and Remote.
2. Safety Information
WARNING: To reduce the risk of fire, electric shock, or personal injury, always follow these basic safety precautions:
- Ensure the power is turned off at the circuit breaker before installation or servicing.
- All electrical connections must be in accordance with local codes, ordinances, or national electrical codes. If you are unfamiliar with electrical wiring, consult a qualified electrician.
- The mounting structure must be capable of supporting the weight of the fan.
- Do not operate the fan with damaged wiring or if the fan is visibly damaged.
- Keep hands, hair, and clothing away from the fan blades during operation. The enclosed design helps prevent injury, but caution is still advised.
- Do not use this fan with a dimmer switch not specifically designed for ceiling fans with integrated LED lights, as this may cause flickering or damage to the light.
3. Package Contents
Verify that all components are present and undamaged before beginning installation. If any parts are missing or damaged, contact JUTIFAN customer service.
- JUTIFAN 20-inch Low Profile Ceiling Fan with Integrated LED Light
- Remote Control
- Installation Instructions / User Manual (this document)
- Mounting Hardware (screws, wire nuts, etc.)
4. Specifications
| Brand | JUTIFAN |
| Model Number | BNC-JTF |
| Colour | White |
| Material | Acrylic, Acrylonitrile Butadiene Styrene, Iron |
| Product Dimensions (L x W x H) | 48.3L x 48.3W x 17.8H Centimetres (Approx. 20 x 20 x 7 inches) |
| Power Source | AC (110 Volts) |
| Control Method | Remote Control |
| Light Source | Integrated LED |
| Light Wattage | 36 Watts |
| Brightness | Up to 2000 Lumens |
| Color Temperature | Adjustable (3000K Warm, 4500K Neutral, 6000K White) |
| Fan Speeds | 3 Adjustable Speeds |
| Mounting Type | Flush Mount, Ceiling Mount |
| Special Features | Memory Lighting, Dimmable (10%-100%), 3 Color Change, Remote Control, 3 Speeds, Timer (1H/2H/4H), Quiet Operation (<35db) |
| Assembly Required | No (Minor installation only) |

Figure 2: Product dimensions for installation planning.
5. Setup and Installation
While the fan is designed for easy installation, it is recommended to have two people for the process due to its size and the need for careful handling. If you are unsure about electrical wiring, consult a qualified electrician.
5.1 Pre-Installation Checklist
- Turn off power: Locate the circuit breaker for the room where you are installing the fan and turn off the power. Verify power is off using a voltage tester.
- Clearance: Ensure there is adequate clearance around the fan for optimal air circulation and safety.
- Tools required: Screwdriver, wire strippers, electrical tape, ladder, voltage tester.
5.2 Mounting the Fan
- Carefully unpack all components and lay them out on a clean, soft surface to prevent scratches.
- Attach the mounting bracket to the ceiling junction box using the provided screws. Ensure the bracket is securely fastened and can support the fan's weight.
- Connect the electrical wires according to standard wiring practices (typically black to black, white to white, and ground to ground). Use the provided wire nuts to secure connections.
- Carefully lift the fan body and align it with the mounting bracket. Secure the fan to the bracket using the designated screws. Ensure all connections are tight and the fan is stable.
- Once the fan is securely mounted and wired, restore power at the circuit breaker.
6. Operating Instructions
Your JUTIFAN ceiling fan is operated using the included remote control.
6.1 Remote Control Functions
- Power On/Off: Press the power button to turn the fan and light on or off.
- Fan Speed: Cycle through 3 wind speeds (Low, Medium, High) using the fan speed button.
- Light Color Temperature: Adjust the light color between 3000K (Warm White), 4500K (Neutral White), and 6000K (Cool White).
- Light Brightness (Dimming): Use the dimming buttons to adjust the light brightness from 10% to 100%.
- Timer Function: Set the fan to turn off automatically after 1, 2, or 4 hours.
- Memory Function: The fan and light will retain the last used settings (color temperature, brightness, fan speed) when turned on again.
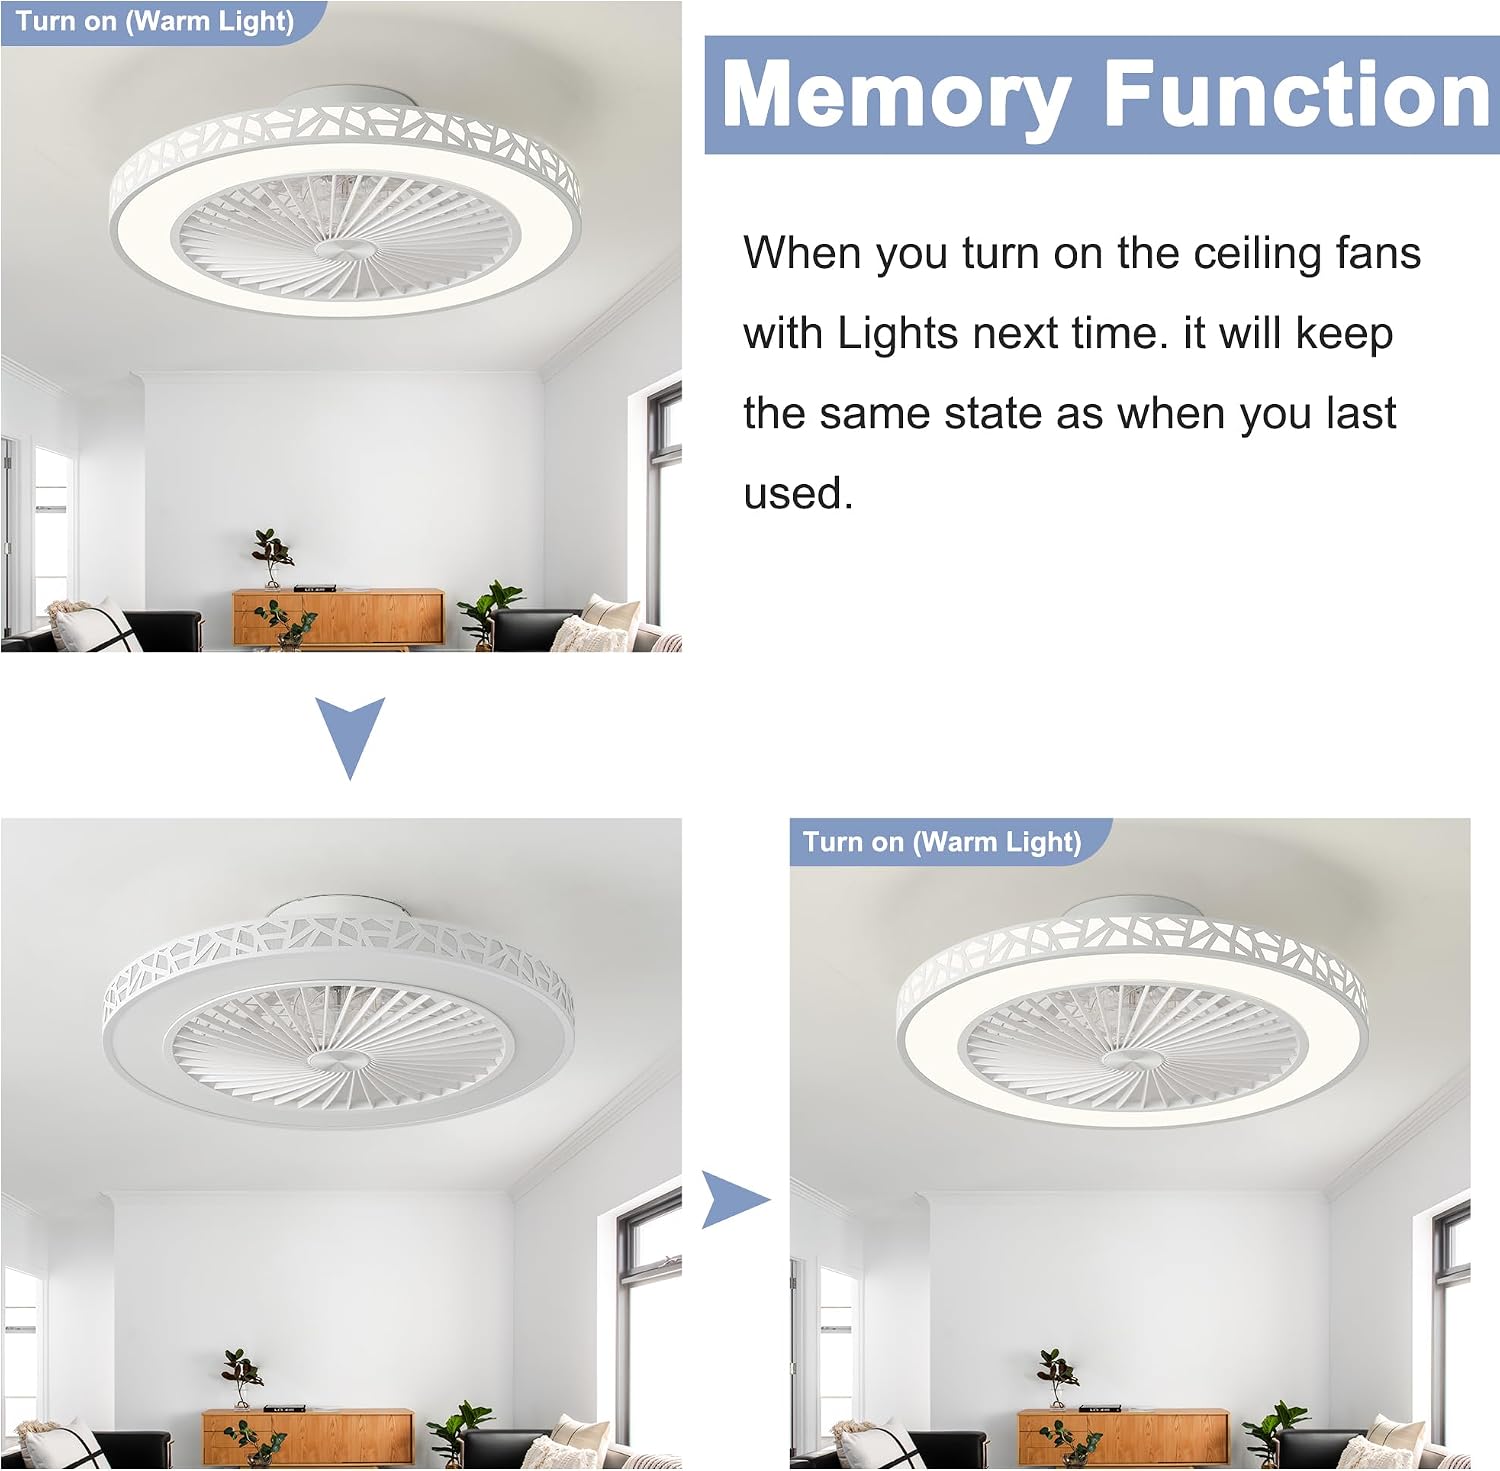
Figure 3: Remote control allows adjustment of light color temperature (3000K, 4500K, 6000K) and brightness (10%-100%).

Figure 4: Fan features quiet operation, 3 adjustable wind speeds (low, medium, high), and timing options.

Figure 5: The fan's memory function retains the last light and fan settings upon restart.
7. Maintenance
Regular maintenance ensures the longevity and optimal performance of your ceiling fan.
- Cleaning: Turn off the power before cleaning. Use a soft, damp cloth to wipe down the fan's exterior. Do not use abrasive cleaners or solvents.
- Blade Inspection: Periodically check the fan blades for any dust buildup. The enclosed design minimizes dust accumulation on blades, but occasional cleaning of the exterior grille is recommended.
- Noise Reduction: If the ceiling fan light makes noise, it may be due to loose fan blades. You can open the lampshade to adjust the fan blades and ensure they are securely fastened. Always turn off power before attempting this.
8. Troubleshooting
Refer to this section for common issues and their solutions.
| Problem | Possible Cause | Solution |
|---|---|---|
| Fan does not operate / Light does not turn on. | No power supply; Remote control battery low or not paired; Loose wiring connection. | Check circuit breaker; Replace remote battery; Ensure remote is paired (refer to remote manual); Verify wiring connections are secure (power off first). |
| Light flickers. | Incompatible dimmer switch; Loose electrical connection. | Ensure the fan is not connected to a standard dimmer switch; Check wiring connections (power off first). |
| Fan makes excessive noise. | Loose fan blades; Loose mounting screws. | Turn off power, open lampshade, and ensure fan blades are securely fastened; Check all mounting screws for tightness. |
| Memory function not working. | Incorrect operation; Power cycle issue. | Ensure the fan is turned off via the remote control, not a wall switch, for the memory function to properly save settings. |
9. Warranty and Support
Warranty: This JUTIFAN product comes with a 1 Year Warranty from JUTIFAN, covering defects in materials and workmanship under normal use. Please retain your proof of purchase for warranty claims.
Customer Support: For technical assistance, warranty inquiries, or replacement parts, please contact JUTIFAN customer service.
Manufacturer: JUTIFAN
Contact Information: Refer to your purchase documentation or the JUTIFAN official website for the most current contact details.