1. Introduction
This manual provides instructions for the assembly, operation, and maintenance of your OKD Farmhouse Console Entryway Table with Sliding Barn Doors. Please read these instructions carefully before assembly and use to ensure proper function and safety.
Important Safety Information
- Always follow the assembly instructions carefully to ensure the table is assembled correctly and safely.
- Do not exceed the maximum weight limit of 250 pounds to prevent the table from sagging or collapsing.
- Keep all small parts and packaging materials away from children during assembly.
- Ensure all connections are securely tightened before use. Periodically check and re-tighten as necessary.
2. Product Overview
The OKD Farmhouse Console Entryway Table features a rustic design with functional sliding barn doors, offering versatile storage and display options. It is constructed from engineered wood with a light rustic oak finish.
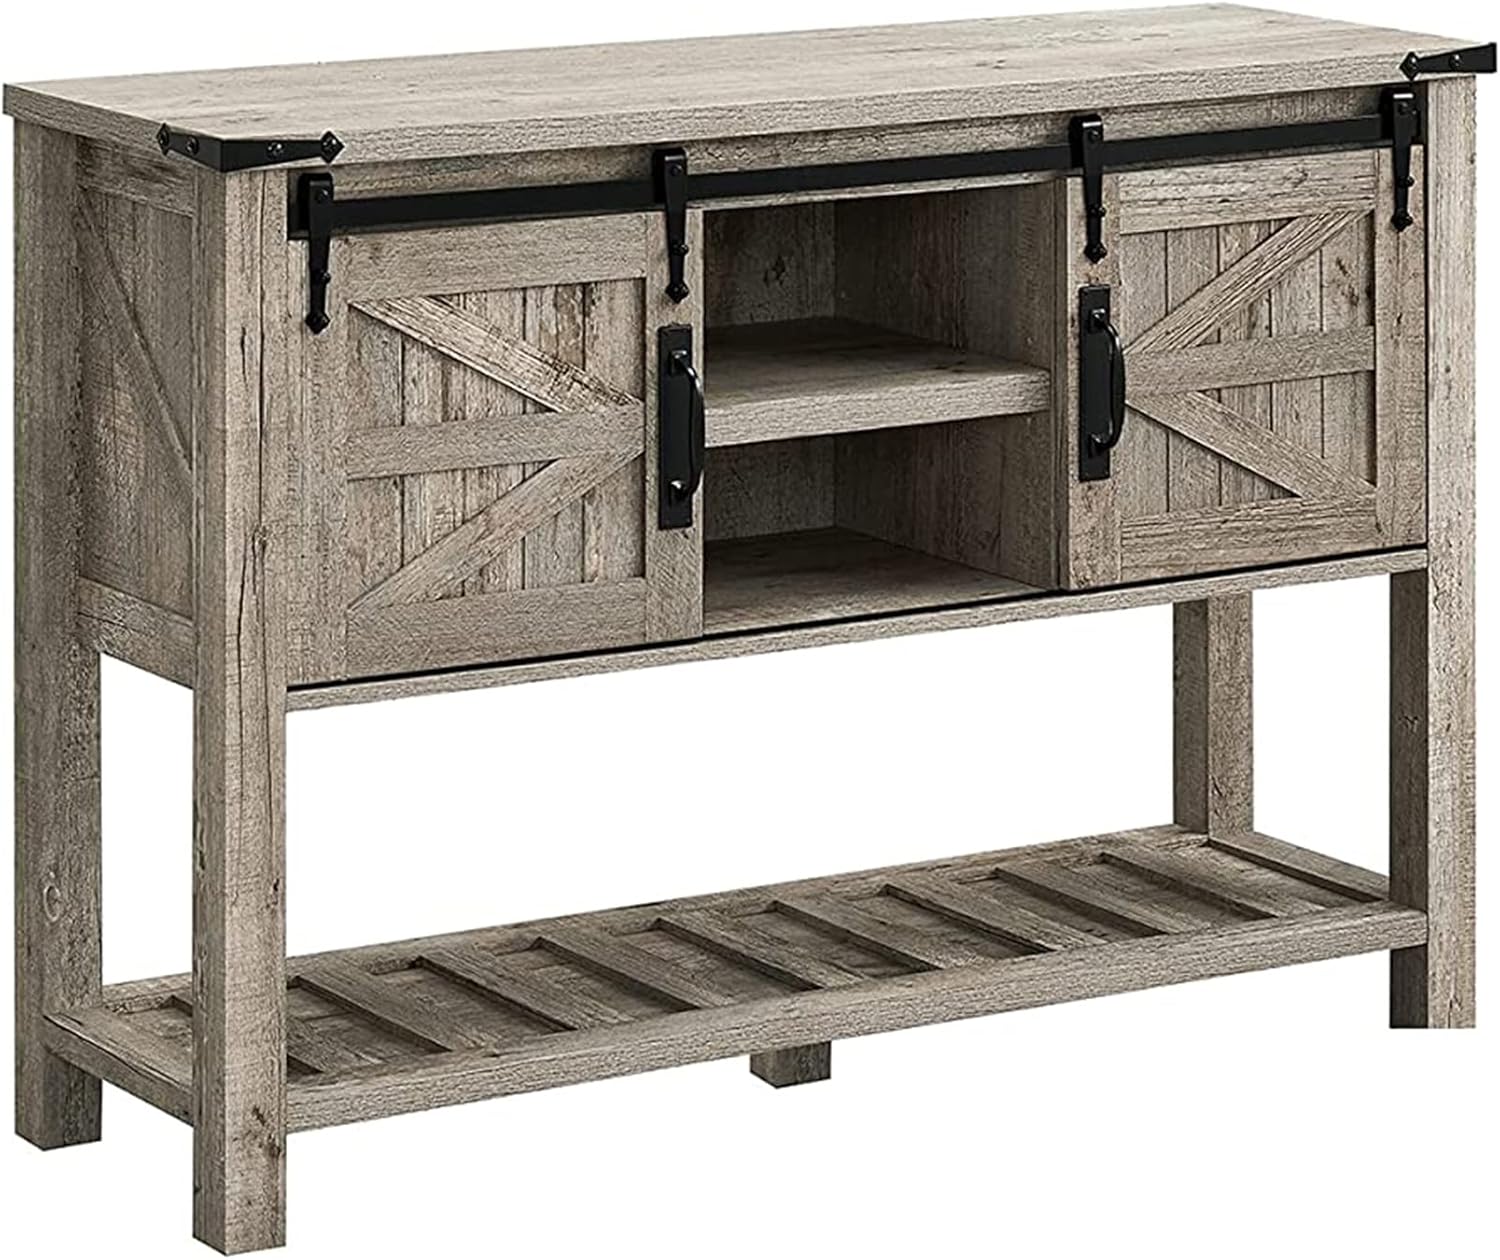
Figure 2.1: Front view of the assembled OKD Farmhouse Console Entryway Table.
Key Features:
- Sliding Barn Doors: Provides easy access to storage compartments and allows for flexible display.
- Ample Storage: Equipped with two cabinets and multiple shelves for organized storage.
- Sturdy Construction: Features a 2" x 2" wood frame and 1" thick tabletop for durability.
- Rustic Design: Barn-door patterns on front and sides, complemented by metal corner decorations and powder-coated metal handles.

Figure 2.2: Close-up of key features including removable shelves, middle support leg, metal corner decoration, and powder-coated metal handle.
3. Assembly Instructions
Assembly typically requires 1-2 people and takes approximately 30 minutes. All necessary parts, hardware kits, and instructions are included in the package. A Phillips head screwdriver is recommended (not included).
Before You Begin:
- Unpack all components and verify against the parts list (refer to included manual for detailed list).
- Lay out all hardware and tools.
- Assemble on a soft, clean surface to prevent scratching.
General Assembly Steps:
- Attach the side panels to the top panel using the provided hardware.
- Install the middle support leg to the bottom shelf for added stability.
- Insert the fixed and removable shelves into their designated slots within the cabinet sections.
- Mount the metal track for the sliding barn doors onto the top front edge of the table.
- Attach the handles and hanging mechanisms to the barn doors.
- Carefully hang the barn doors onto the metal track.
- Ensure all screws and fasteners are tightened securely.
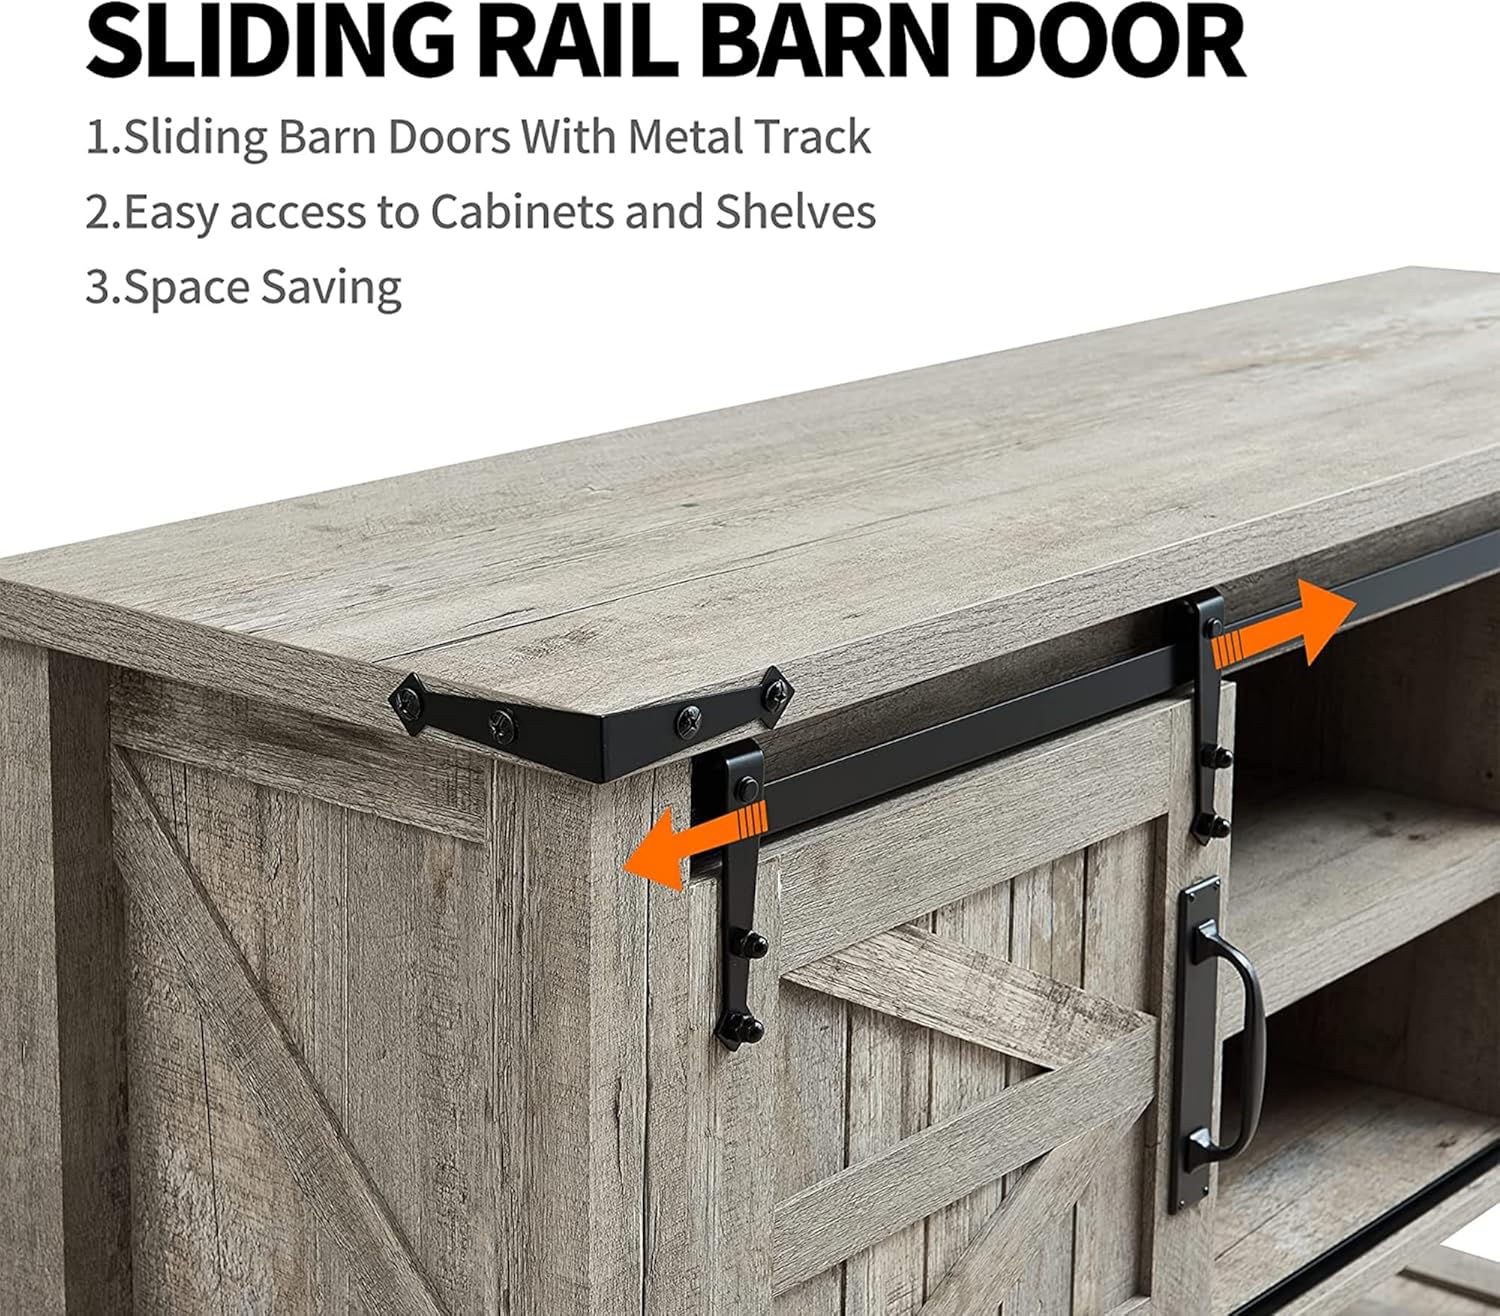
Figure 3.1: Dimensional diagram of the console table, useful for assembly planning.
4. Usage and Operation
This console table is designed for various uses in hallways, entryways, living rooms, dining areas, or kitchens.
Sliding Barn Doors:
The barn doors operate on a smooth metal track, allowing you to easily slide them left or right to reveal or conceal the inner storage compartments. This feature provides flexibility in displaying items or keeping them out of sight.
Figure 4.1: Detail of the sliding barn door rail system.
Storage Organization:
The table includes two cabinets and seven shelves, providing diverse storage options. The central shelves are ideal for smaller items, while the lower open shelf can accommodate larger decorative items or storage bins. The 11-inch high storage shelf space allows for taller items.

Figure 4.2: Overview of the seven distinct storage areas.

Figure 4.3: Illustration of the 11-inch high storage capacity.
5. Care and Maintenance
To maintain the appearance and longevity of your console table, follow these care instructions:
- Cleaning: Wipe with a dry cloth. Avoid abrasive cleaners or harsh chemicals that may damage the finish.
- Spills: Immediately blot any spills with a clean, dry cloth.
- Sunlight: Avoid prolonged exposure to direct sunlight to prevent fading.
- Heat: Do not place hot items directly on the surface. Use coasters or protective pads.
- Weight Distribution: Distribute weight evenly across the tabletop and shelves to prevent stress on the structure.
6. Troubleshooting
If you encounter issues during assembly or use, refer to the following common solutions:
Problem: Parts do not align or fit together.
- Solution: Double-check the instruction manual's diagrams and part labels. Sometimes, similar-looking parts (e.g., shelves) may need to be swapped if they are mislabeled or incorrectly oriented. Loosen all connections slightly, adjust the parts, and then re-tighten.
Problem: Screws are difficult to insert or do not go in all the way.
- Solution: Ensure you are using the correct screw for the designated hole. Apply firm, even pressure while turning the screwdriver. If a screw is still difficult, remove it, ensure the hole is clear, and try again. Avoid overtightening, which can strip the wood.
Problem: Table feels unstable or wobbly after assembly.
- Solution: Verify that all fasteners are securely tightened. Ensure the table is placed on a level surface. The middle support leg is crucial for stability; confirm it is properly installed and making contact with the floor.
7. Specifications
| Feature | Detail |
|---|---|
| Brand | OKD |
| Model Number | B098CWZFF9 |
| Product Dimensions | 13.75"D x 46"W x 32"H |
| Item Weight | 74 Pounds |
| Maximum Weight Recommendation | 250 Pounds |
| Color | Light Rustic Oak |
| Material Type | Engineered Wood, Oak |
| Frame Material Type | Engineered Wood |
| Top Material Type | Engineered Wood |
| Number of Shelves | 2 (within cabinets, plus lower open shelf) |
| Included Components | Shelves |
| Tools Recommended For Assembly | Screwdriver |
8. Warranty and Support
For specific warranty information or customer support, please refer to the documentation included with your product or contact OKD customer service directly. Contact details can typically be found on the product packaging or the manufacturer's official website.


