Introduction
This manual provides essential information for the safe and efficient operation of your new Whirlpool 16 kg Top Load Washing Machine, model 8MWTW-1643MJQ. Please read these instructions thoroughly before using the appliance and retain them for future reference. This washing machine features a 16 kg capacity, Xpert System washing technology, a 3D agitator, and a variety of automatic and manual cycles to meet diverse laundry needs.
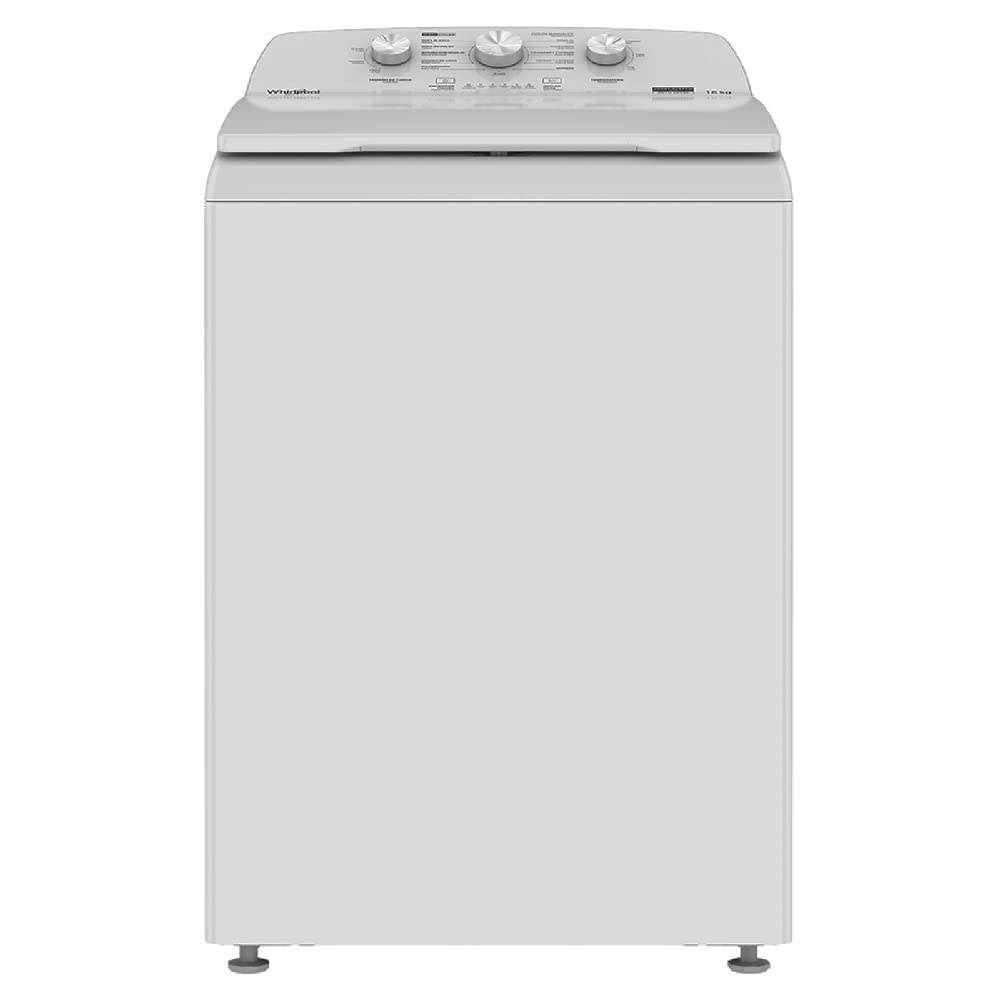
Image: Front view of the Whirlpool 16 kg Top Load Washing Machine.
Safety Information
Always follow basic safety precautions when using this appliance to reduce the risk of fire, electric shock, or injury to persons.
- Electrical Safety: Ensure the washing machine is connected to a grounded outlet. Do not use extension cords. Disconnect power before servicing.
- Water Safety: Use new water inlet hoses. Do not reuse old hoses. Ensure all connections are secure to prevent leaks.
- Child Safety: Keep children away from the appliance during operation. Do not allow children to play on or in the washing machine.
- Flammable Materials: Do not wash items that have been soiled with flammable substances (e.g., cooking oils, gasoline).
- Installation: Install the machine on a firm, level floor. Ensure adequate clearance around the appliance for proper ventilation and service.
Setup
1. Unpacking
Remove all packaging materials, including the shipping base and any internal packing. Inspect the machine for any damage. Keep packaging materials out of reach of children.
2. Location Requirements
Place the washing machine on a solid, level floor. Ensure the location has access to hot and cold water supply, a drain, and a grounded electrical outlet. Avoid installing in areas where it may freeze.
3. Connecting Water Hoses
Connect the hot water inlet hose to the hot water faucet and the cold water inlet hose to the cold water faucet. Attach the other ends to the corresponding inlets on the back of the washing machine. Tighten all connections securely by hand, then an additional two-thirds turn with pliers. Do not overtighten.
4. Connecting Drain Hose
Insert the drain hose into a standpipe or over the side of a utility sink. Ensure the drain hose is securely fastened to prevent it from dislodging during the drain cycle.
5. Leveling the Machine
Use a level to ensure the machine is perfectly level from front to back and side to side. Adjust the leveling feet at the bottom of the machine as needed. A level machine reduces vibration and noise during operation.
6. Initial Use
Before the first wash, run a short cycle without laundry and detergent to flush out any manufacturing residues.
Operating Instructions

Image: Overview of the control panel with cycle and temperature selectors.
1. Loading Laundry
Open the lid and load items loosely around the 3D agitator. Do not overload the machine. The Smart Load feature helps determine the correct load size (CH, M, G) for optimal washing. The AutoLevel function automatically detects the load size and adjusts the water level.

Image: Inside the stainless steel tub, showing the 3D agitator and automatic detergent, softener, and bleach dispensers.
2. Adding Detergent, Softener, and Bleach
Your washing machine is equipped with automatic dispensers for detergent, fabric softener, and bleach. Add the appropriate amount of each product to its designated compartment before starting the cycle. The machine will dispense them at the correct time.
3. Selecting a Cycle
Turn the cycle selector knob to choose from 12 available cycles. These include 4 Xpert cycles (Color Clothes, White Clothes, Intense with Soak, Water Saving), Voluminous, Jeans, Express, Delicates, Soak, Wash Only, Rinse & Spin, and Drain & Spin. Select the cycle that best suits your laundry type and soil level.
4. Selecting Water Temperature
Use the temperature selector knob to choose between Cold, Warm, or Hot water, depending on your fabric care instructions.
5. Starting a Cycle
Press the 'Start/Pause' button to begin the selected wash cycle. The lid will lock, and the LED indicator will show the current stage of the cycle.
6. Pausing a Cycle
To pause a cycle, press the 'Start/Pause' button. The lid will unlock after a short delay, allowing you to add or remove items. Press 'Start/Pause' again to resume.
Maintenance
1. Cleaning the Dispensers
Regularly clean the detergent, softener, and bleach dispensers to prevent residue buildup. Remove the dispenser trays (if removable) and rinse them under warm water. Wipe the dispenser housing with a damp cloth.
2. Cleaning the Tub
Although the tub is 100% stainless steel, periodic cleaning is recommended. Use a washing machine cleaner or run a hot water cycle with a cup of white vinegar to remove detergent residue and odors.
3. Exterior Cleaning
Wipe the exterior surfaces of the washing machine with a soft, damp cloth. Do not use abrasive cleaners or solvents.
4. Water Inlet Filters
Periodically check and clean the screens in the water inlet hoses to prevent blockages. Turn off the water supply, disconnect the hoses, and remove any debris from the screens.
Troubleshooting
Before contacting service, review the following common issues and solutions:
- Machine Does Not Start: Ensure the power cord is plugged in, the lid is closed, and the 'Start/Pause' button has been pressed. Check if a circuit breaker has tripped.
- No Water Fill: Check if water faucets are fully open and water inlet hoses are not kinked. Clean water inlet filters if clogged.
- Water Not Draining: Ensure the drain hose is not kinked or blocked. Check the household drain for clogs.
- Excessive Vibration: Verify the machine is level. Ensure the load is balanced inside the tub.
- Lid Lock Issue: The lid will remain locked during spin cycles and for a short period after the cycle ends. If it remains locked unexpectedly, try unplugging the machine for a minute and plugging it back in.
If problems persist after attempting these solutions, contact customer support.
Specifications

Image: Diagram showing the dimensions of the washing machine: 66 cm (depth) x 66 cm (width) x 109 cm (height).
| Feature | Specification |
|---|---|
| Model Name | 8MWTW-1643MJQ |
| Capacity | 16 Kilograms |
| Dimensions (D x W x H) | 66 cm x 66 cm x 109 cm |
| Weight | 48 Kilograms |
| Access Location | Top Load |
| Color | White |
| Special Feature | High Efficiency (Xpert System, 3D Agitator) |
| Number of Cycles | 12 (8 Automatic, 4 Manual) |
| Max Spin Speed | 800 RPM |
| Controls Type | Pulsator / Buttons |
| Display | LED |
| Dispenser Options | Detergent, Softener, Bleach |
| Drum Material | Stainless Steel |
| Installation Method | Freestanding |
Warranty and Support
Warranty Information
This Whirlpool washing machine, model 8MWTW-1643MJQ, comes with a 1-year manufacturer's warranty. Please retain your proof of purchase for warranty claims. The warranty covers defects in materials and workmanship under normal use.
Customer Support
For technical assistance, service requests, or to inquire about warranty coverage, please contact Whirlpool customer service. Refer to the contact information provided in your product registration materials or visit the official Whirlpool website for your region.


