1. Introduction
This manual provides detailed instructions for the installation, operation, and maintenance of the Braveboy N008792 Air Compressor Regulator Repair Kit. This kit is designed to replace worn or damaged components in compatible air compressor regulators, restoring proper function and pressure control.
2. Safety Information
WARNING: Always depressurize the air compressor completely before attempting any repairs or maintenance. Disconnect the compressor from its power source. Failure to do so can result in serious injury or property damage.
- Wear appropriate personal protective equipment, including safety glasses and gloves.
- Ensure the work area is well-lit and clear of obstructions.
- If you are unsure about any step, consult a qualified technician.
- Keep all components clean and free of debris during installation.
3. Product Overview
The Braveboy N008792 Air Compressor Regulator Repair Kit includes essential components for rebuilding your air compressor's pressure regulator. The kit typically contains O-rings, a spring, a piston with seal, and a plug, along with lubricant.

Image 3.1: All components included in the Braveboy N008792 Air Compressor Regulator Repair Kit, showing various O-rings, a spring, a piston, a plug, and a small packet of lubricant.

Image 3.2: An exploded diagram illustrating the various parts of an air compressor regulator, including the plug with O-ring (A), O-ring (B), spring (C), piston with seal (D), O-ring (E), and disk with O-ring and seal (F). This diagram is for reference to identify components.
4. Compatibility
This repair kit is compatible with a wide range of air compressors from various brands. Verify your compressor's model number against the list below to ensure compatibility.
Compatible with Craftsman Models:
- 919167784 Air Compressor
- 91916770 Compressor
- 919152160 Air Compressor
- 919167710 Air Compressor
- 919167700 Air Compressor
- 919167380 Air Compressor
- 91915216 Compressor
Compatible with Porter Cable Models:
- C2150 Type 0, C2150 Type 1
- C3101, C3101 Type 1
- C3150 Type 0, C3150 Type 1
- C3151 Type 1, C3151 Type 2, C3151 Type 0
- CPFAC2600P Type 2, CPFAC2600P Type 3
- C3550
- CPLDC2540S Type 0
- CPF23400S Type 2
- C2000-WK Type 0, C2000-WK Type 1
Compatible with Black and Decker Models:
- 919-724120, 919-724121, 919-724122
- 919-724130, 919-724131, 919-724132
- 919-724320, 919-724321, 919-724322
- 919-725500, 919-725501, 919-725502, 919-725503
- 919-165550, 919-166440, 919-166441, 919-166442
- 919-166700, 919-166701
- 919-167260, 919-167270, 919-167280, 919-167281
- 919-167320, 919-167321, 919-167370, 919-167380
- 919-167600, 919-167610, 919-167620, 919-167630
- 919-167780, 919-167781, 919-167782, 919-167783, 919-167784
- 919-153160 & More
Compatible with DeWALT Models:
- D55168
- D55167 Type 2, D55167 Type 1, D55167 Type 3
- D55684 Type 1
- D55146 Type 2, D55146 Type 3, D55146 Type 4
- D55250 Type 2
- D55273 Type 1
- D55171 Type 1, D55171 Type 2
- D55371 Type 1, D55371 Type 2
- D55394 Type 1
- D55149 Type 4
- D55040 Type 1
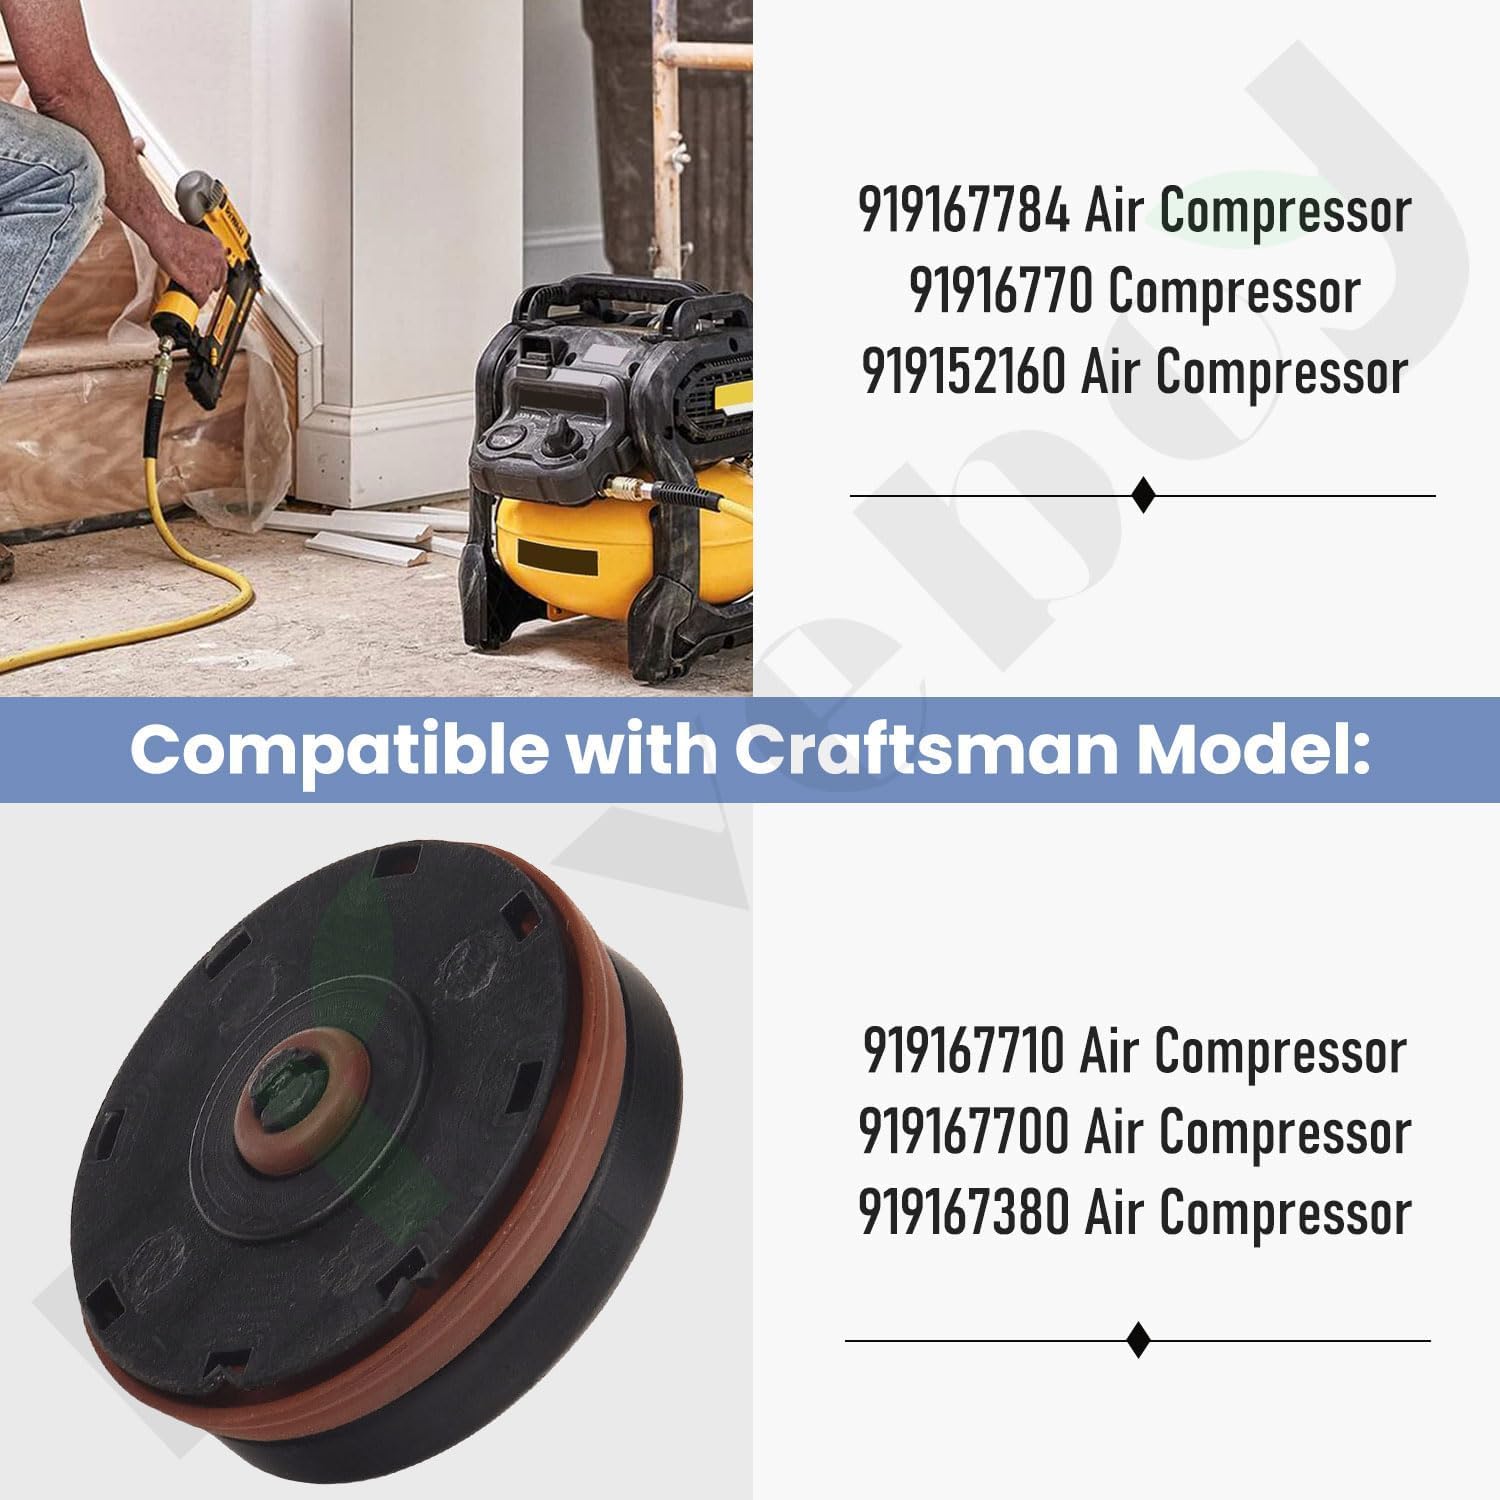
Image 4.1: An example of a Craftsman air compressor, illustrating the type of unit this repair kit is compatible with.
5. Setup and Installation
Follow these general steps for replacing the regulator components. Specific disassembly and reassembly procedures may vary slightly depending on your compressor model. Always refer to your compressor's original service manual if available.
- Depressurize the Compressor: Ensure the air compressor is turned off and unplugged. Open the tank drain valve and any air outlets to completely release all air pressure from the tank and lines.
- Locate the Regulator: Identify the pressure regulator assembly on your compressor. It typically includes the pressure adjustment knob and gauges.
- Disassemble the Regulator: Carefully remove the regulator assembly or the specific components that require replacement. This may involve unscrewing the adjustment knob, removing retaining clips, or unthreading the regulator body from the manifold.
- Remove Old Components: Extract the old O-rings, spring, piston, and plug. Note their orientation and position for correct reassembly.
- Lubricate New Components: Apply a small amount of the provided lubricant to all new O-rings and moving parts (piston, plug) before installation. This ensures a proper seal and smooth operation.
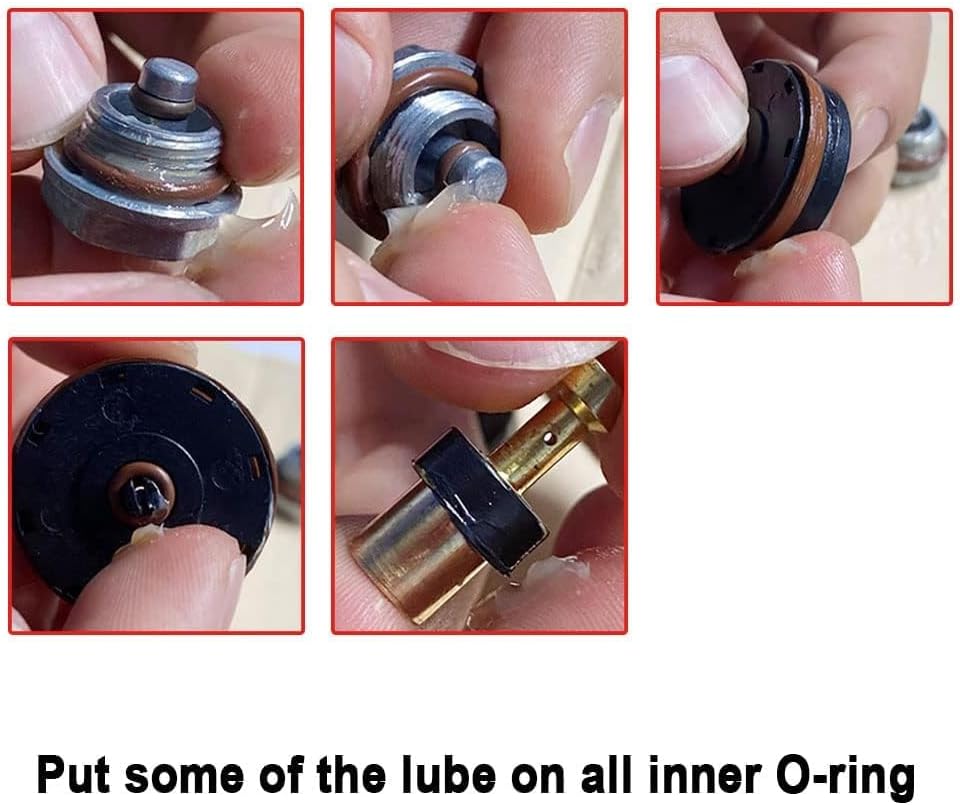
Image 5.1: Step-by-step visual guide demonstrating the application of lubricant to the O-rings and other components of the repair kit, ensuring proper sealing and smooth movement.
- Install New Components: Carefully insert the new O-rings, spring, piston, and plug into their correct positions. Ensure the piston moves freely within its housing.
- Reassemble the Regulator: Reattach the regulator assembly to the compressor. Tighten all connections securely, but avoid overtightening, which can damage components or prevent proper function.
- Test for Leaks: Once reassembled, slowly repressurize the compressor. Apply a soapy water solution to all new connections and components to check for air leaks. Bubbles indicate a leak that needs to be addressed.
6. Operating Instructions
After successful installation and leak testing, your air compressor regulator should function correctly. The regulator controls the output air pressure to your tools.
- Adjusting Output Pressure: Turn the regulator knob clockwise to increase the output pressure and counter-clockwise to decrease it. Observe the output pressure gauge while adjusting.
- Setting Desired Pressure: Set the output pressure according to the requirements of the air tool you are using. Do not exceed the maximum operating pressure of your tools or the compressor.
7. Maintenance
Regular maintenance of your air compressor regulator ensures longevity and reliable performance.
- Lubrication: Periodically inspect O-rings and moving parts for wear. Reapply lubricant as needed to maintain smooth operation and prevent premature wear.
- Cleaning: Keep the regulator assembly clean and free of dirt, dust, and moisture.
- Inspection: Regularly check for signs of air leaks, especially around the regulator and its connections.
8. Troubleshooting
If you encounter issues after installing the repair kit, consider the following common problems and solutions:
- Air Leaks:
- Cause: Improperly seated O-rings, damaged O-rings, loose connections, or a faulty component.
- Solution: Depressurize the compressor, re-check all O-ring placements, ensure they are adequately lubricated, and tighten connections. Re-test with soapy water.
- Regulator Knob Hard to Turn or Not Adjusting Pressure:
- Cause: Overtightened components, insufficient lubrication, or a misaligned piston.
- Solution: Depressurize the compressor. Loosen the regulator knob slightly, ensure the piston moves freely, and reapply lubricant if necessary. Avoid overtightening the plug or other threaded components during reassembly.
- Inconsistent Output Pressure:
- Cause: Worn spring, damaged piston seal, or debris in the regulator.
- Solution: Disassemble the regulator, inspect all components for wear or damage, clean thoroughly, and replace any suspect parts. Ensure the spring is correctly seated.
9. Specifications
| Feature | Specification |
|---|---|
| Part Number | N008792 (Replacement for D55155) |
| Model Name | BA-792 |
| Brand | Braveboy |
| Included Components | Air Compressor Regulator Repair Kit, Lube |
| Item Weight | 1.12 Ounces |
| UPC | 780887677389 |

Image 9.1: Detailed measurements of the individual components within the repair kit, including the spring, piston, and plug, to assist with identification and fitment.
10. Warranty and Support
For warranty information and customer support, please refer to the official Braveboy store or contact the seller directly. Keep your purchase receipt as proof of purchase.
Visit the Braveboy Store for additional products and information.